This document provides an introduction to HTML, including:
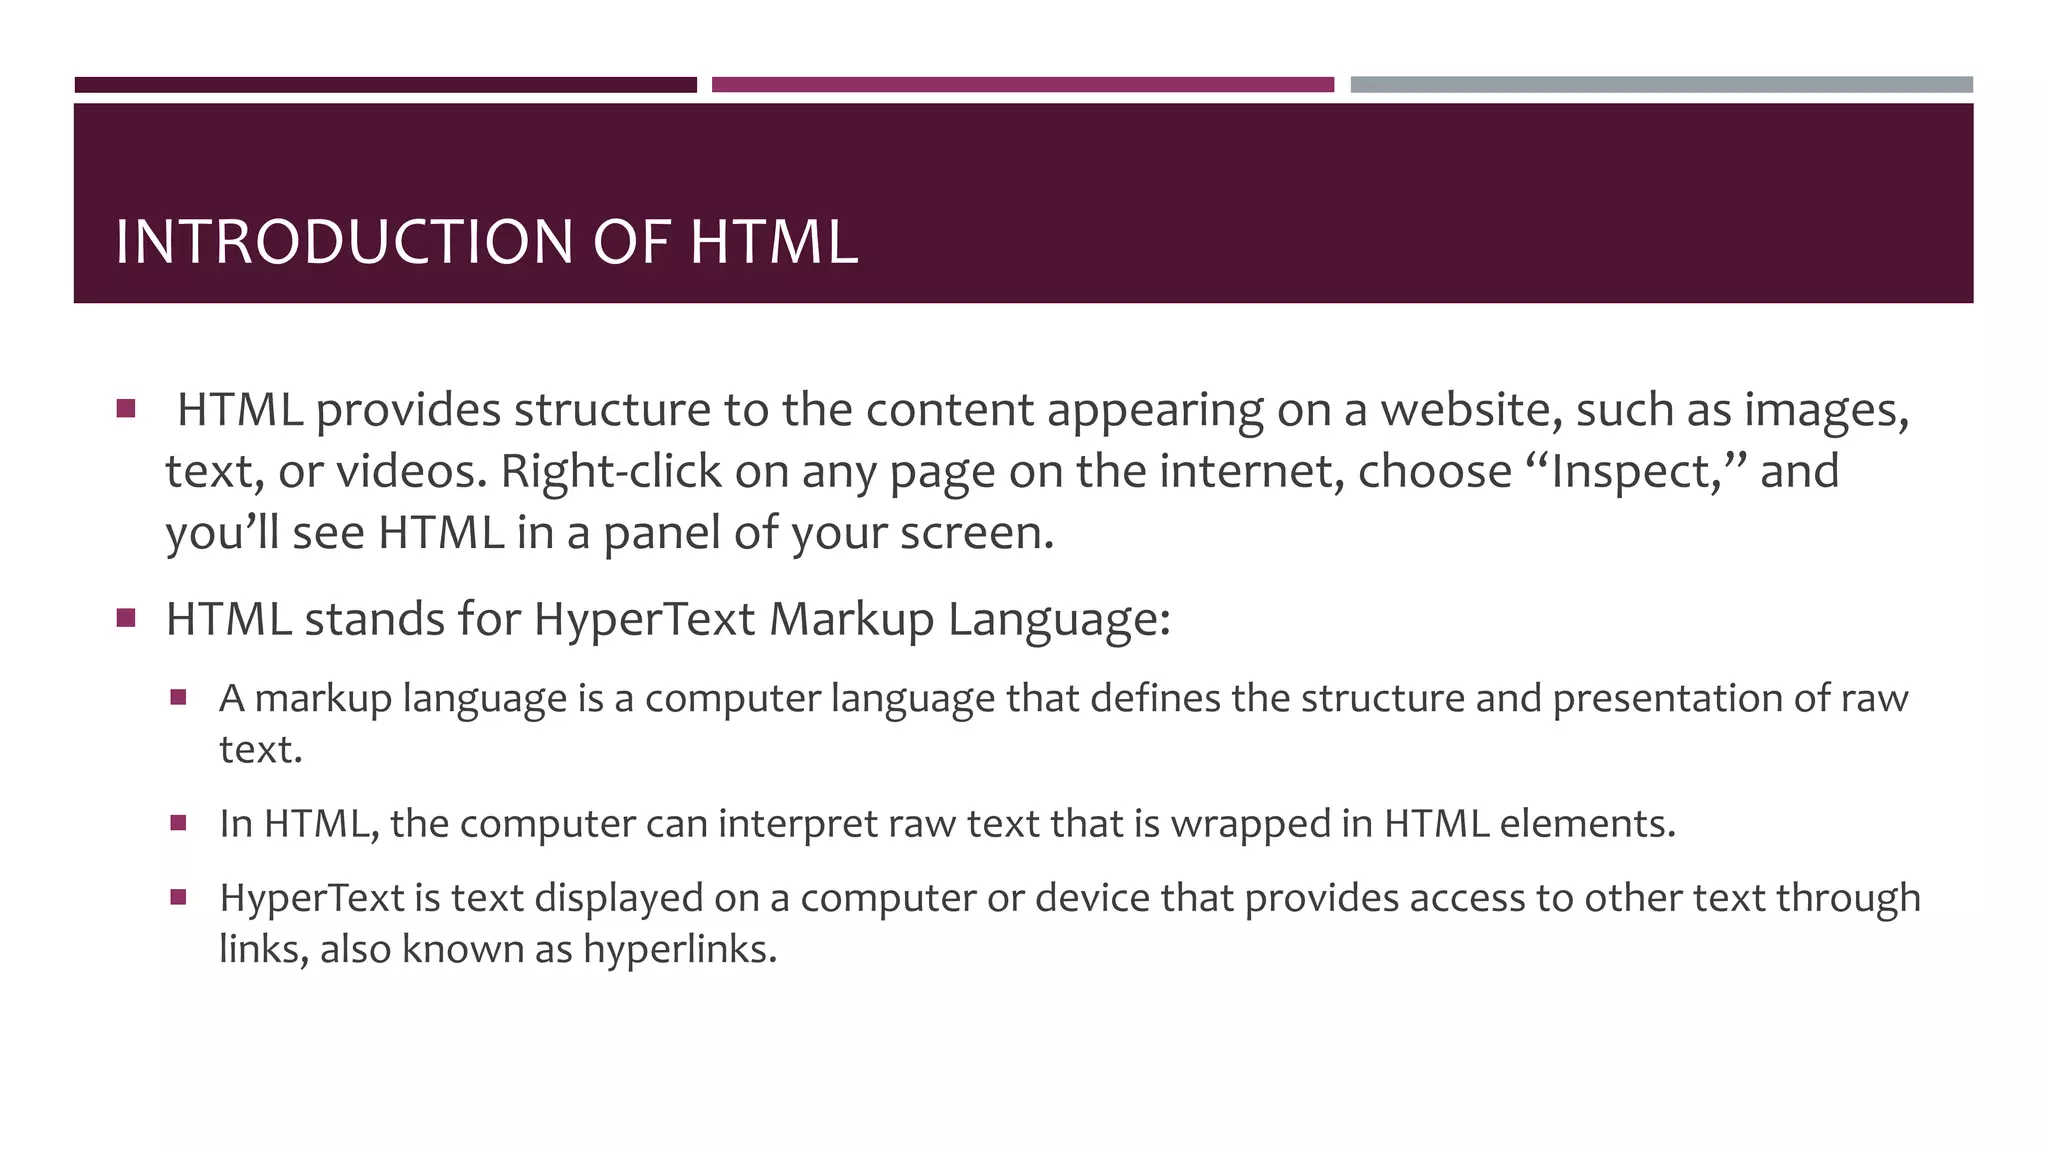
- HTML stands for Hypertext Markup Language and provides structure and presentation for content on webpages.
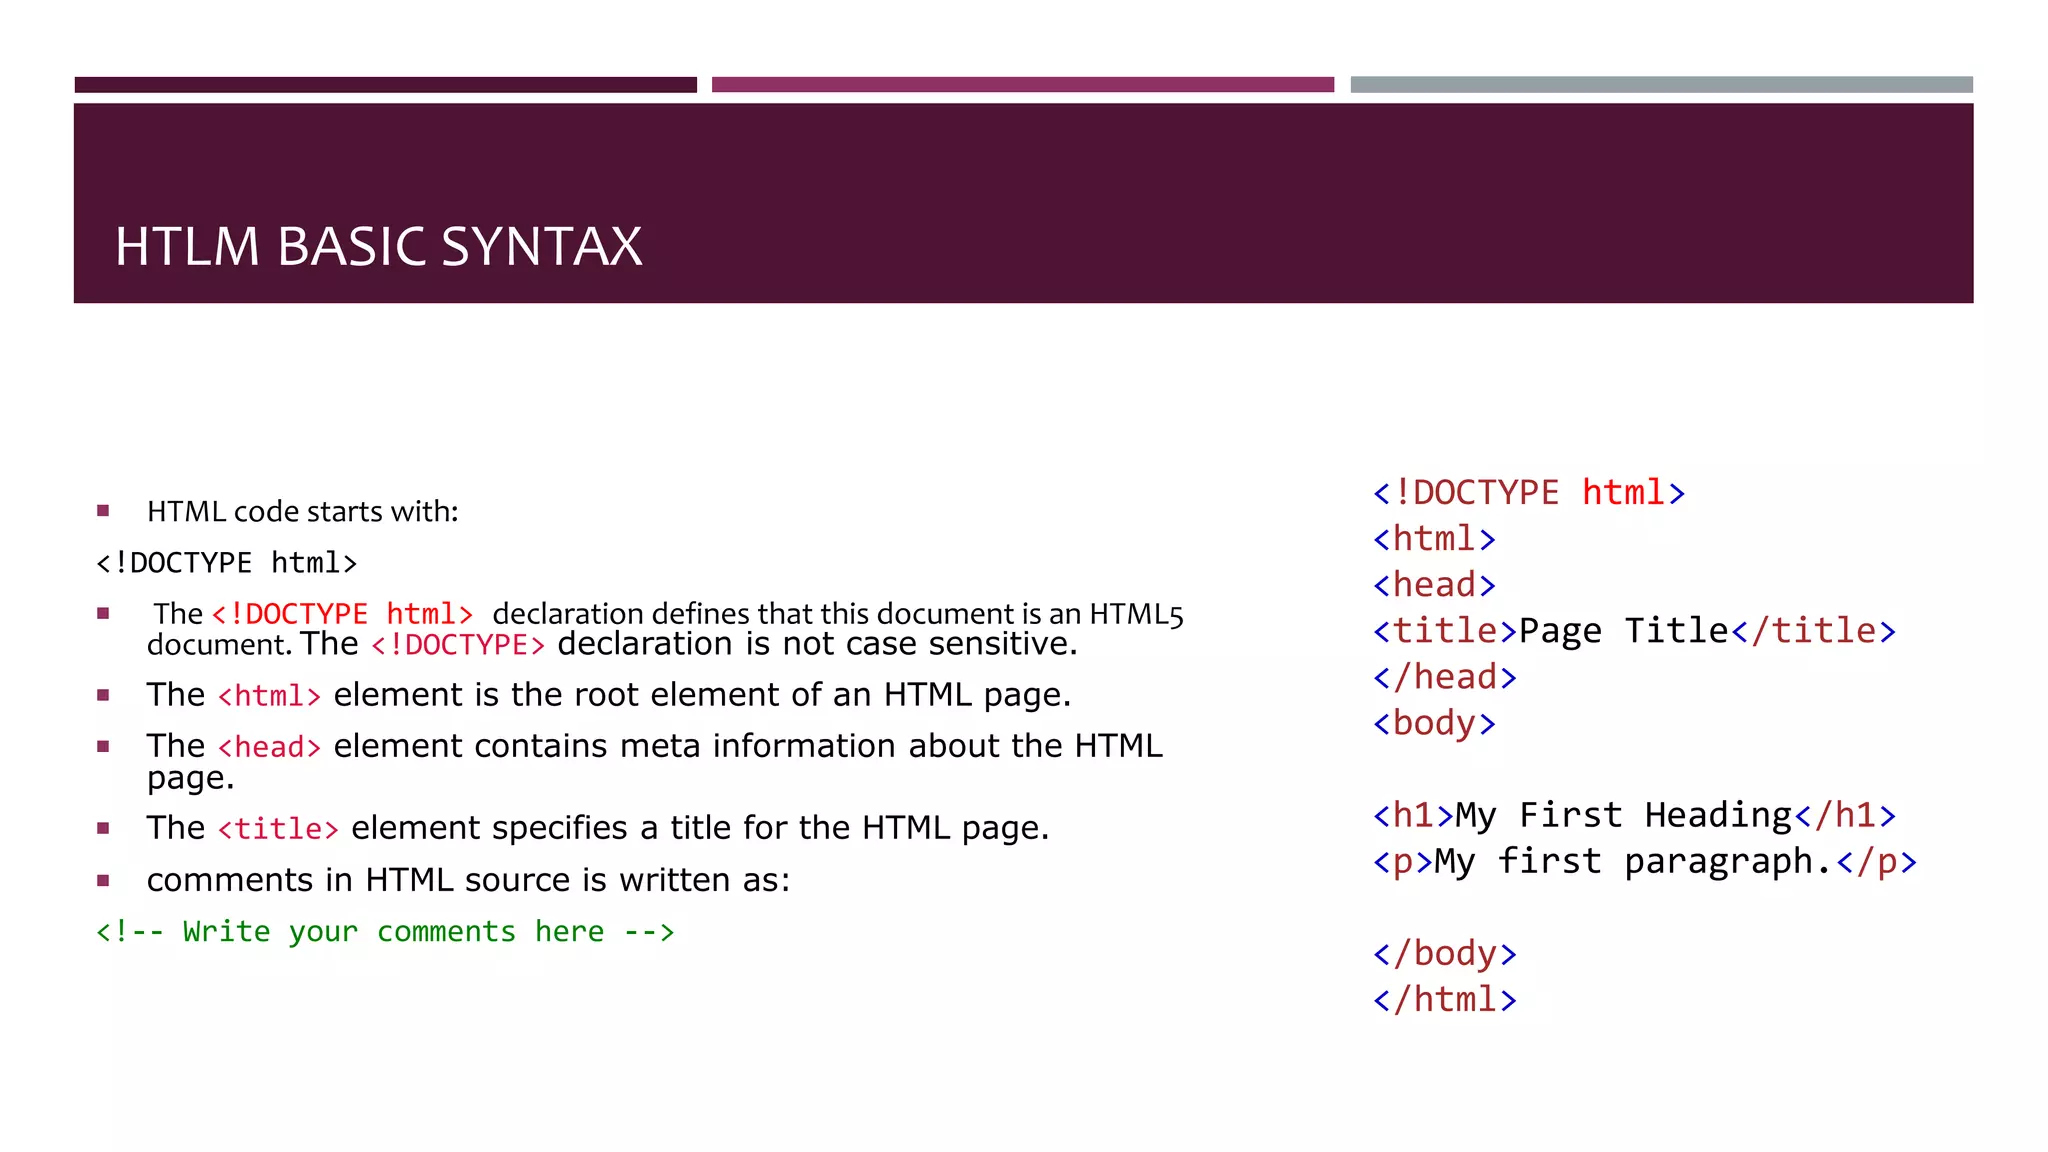
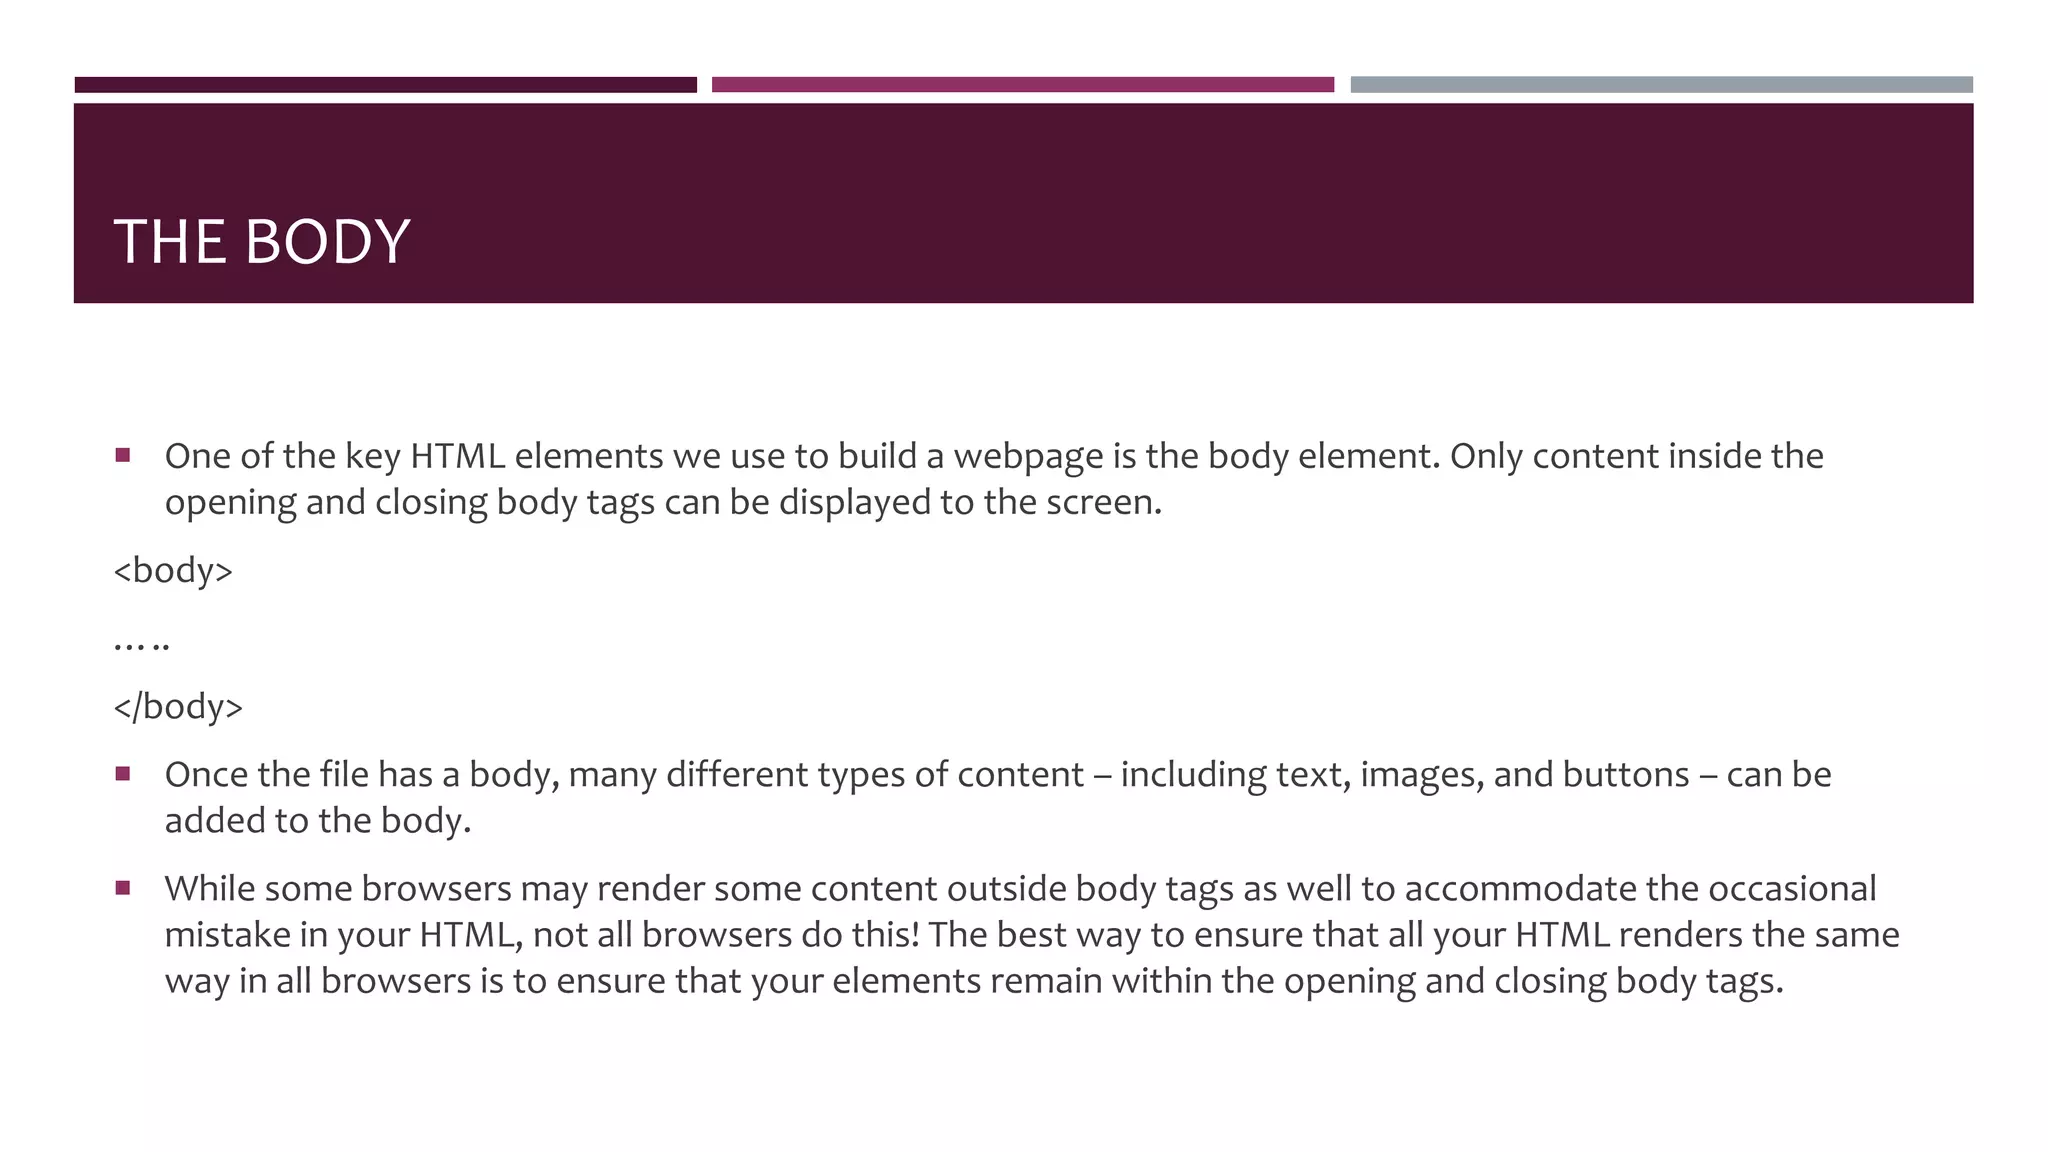
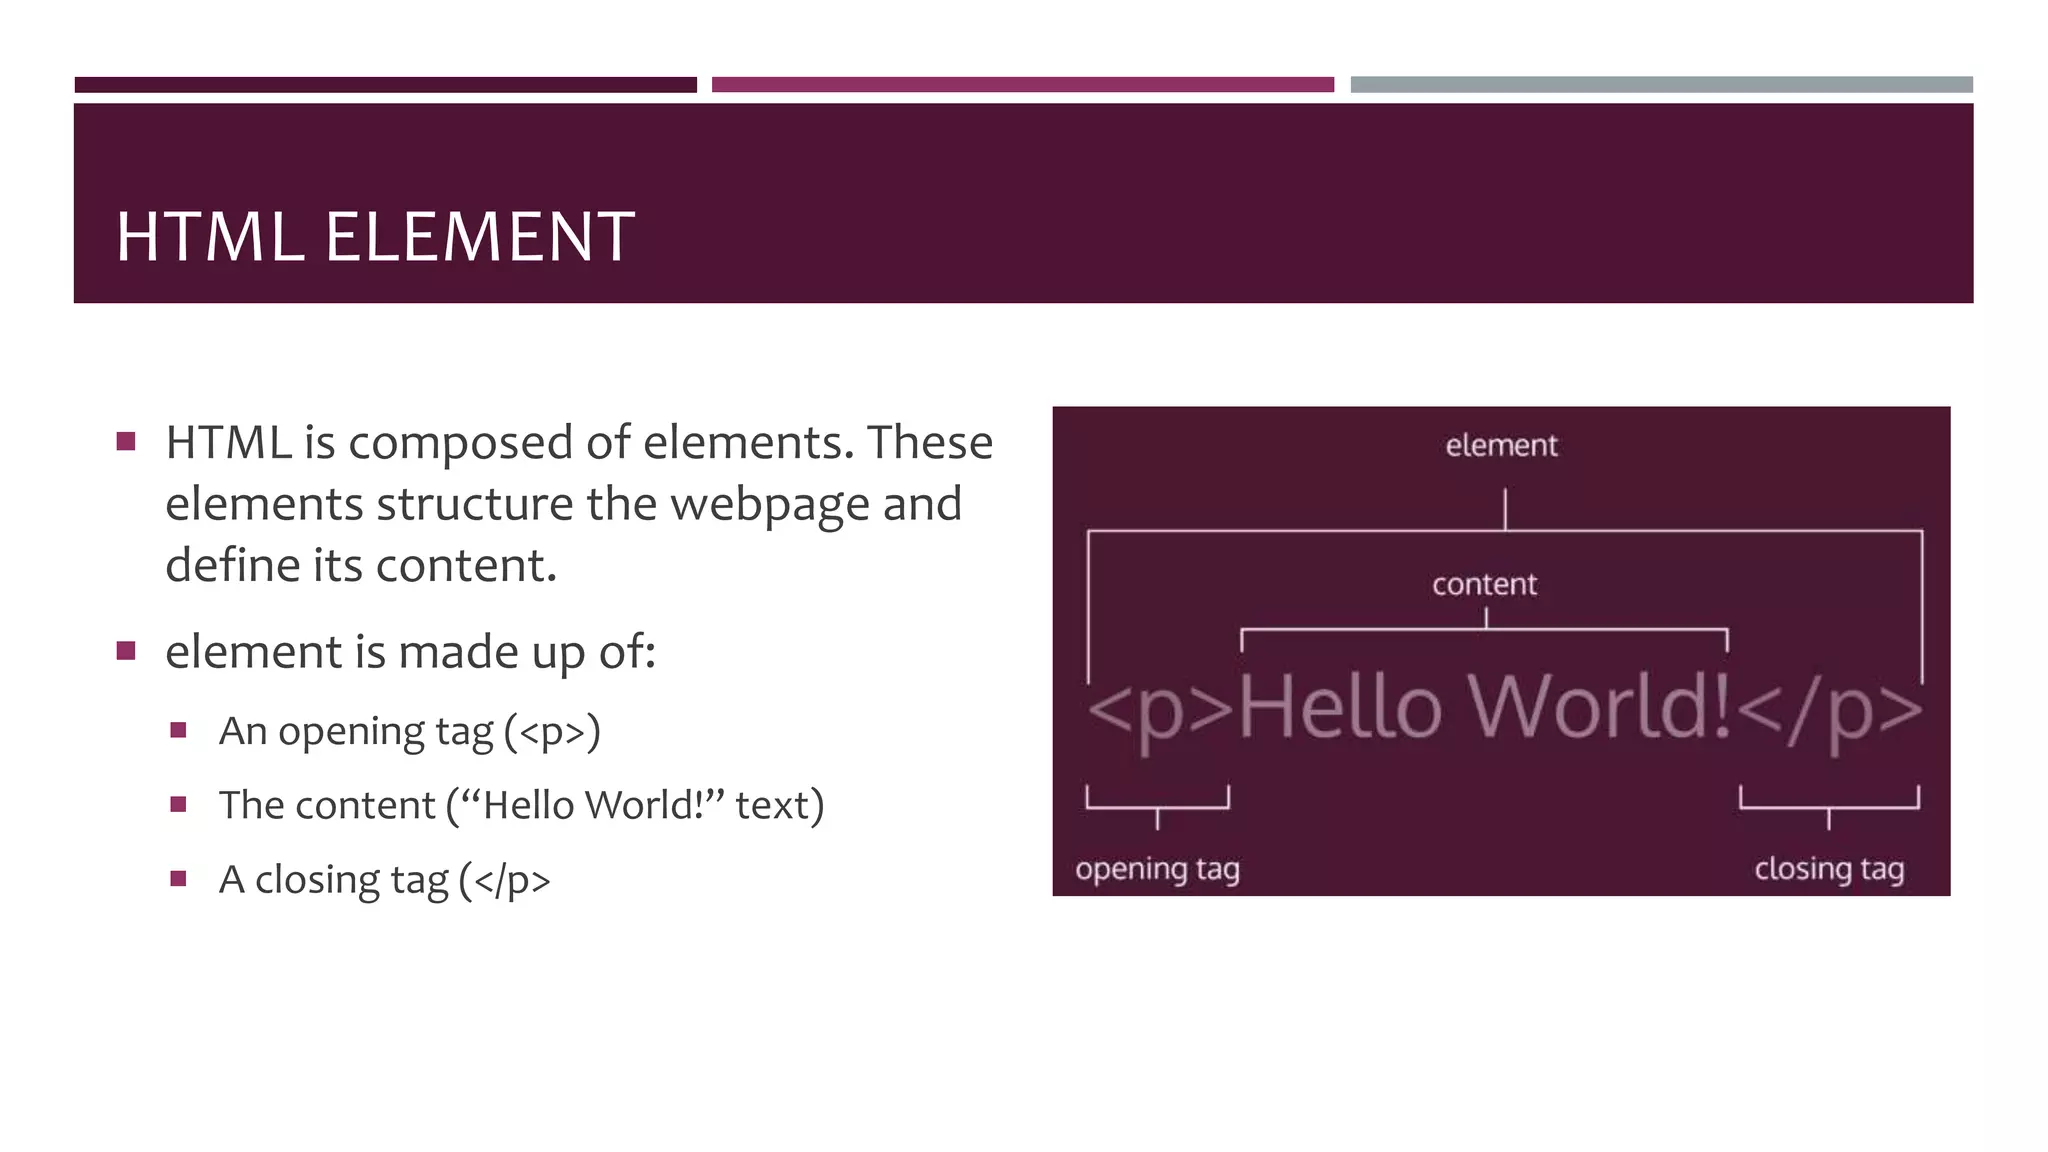
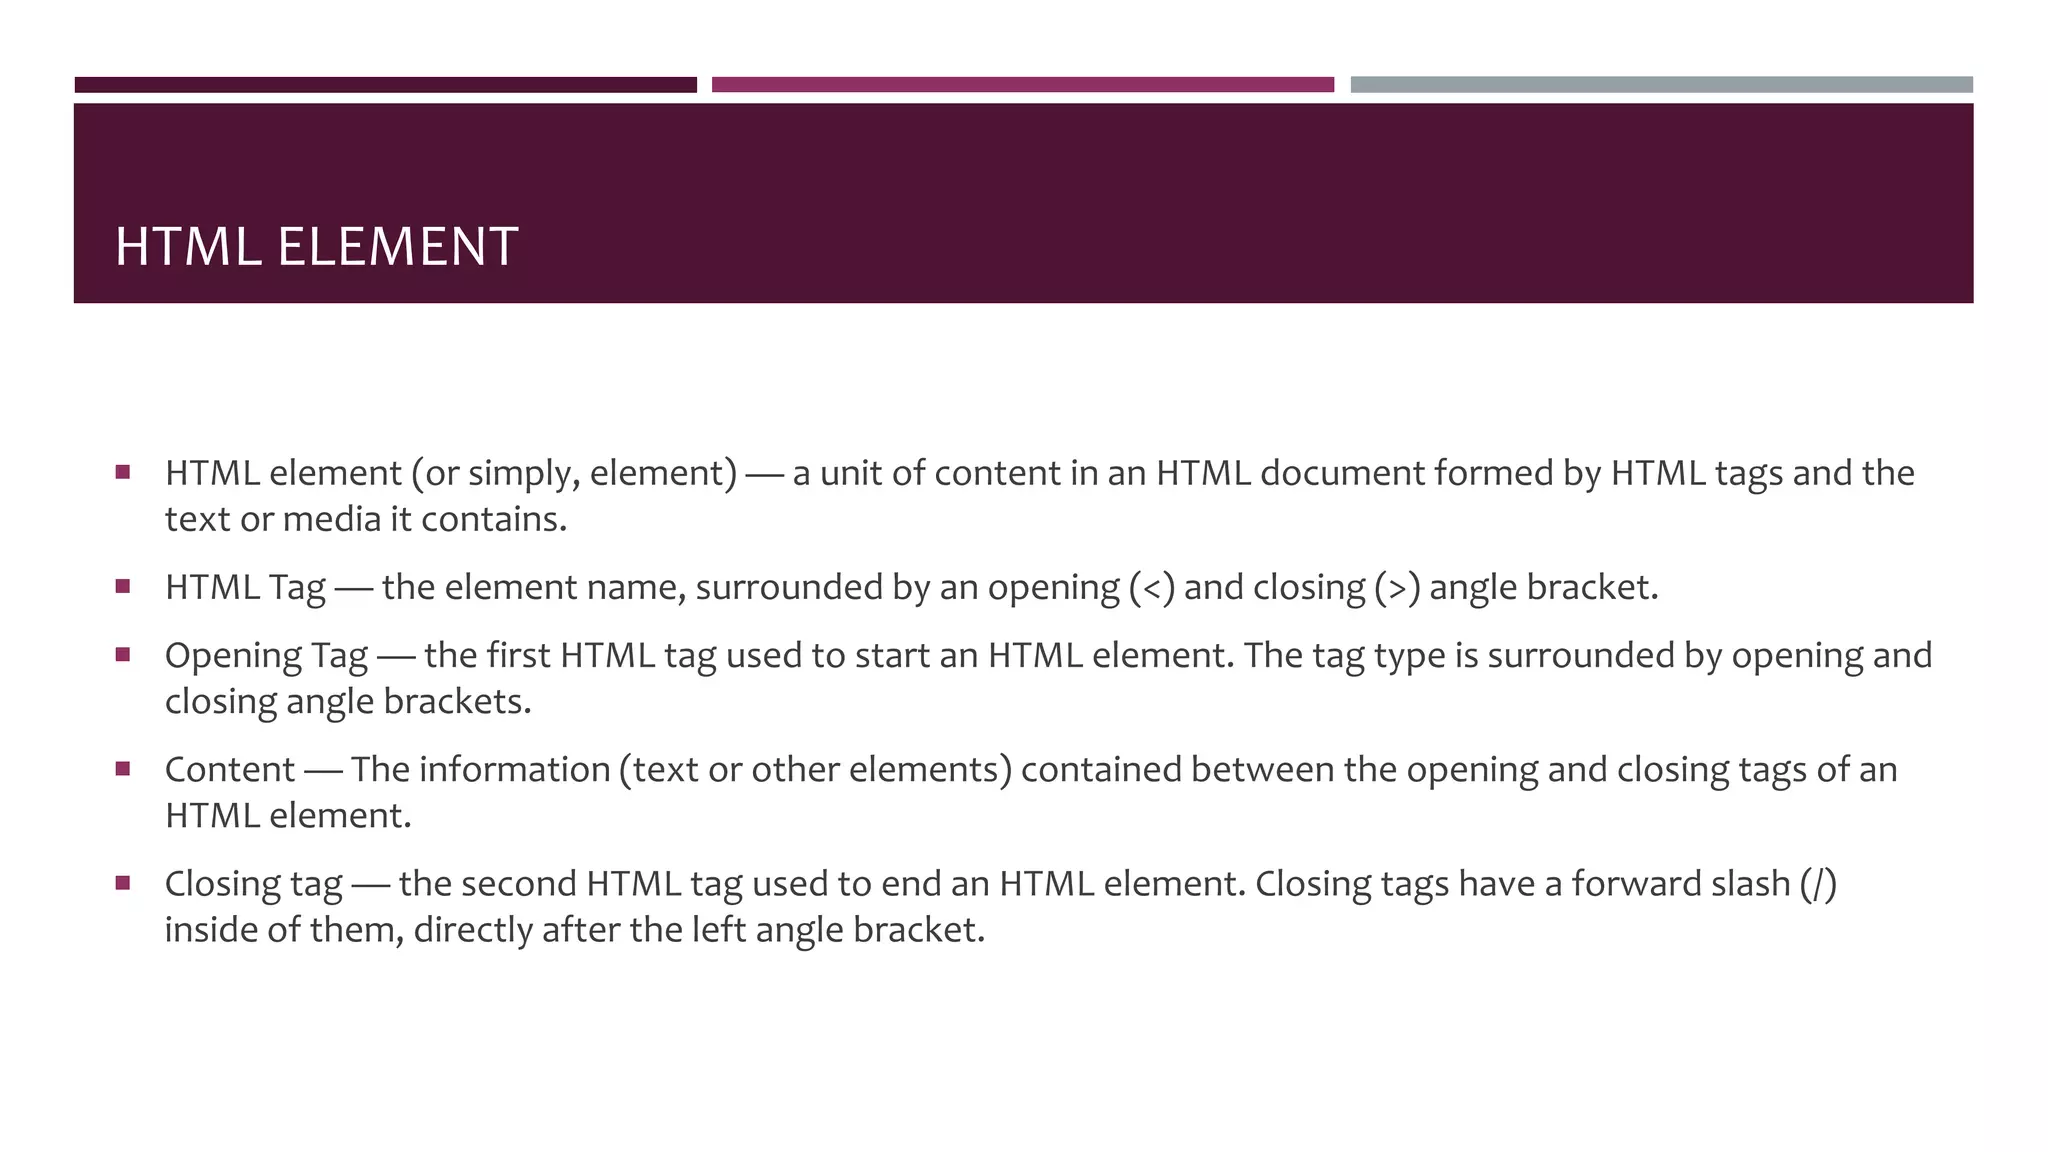
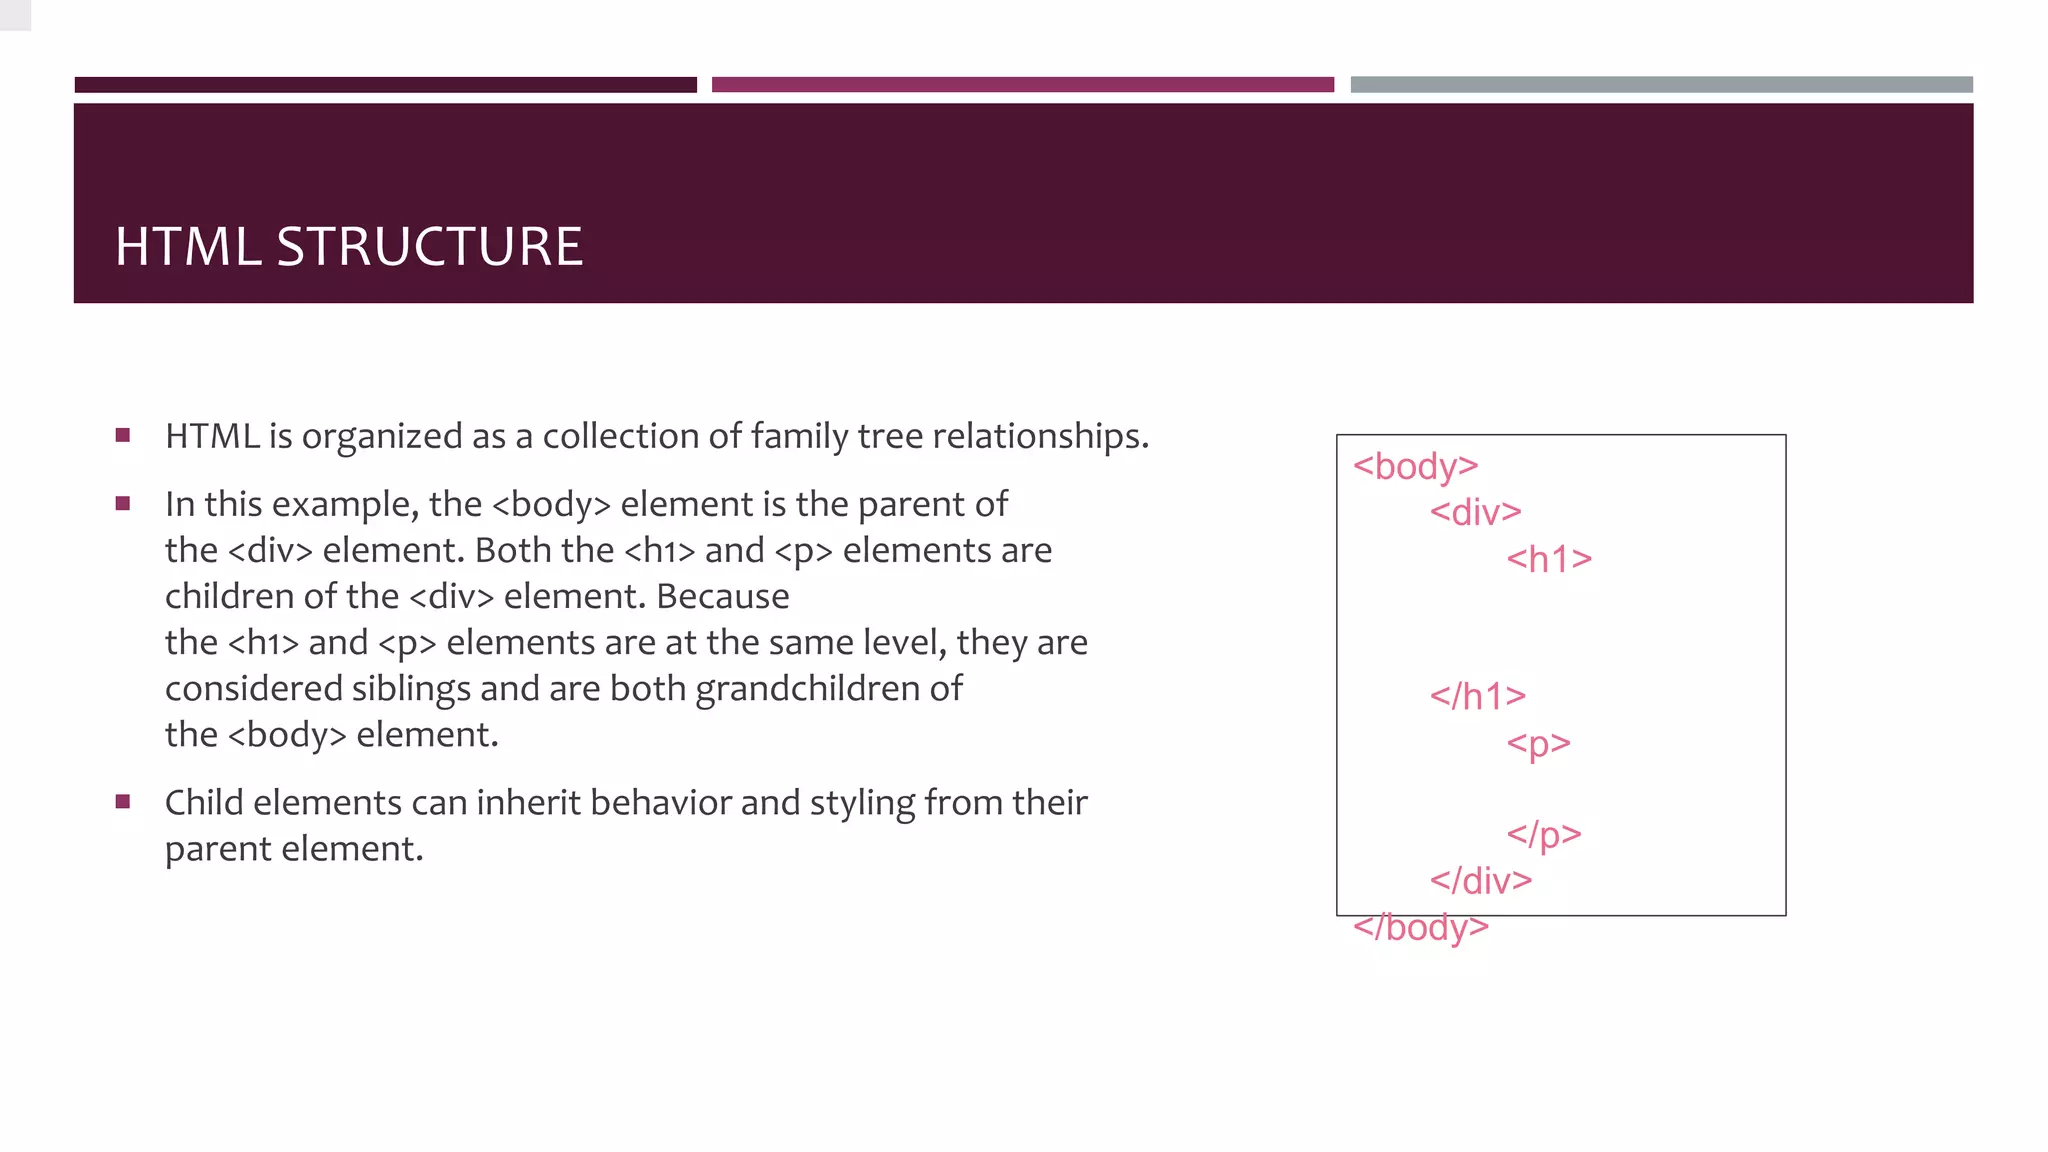
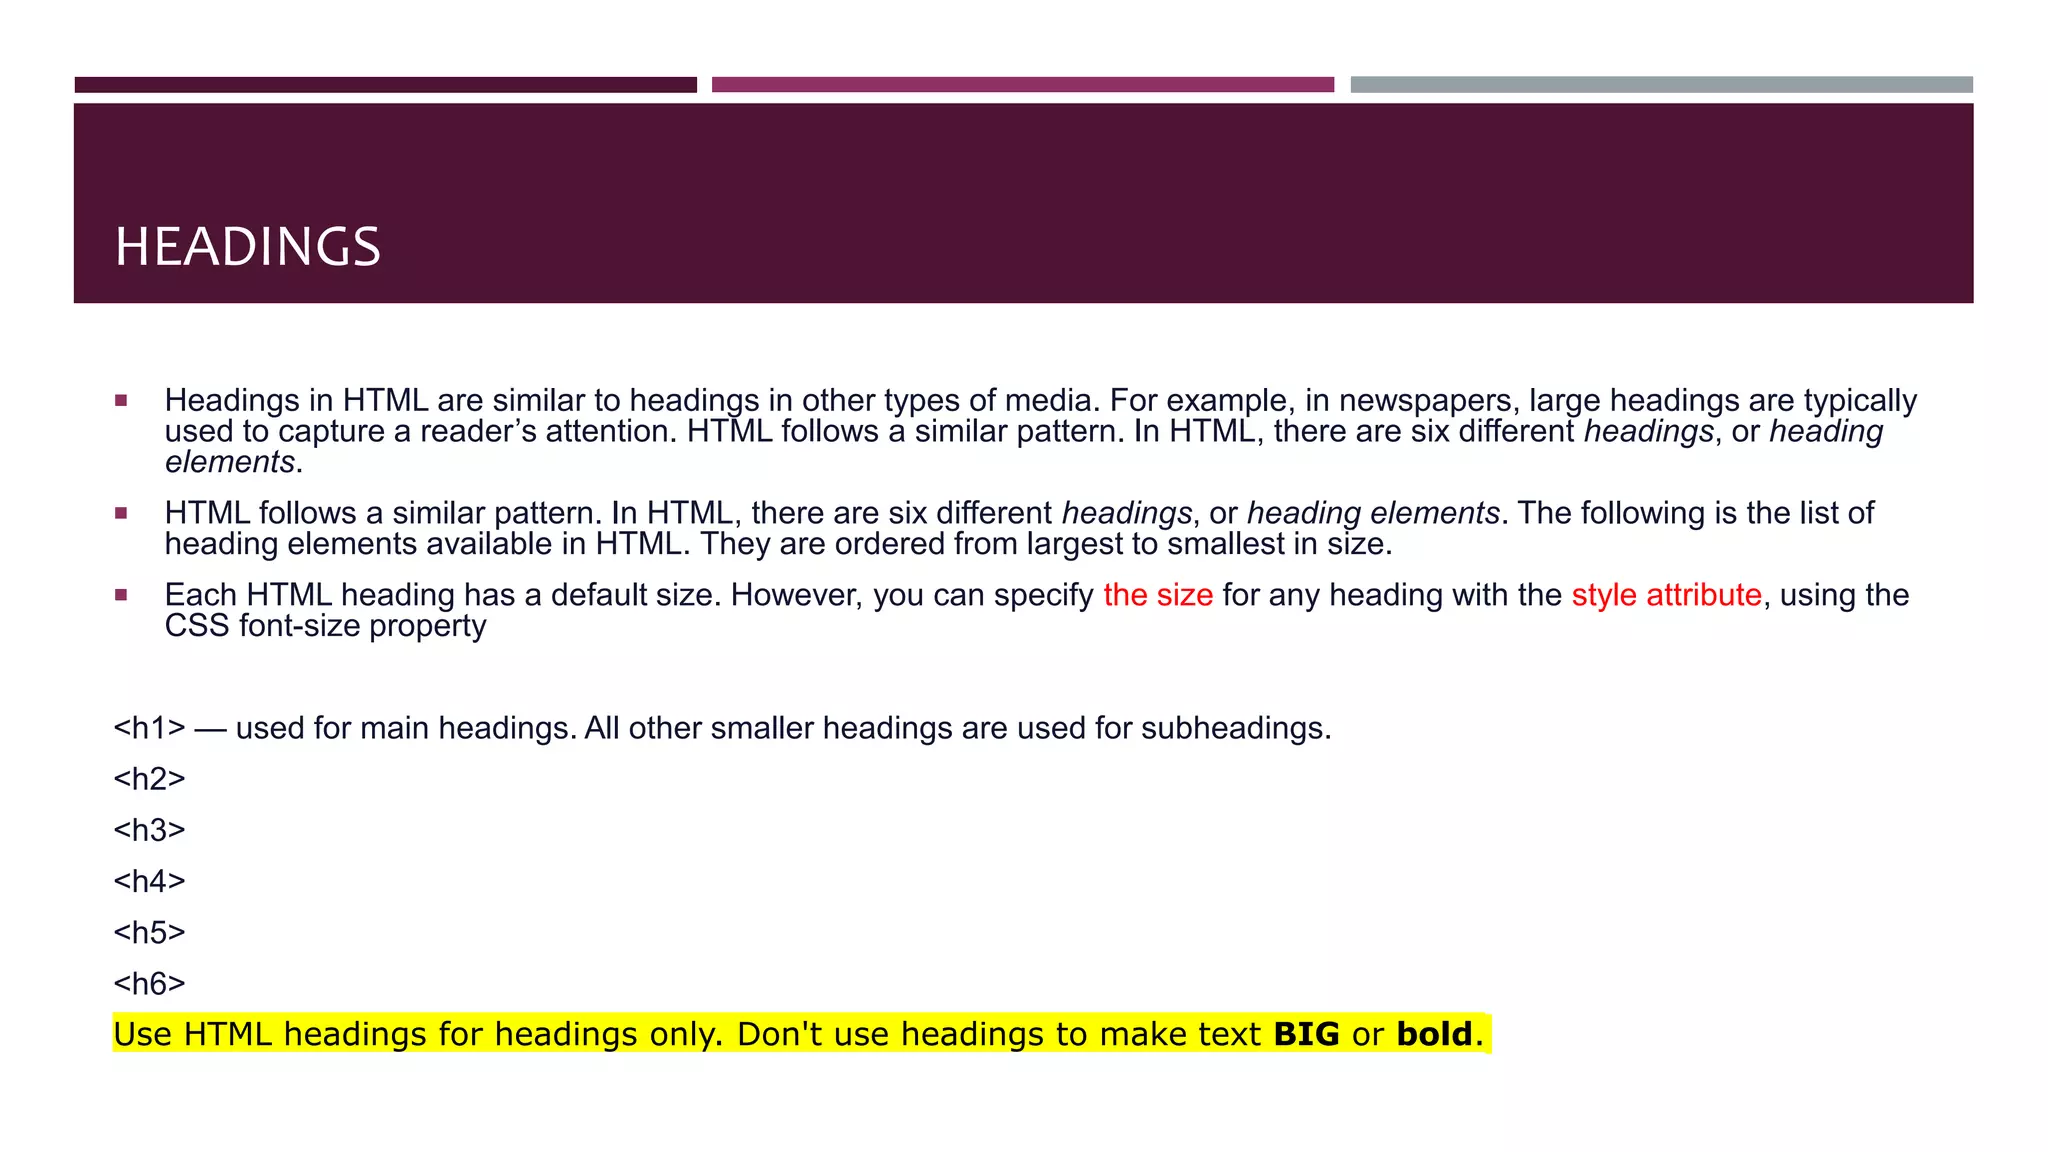
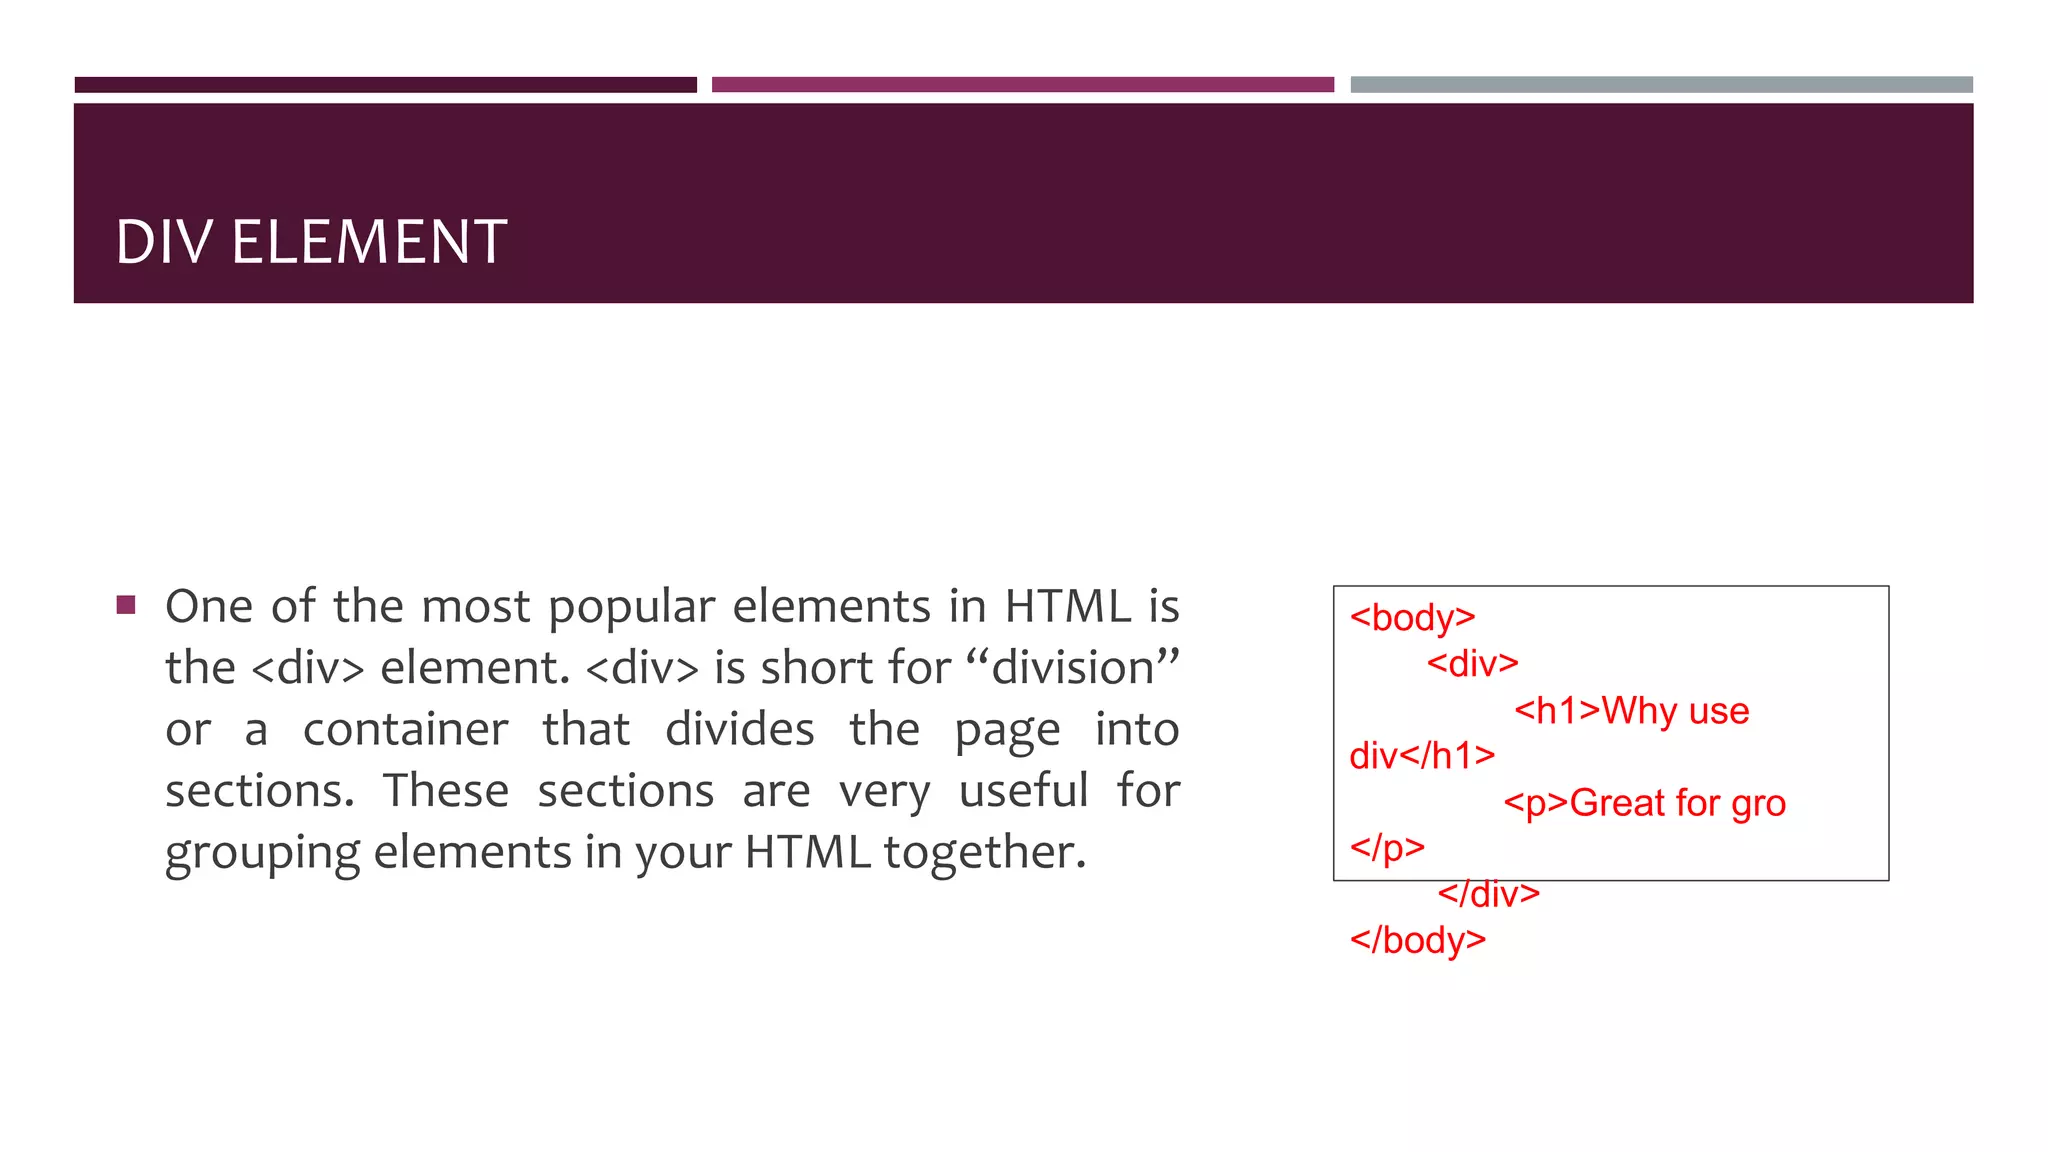
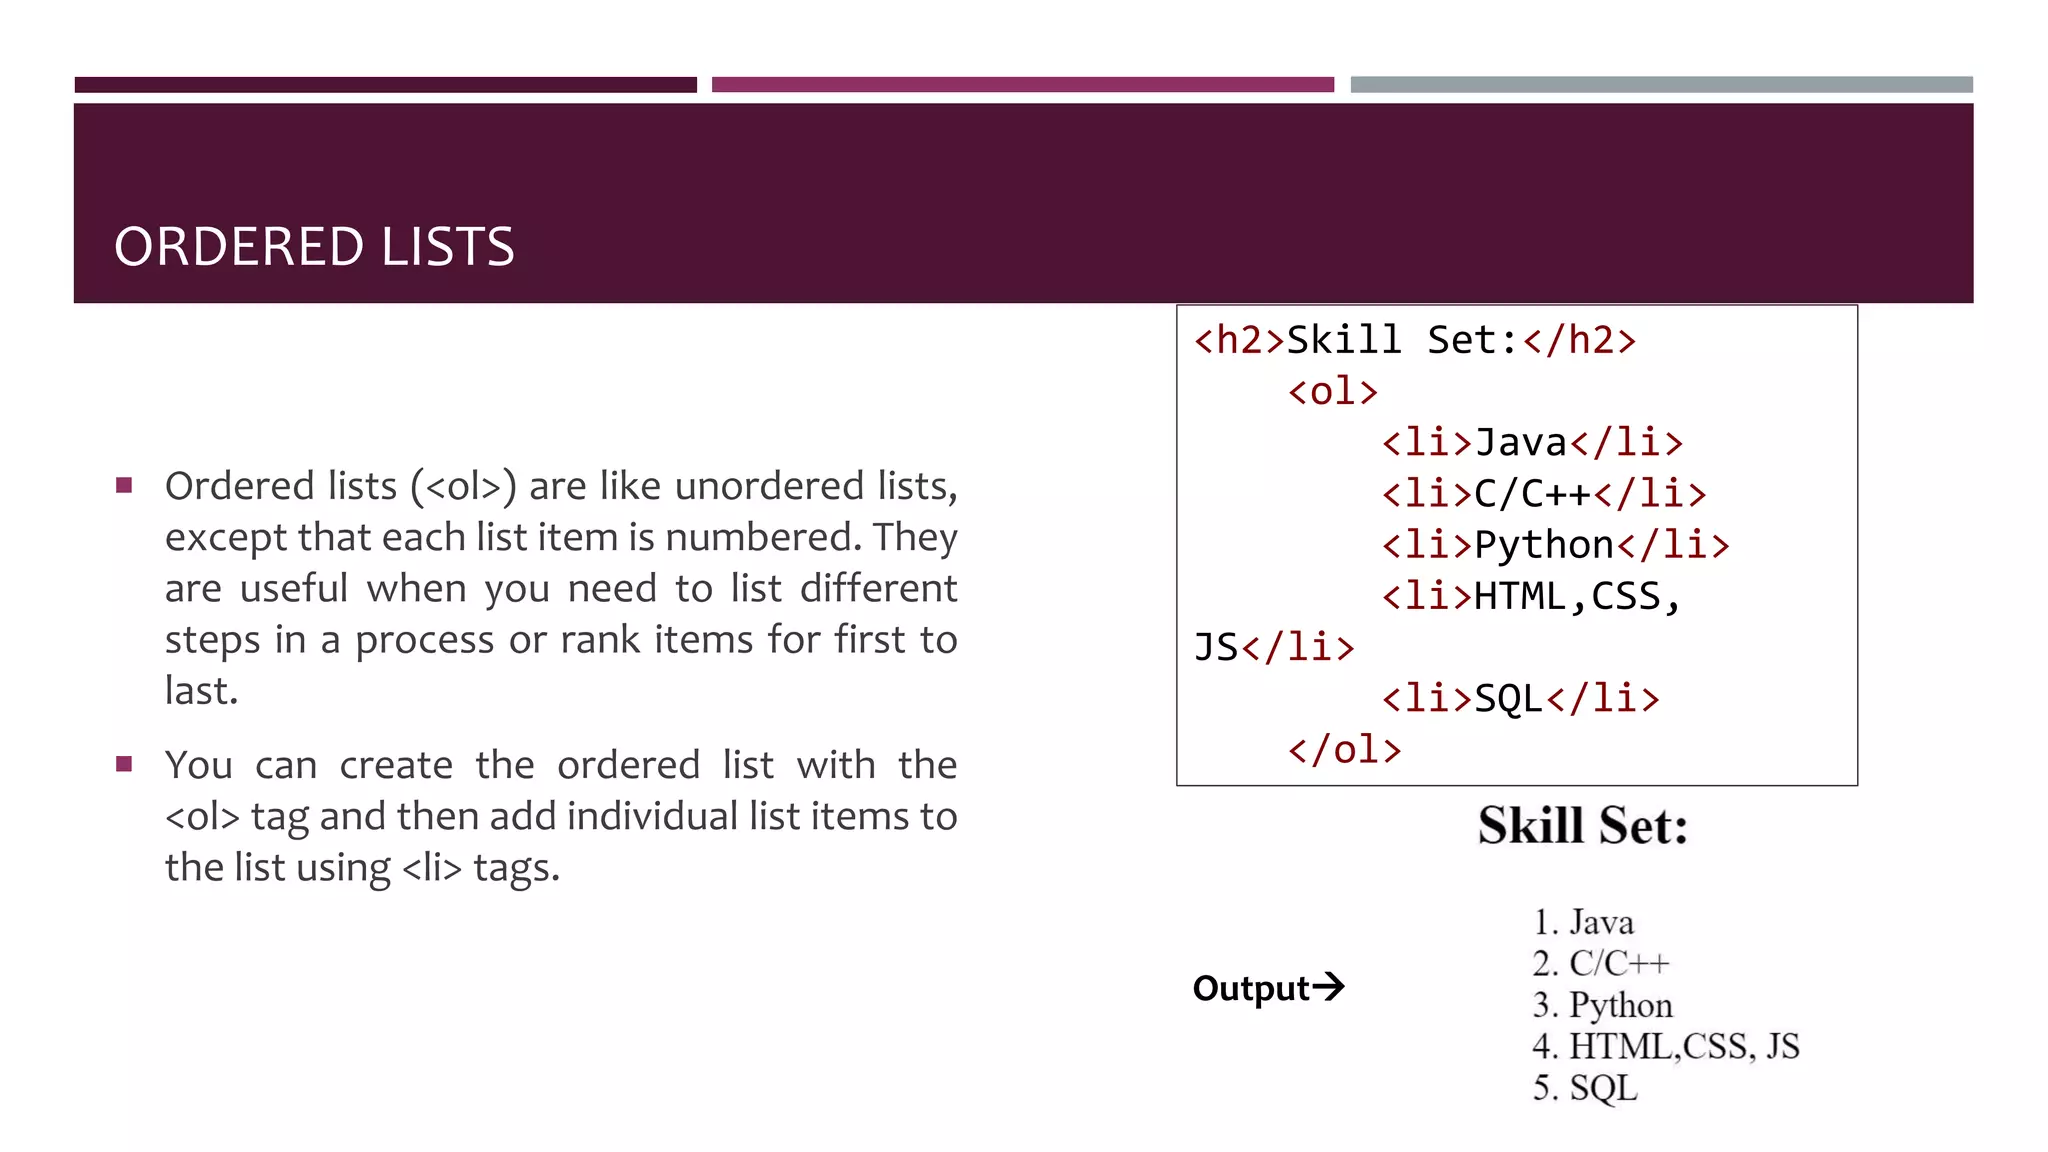
- The basic structure of an HTML document includes the <html>, <head>, <title>, and <body> tags. Common elements like headings, paragraphs, and divs are explained.
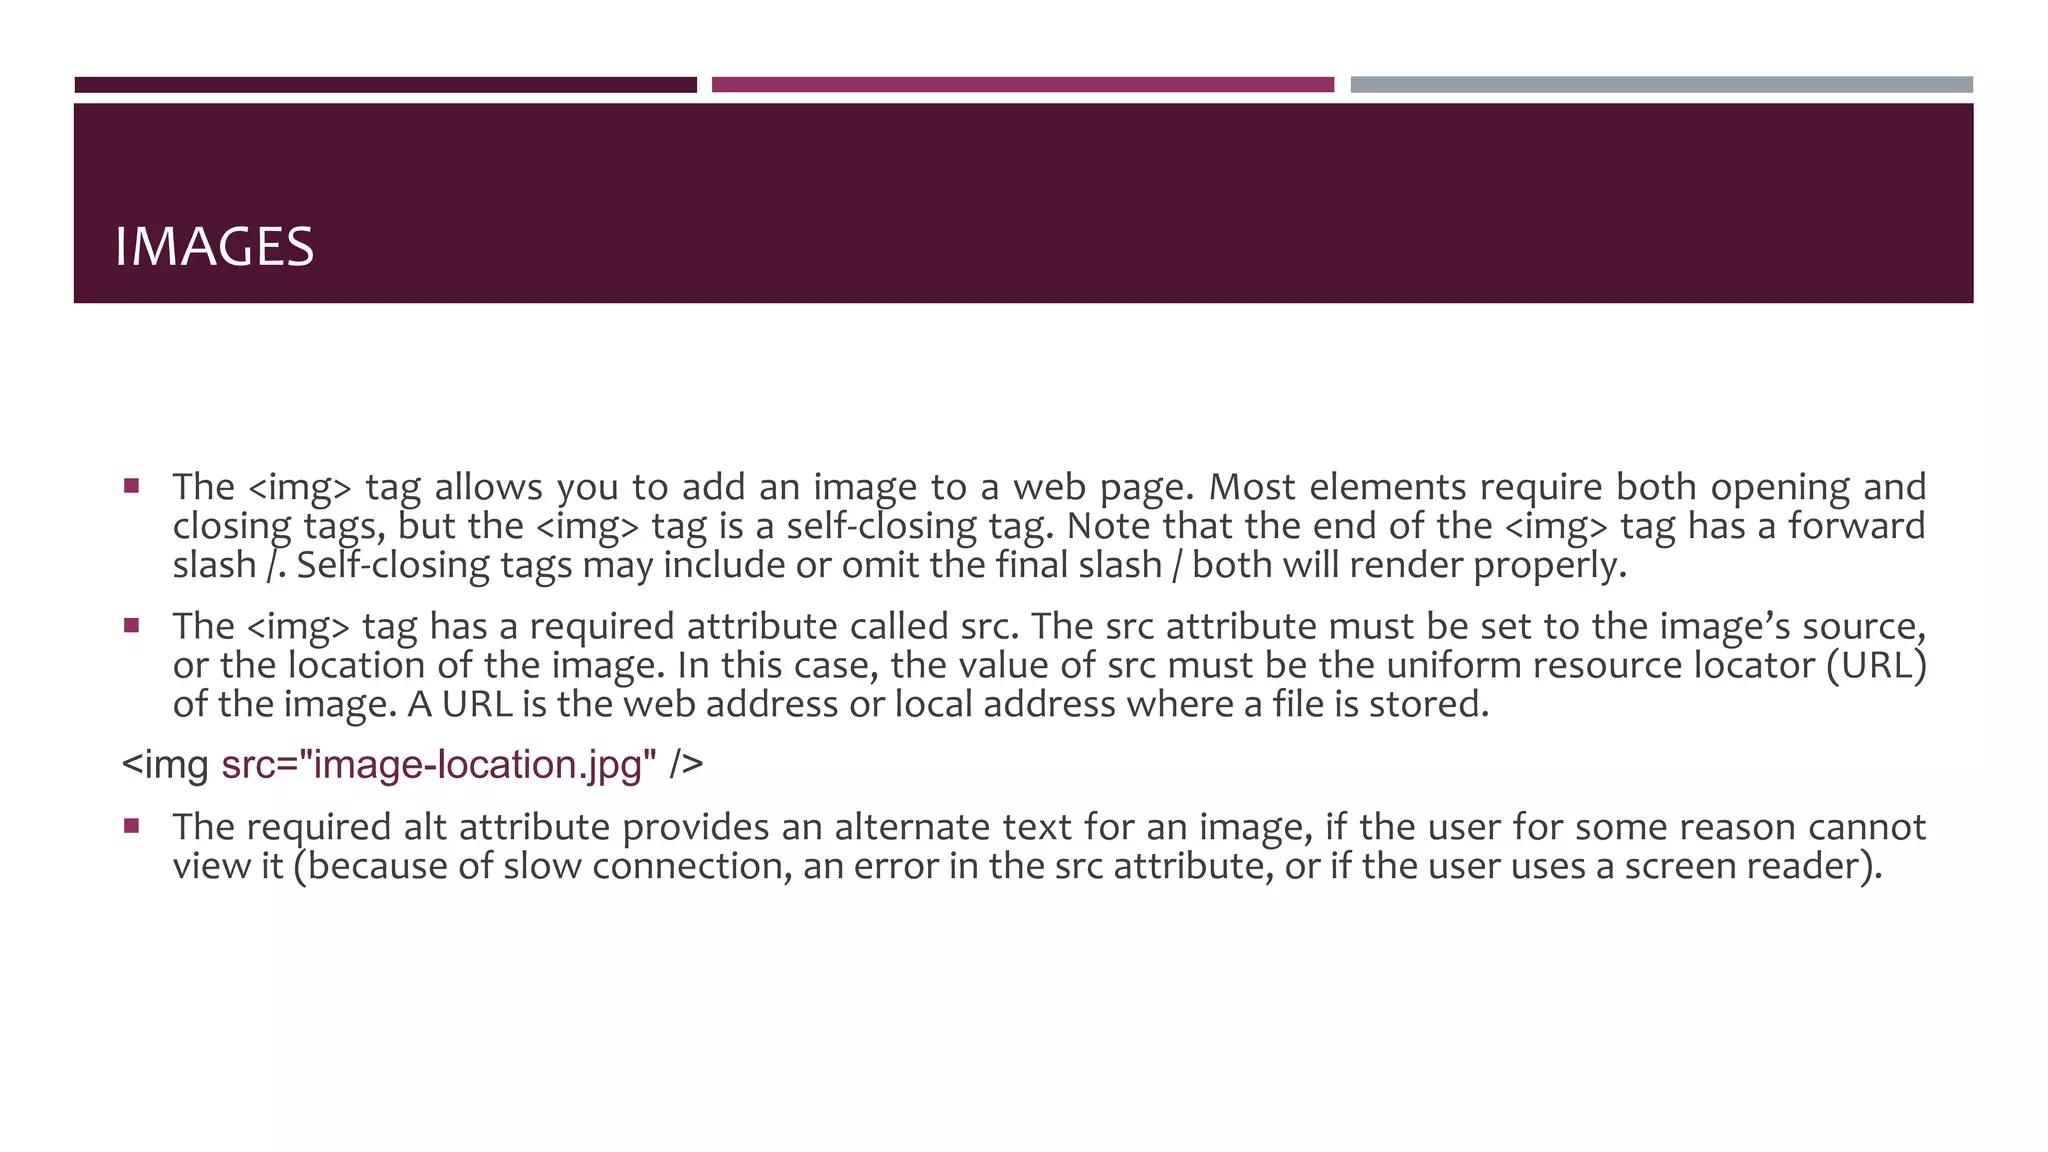
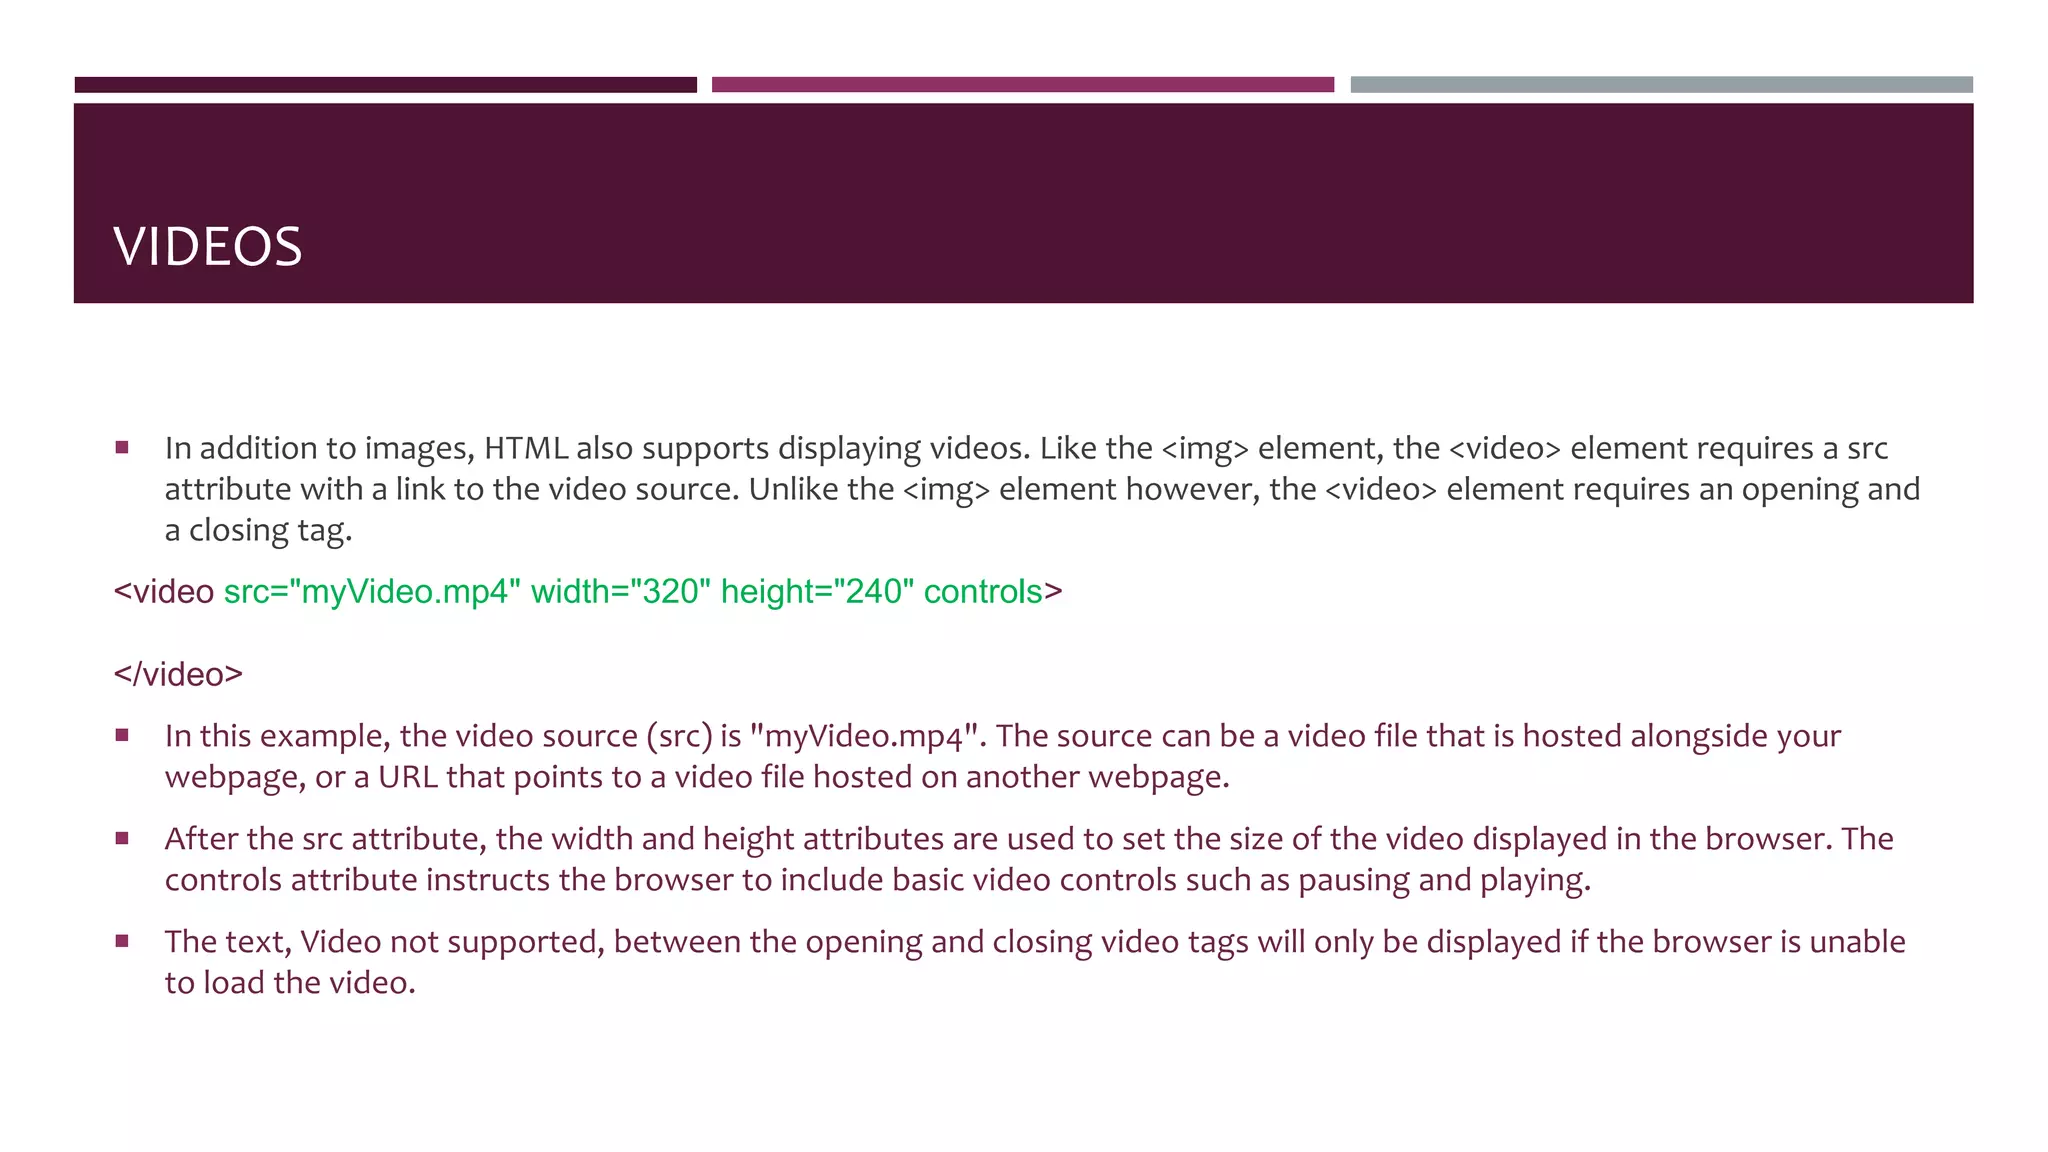
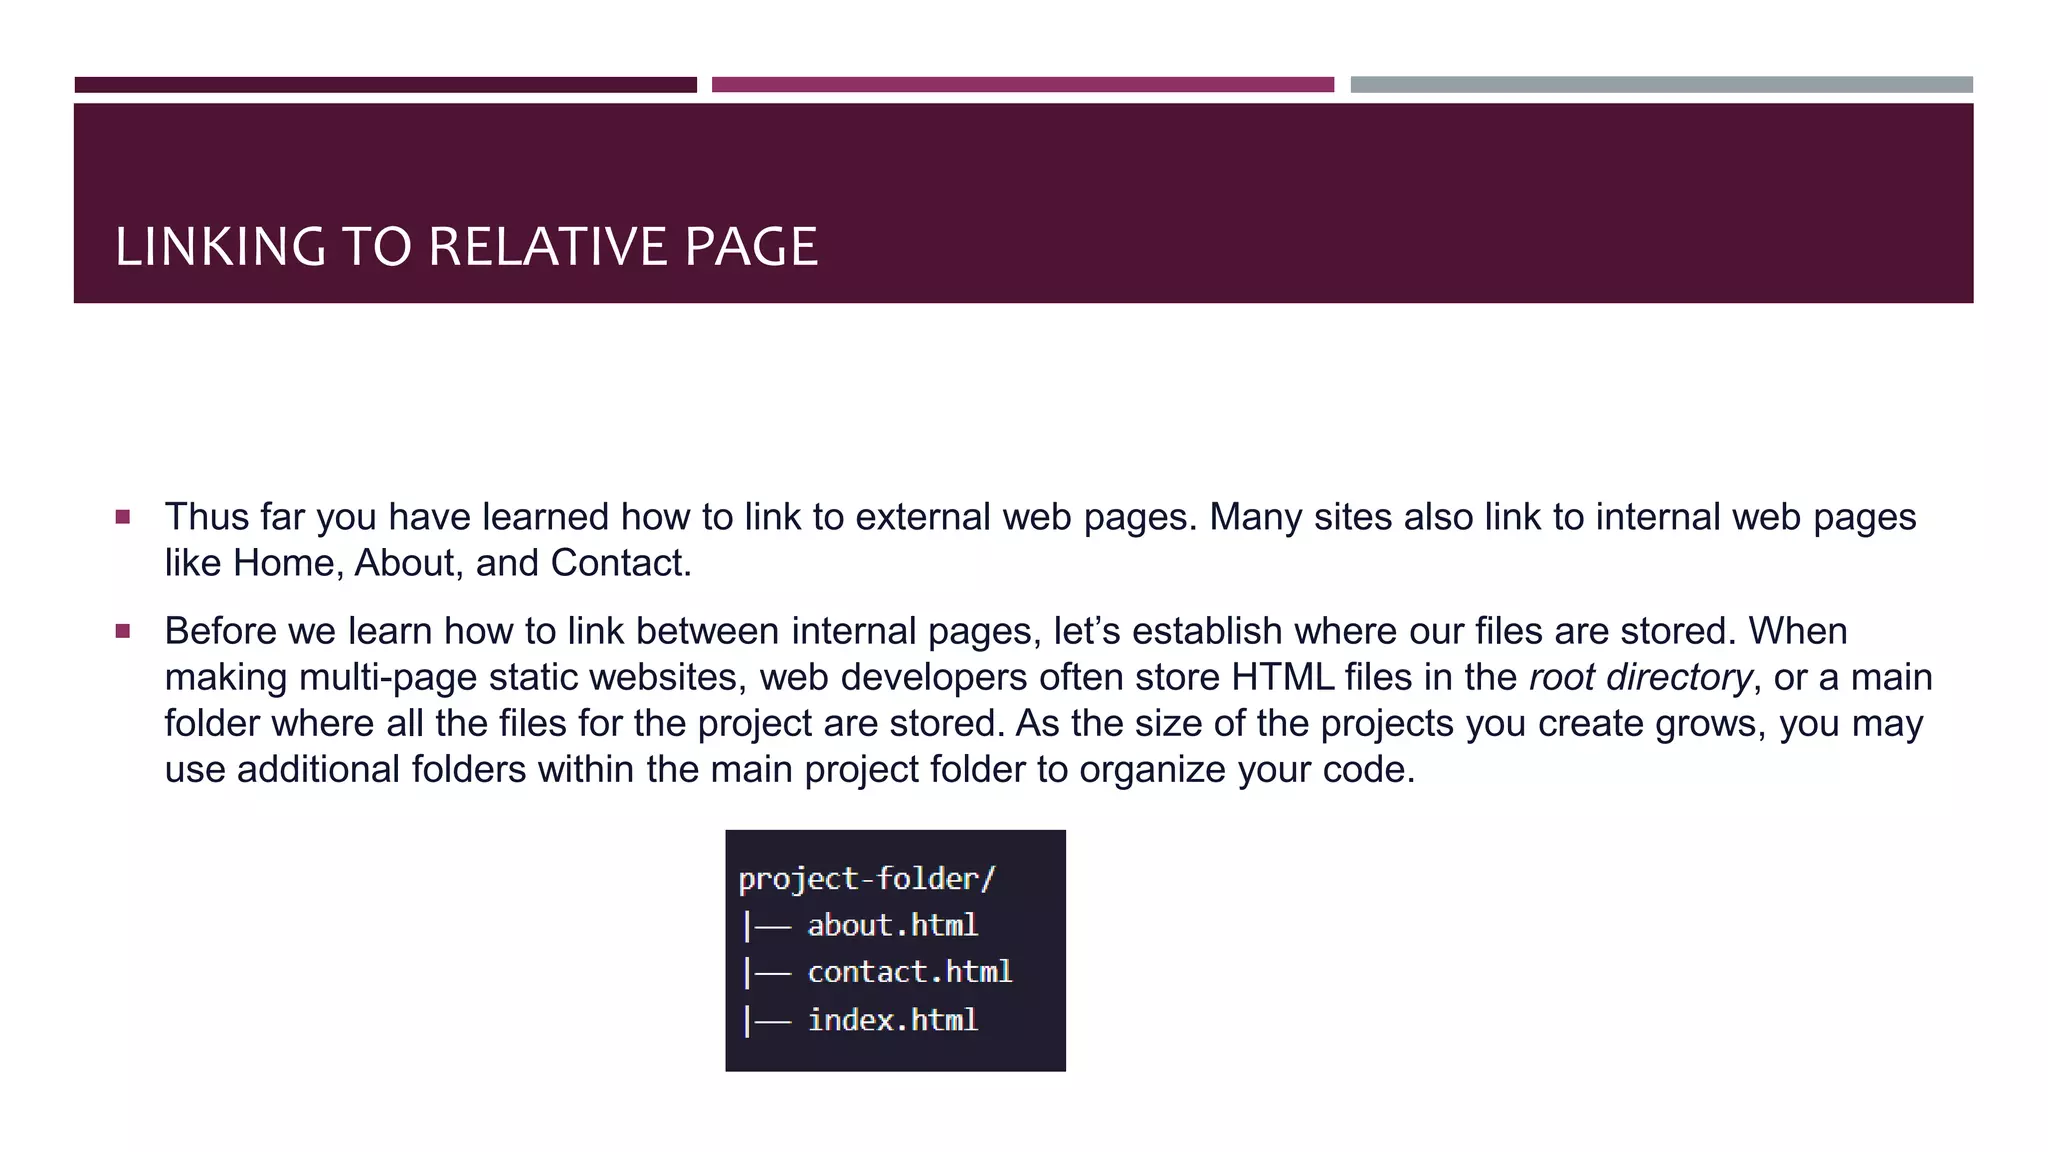
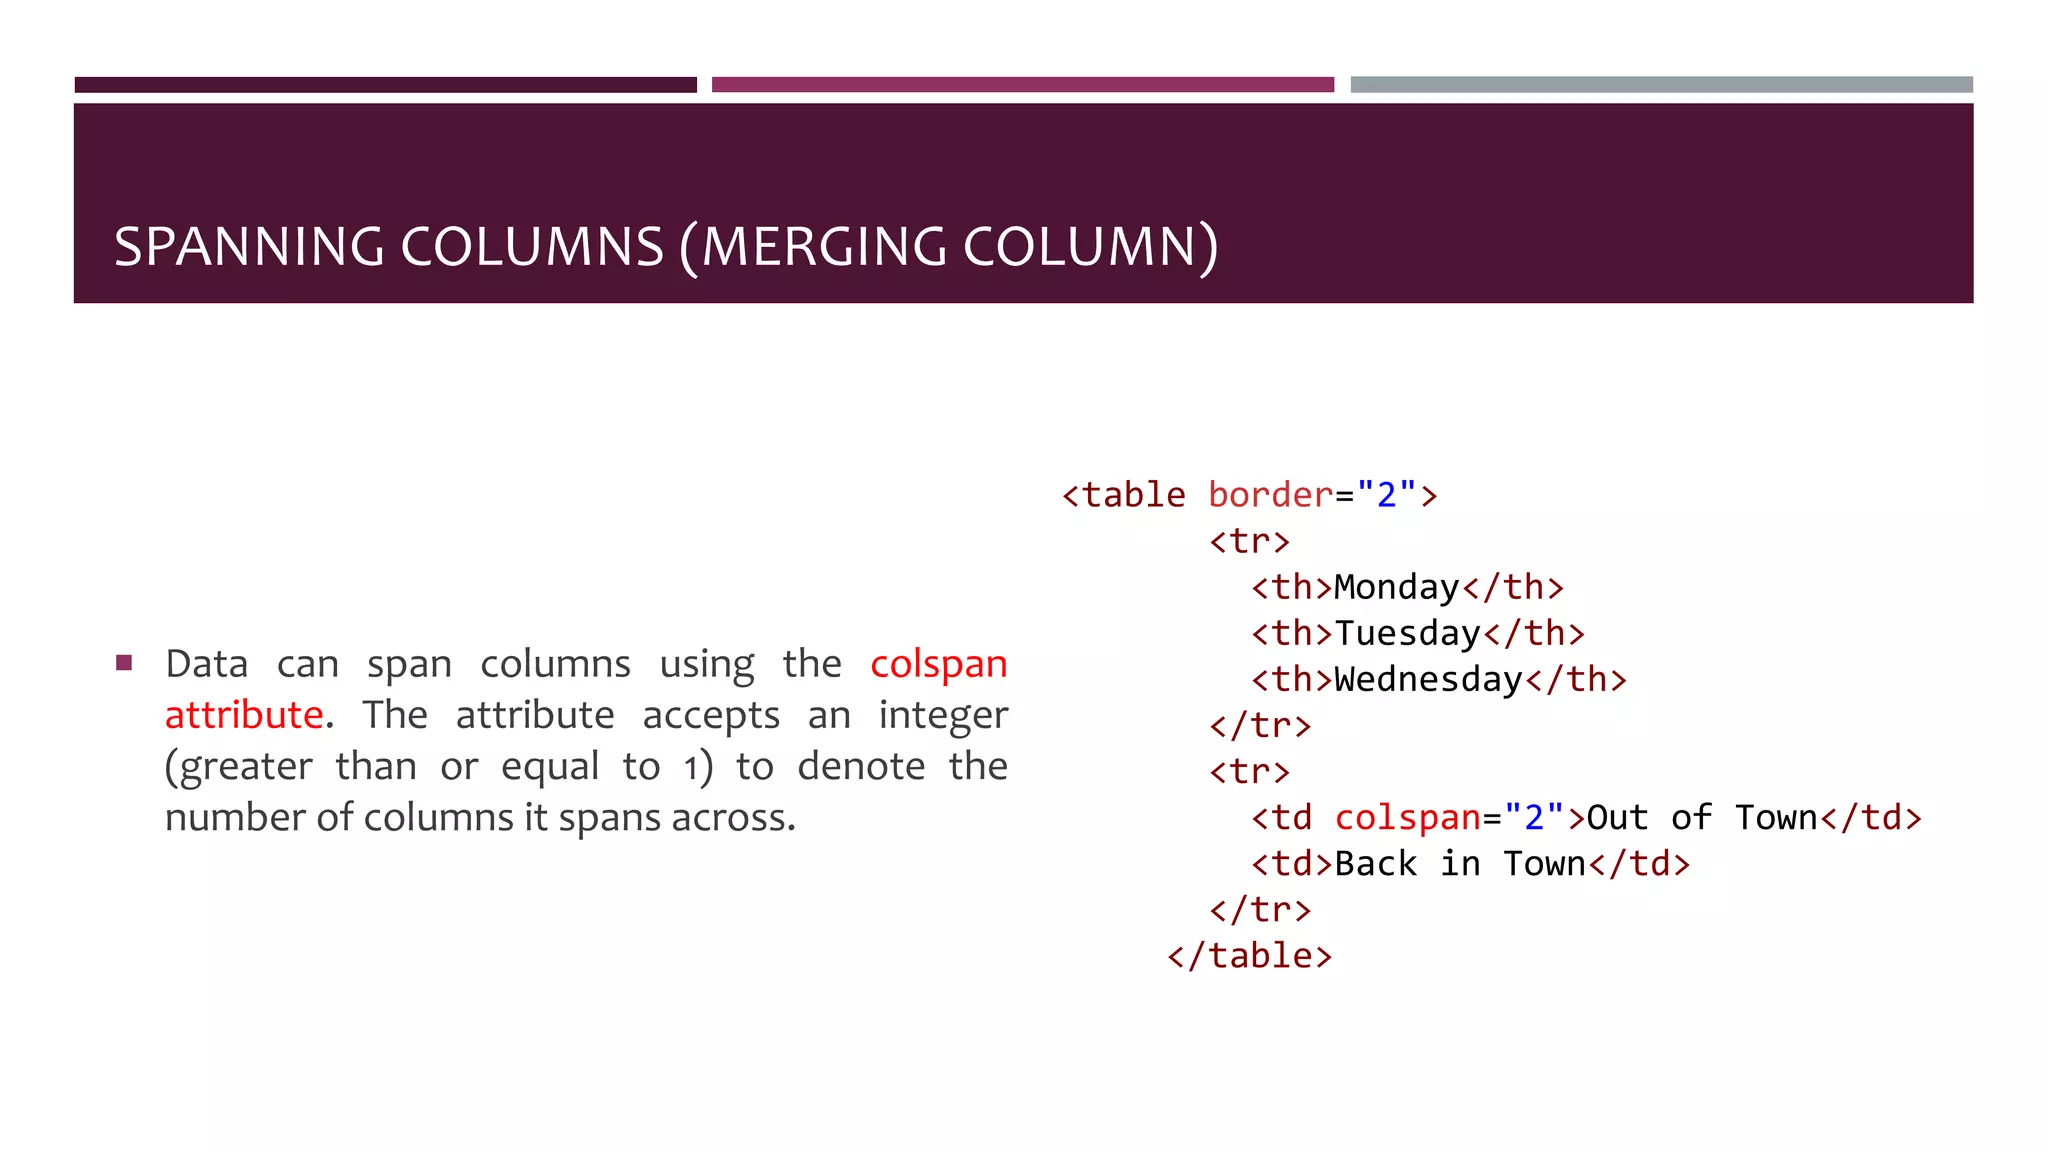
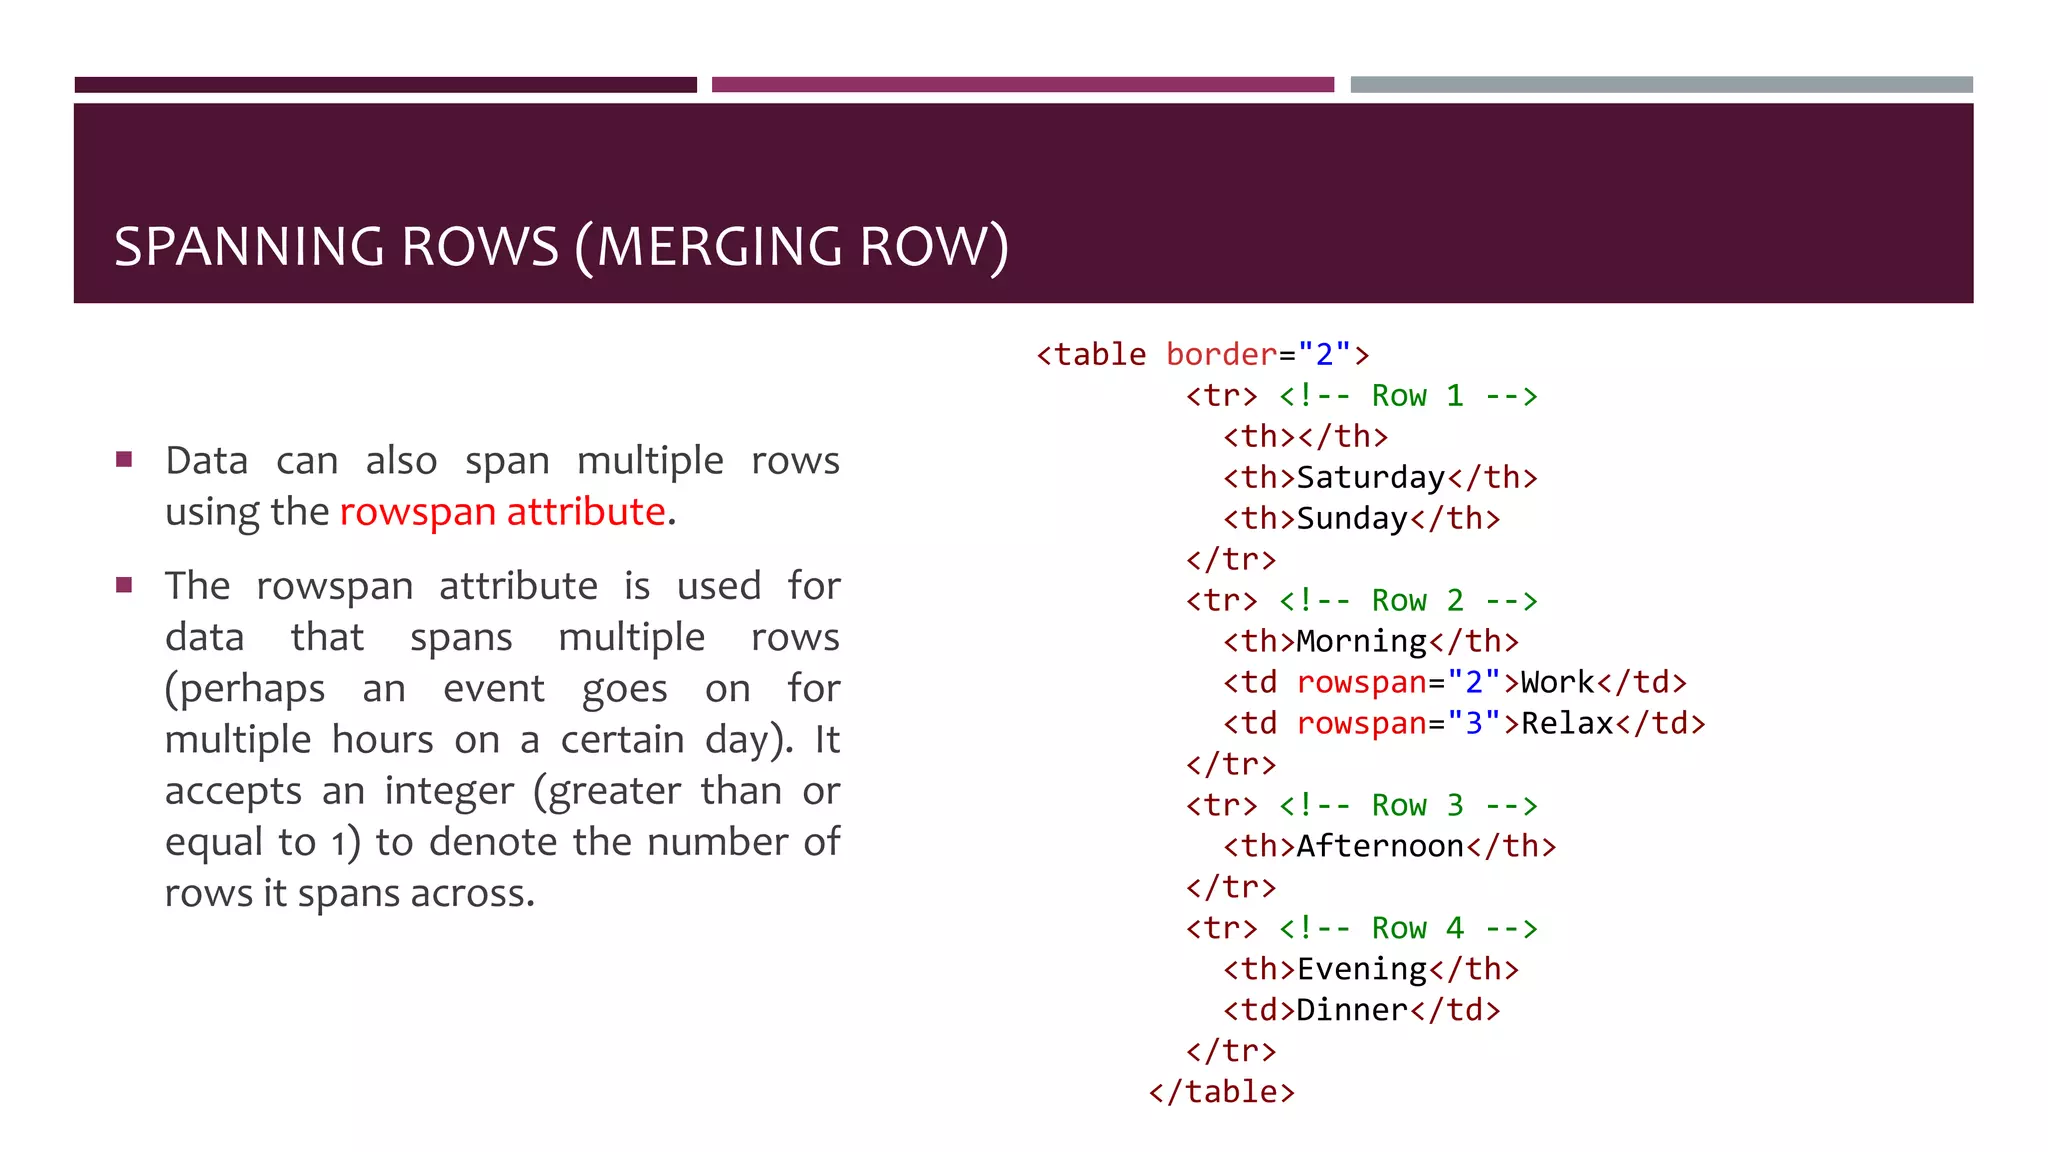
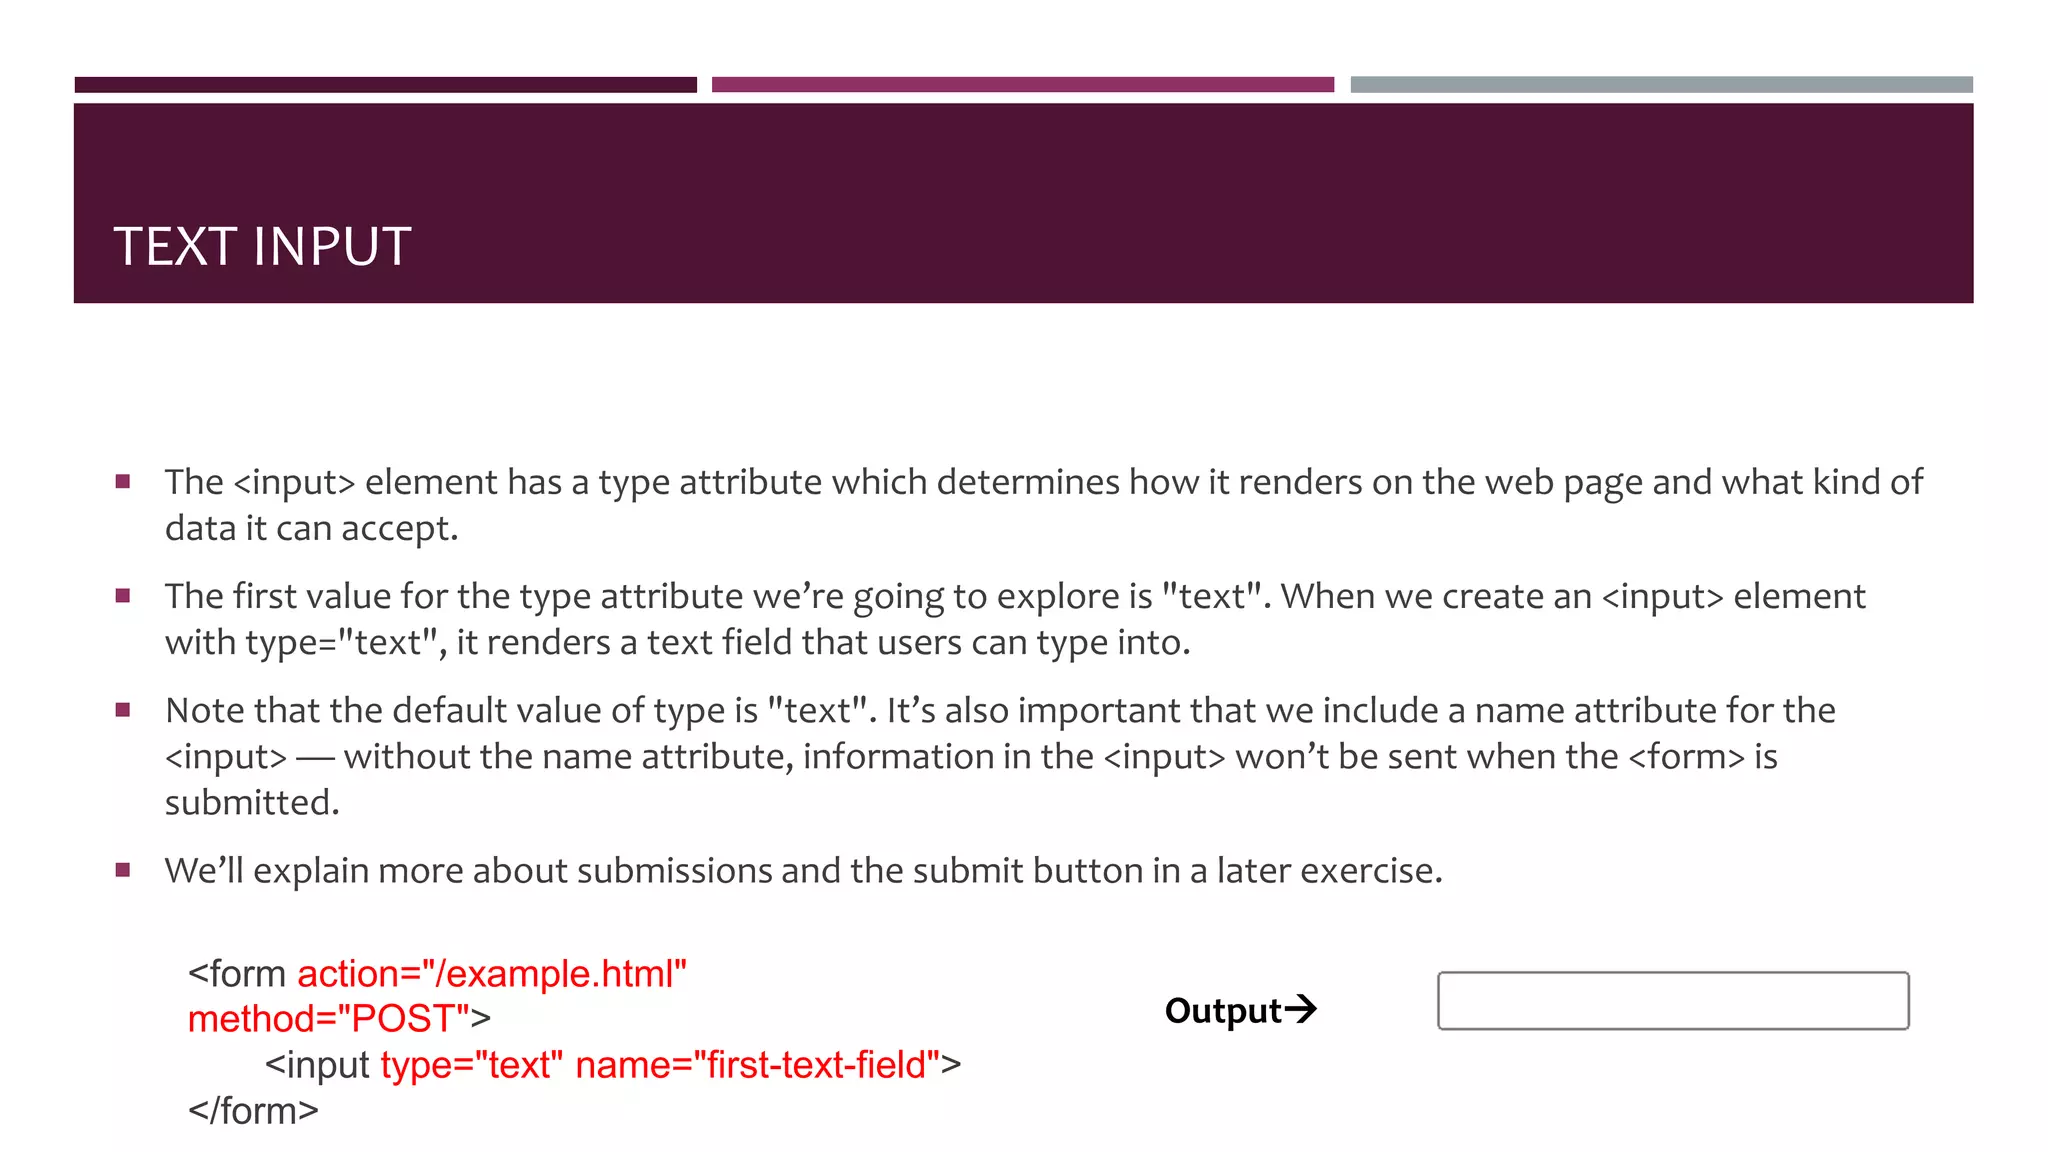
- Attributes like id and class are used to provide additional information and styling for elements. Lists, images, videos and links are also covered. Tables, forms and their various tags are introduced as well.


![MATCHING A PATTERN
For cases when we want user input to follow specific guidelines, we use the pattern attribute and assign it a
regular expression, or regex. Regular expressions are a sequence of characters that make up a search
pattern. If the input matches the regex, the form can be submitted.
<form action="/example.html" method="POST">
<label for="payment">Credit Card Number (no spaces):</label>
<br>
<input id="payment" name="payment" type="text" required pattern="[0-9]{14,16}">
<input type="submit" value="Submit">
</form>
Let’s say we wanted to check for a valid credit card number (a 14 to 16 digit number). We could use the
regex: [0-9]{14,16} which checks that the user provided only numbers and that they entered at least 14 digits
and at most 16 digits.](https://image.slidesharecdn.com/3-231002133508-e4e9ac51/75/HTML-pptx-47-2048.jpg)


![MATCHING A PATTERN
For cases when we want user input to follow specific guidelines, we use the pattern attribute and assign it a
regular expression, or regex. Regular expressions are a sequence of characters that make up a search
pattern. If the input matches the regex, the form can be submitted.
<form action="/example.html" method="POST">
<label for="payment">Credit Card Number (no spaces):</label>
<br>
<input id="payment" name="payment" type="text" required pattern="[0-9]{14,16}">
<input type="submit" value="Submit">
</form>
Let’s say we wanted to check for a valid credit card number (a 14 to 16 digit number). We could use the
regex: [0-9]{14,16} which checks that the user provided only numbers and that they entered at least 14 digits
and at most 16 digits.](https://crownmelresort.com/image.slidesharecdn.com/3-231002133508-e4e9ac51/75/HTML-pptx-47-2048.jpg)