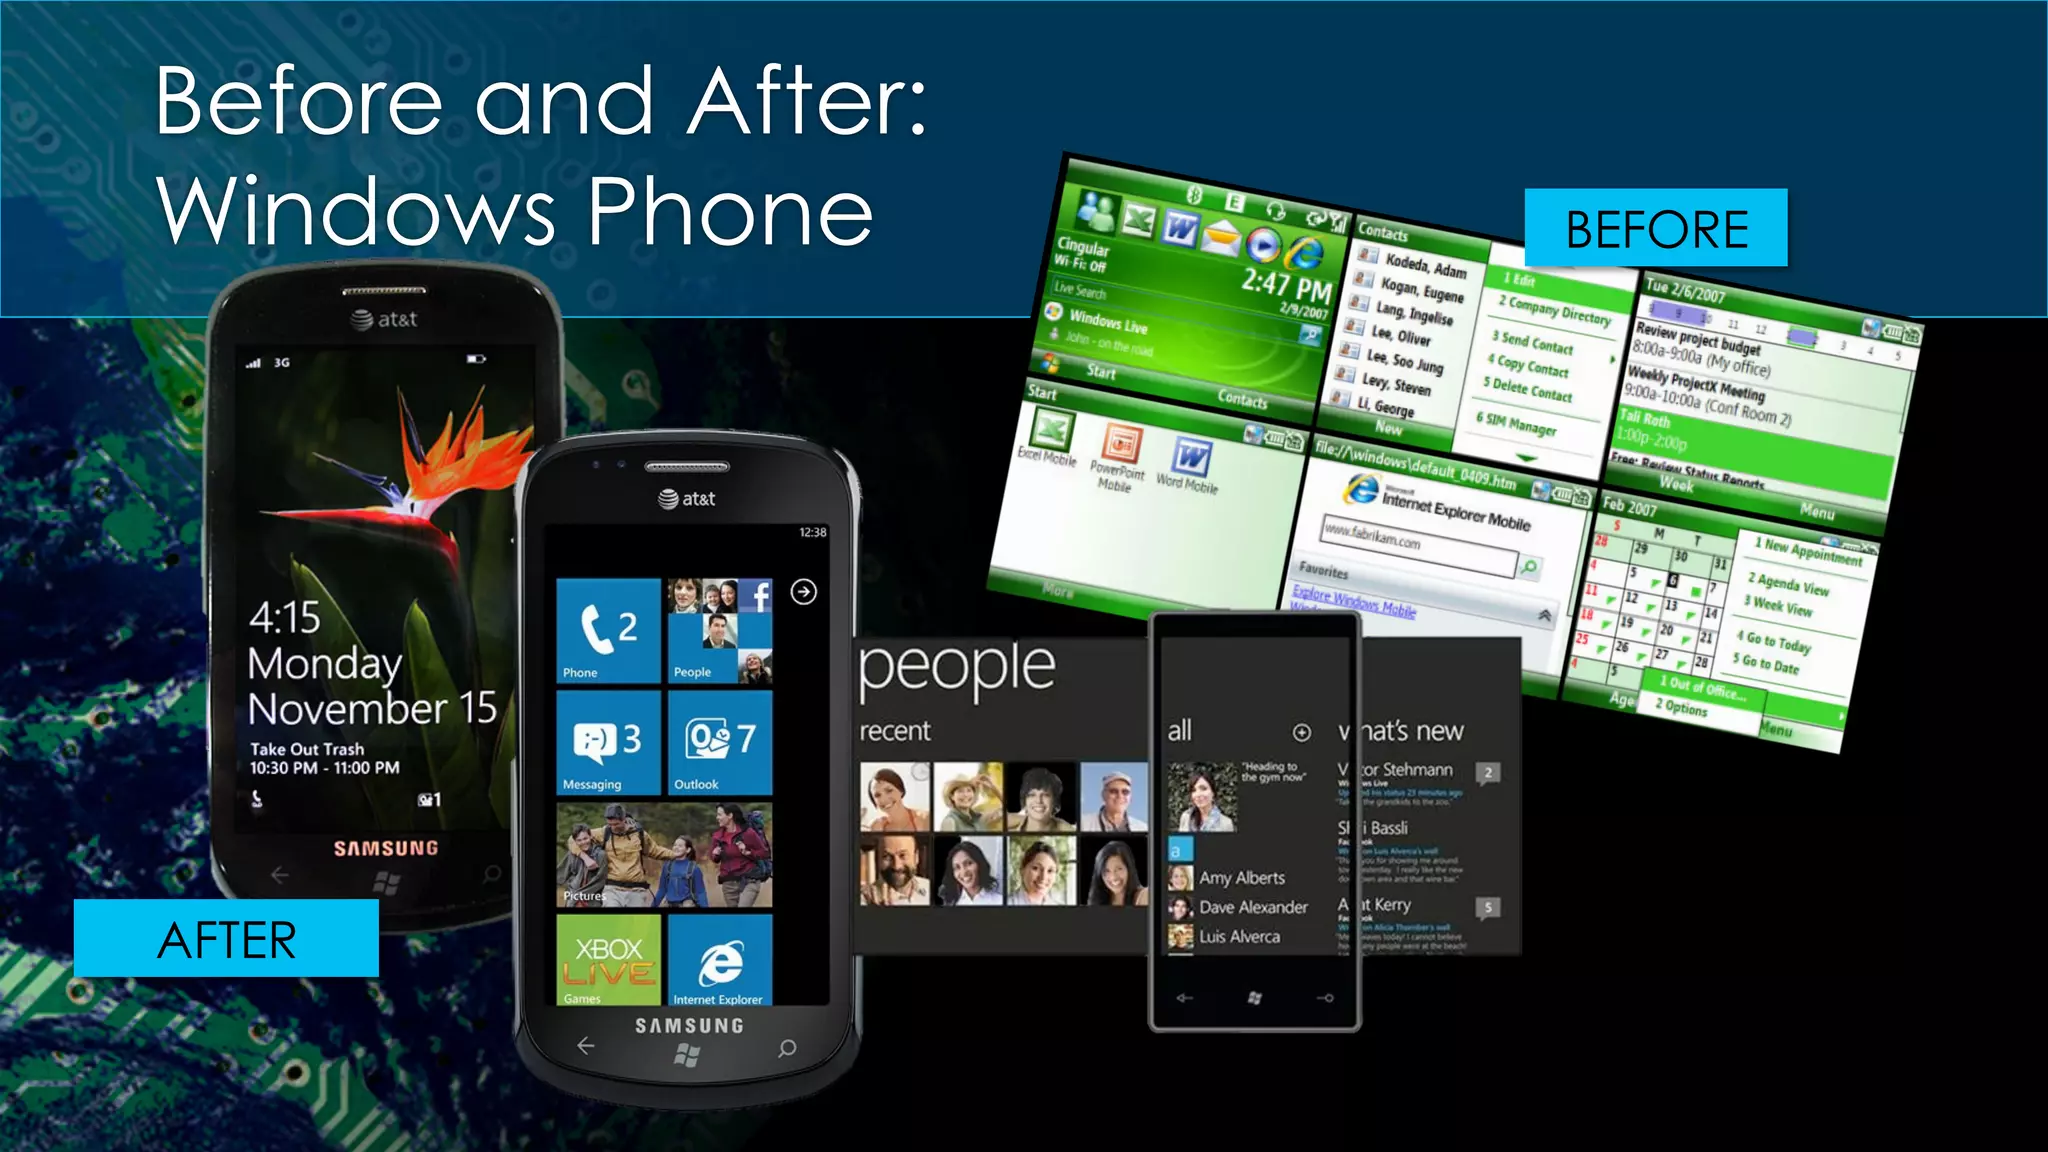
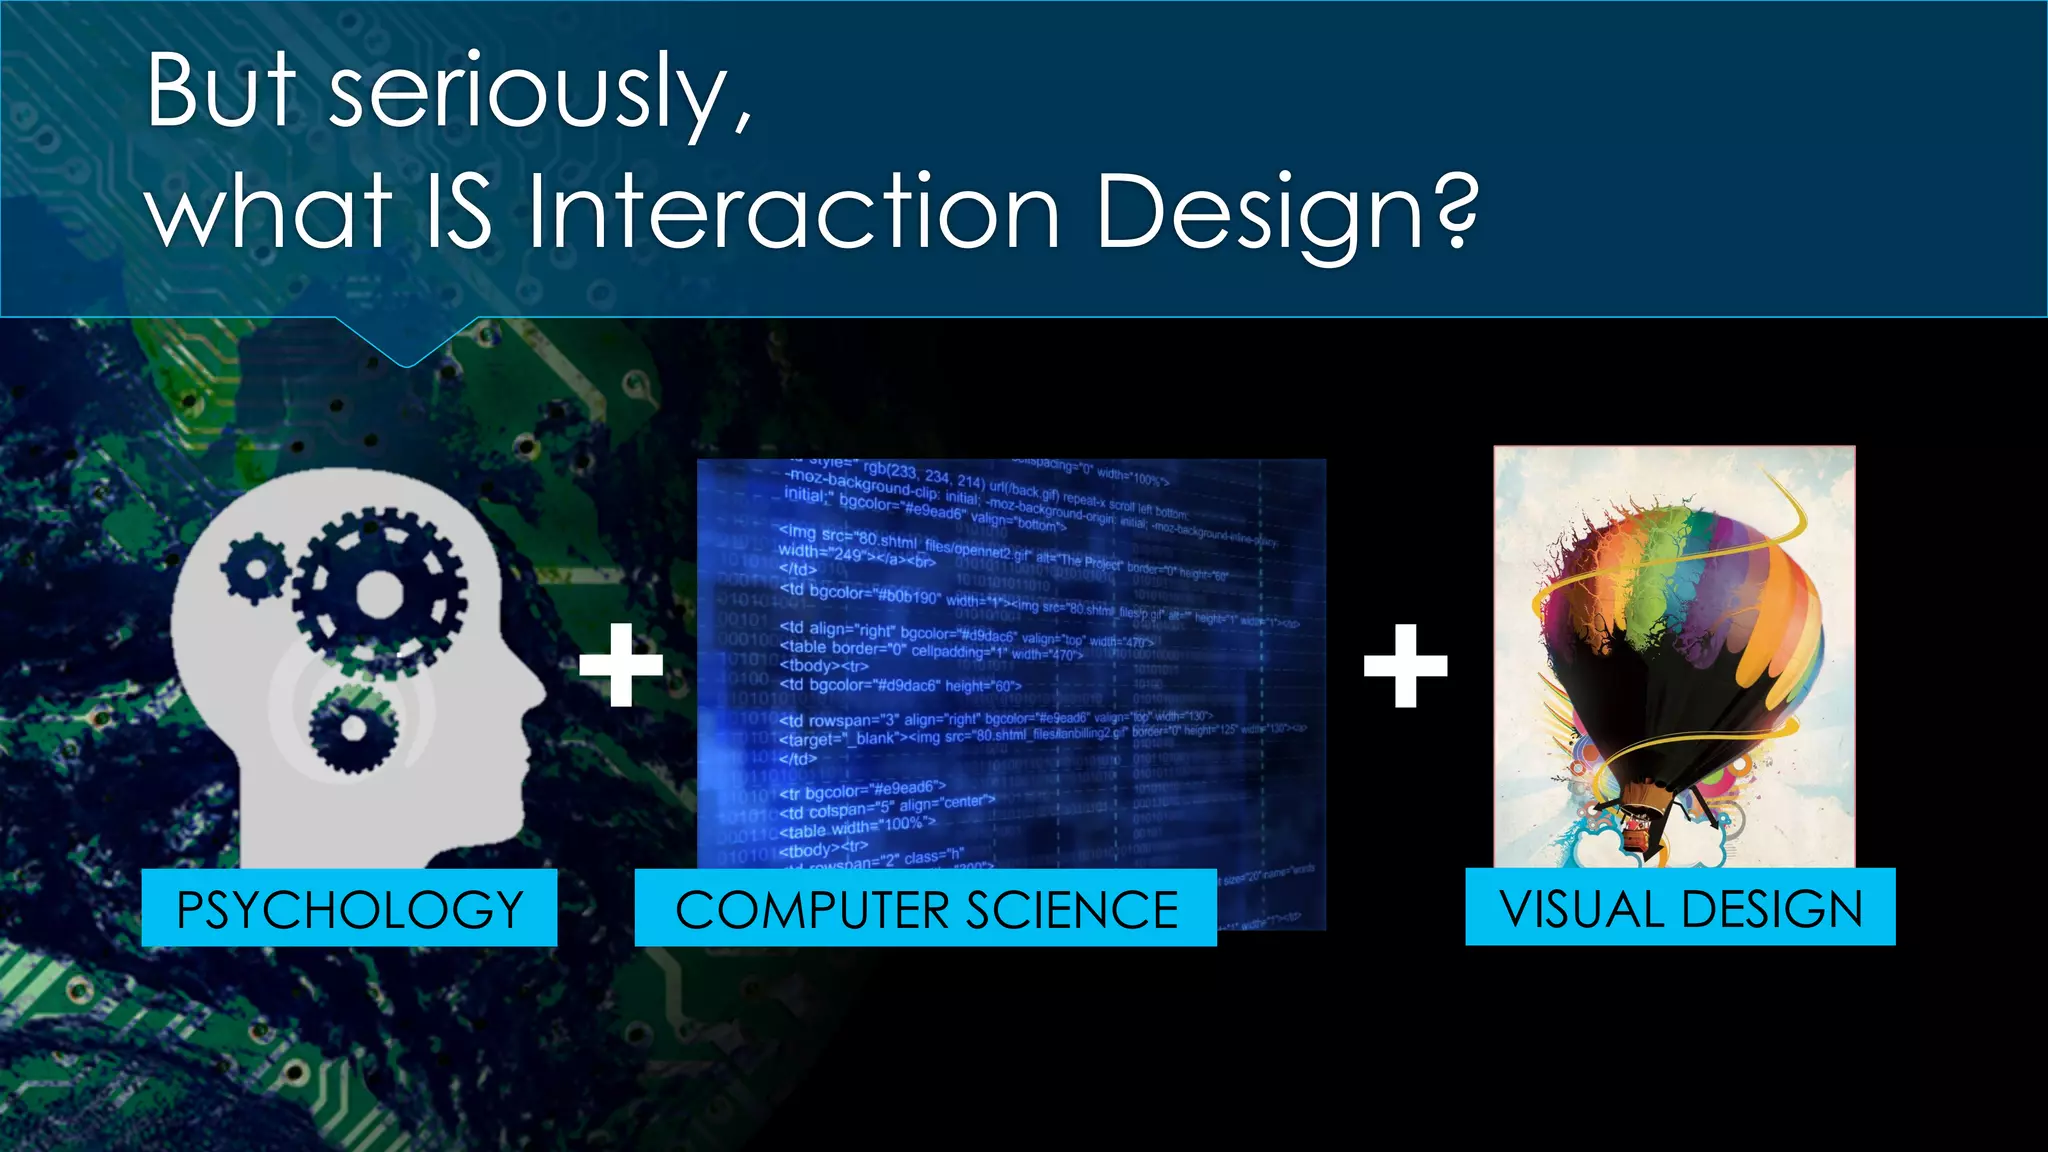
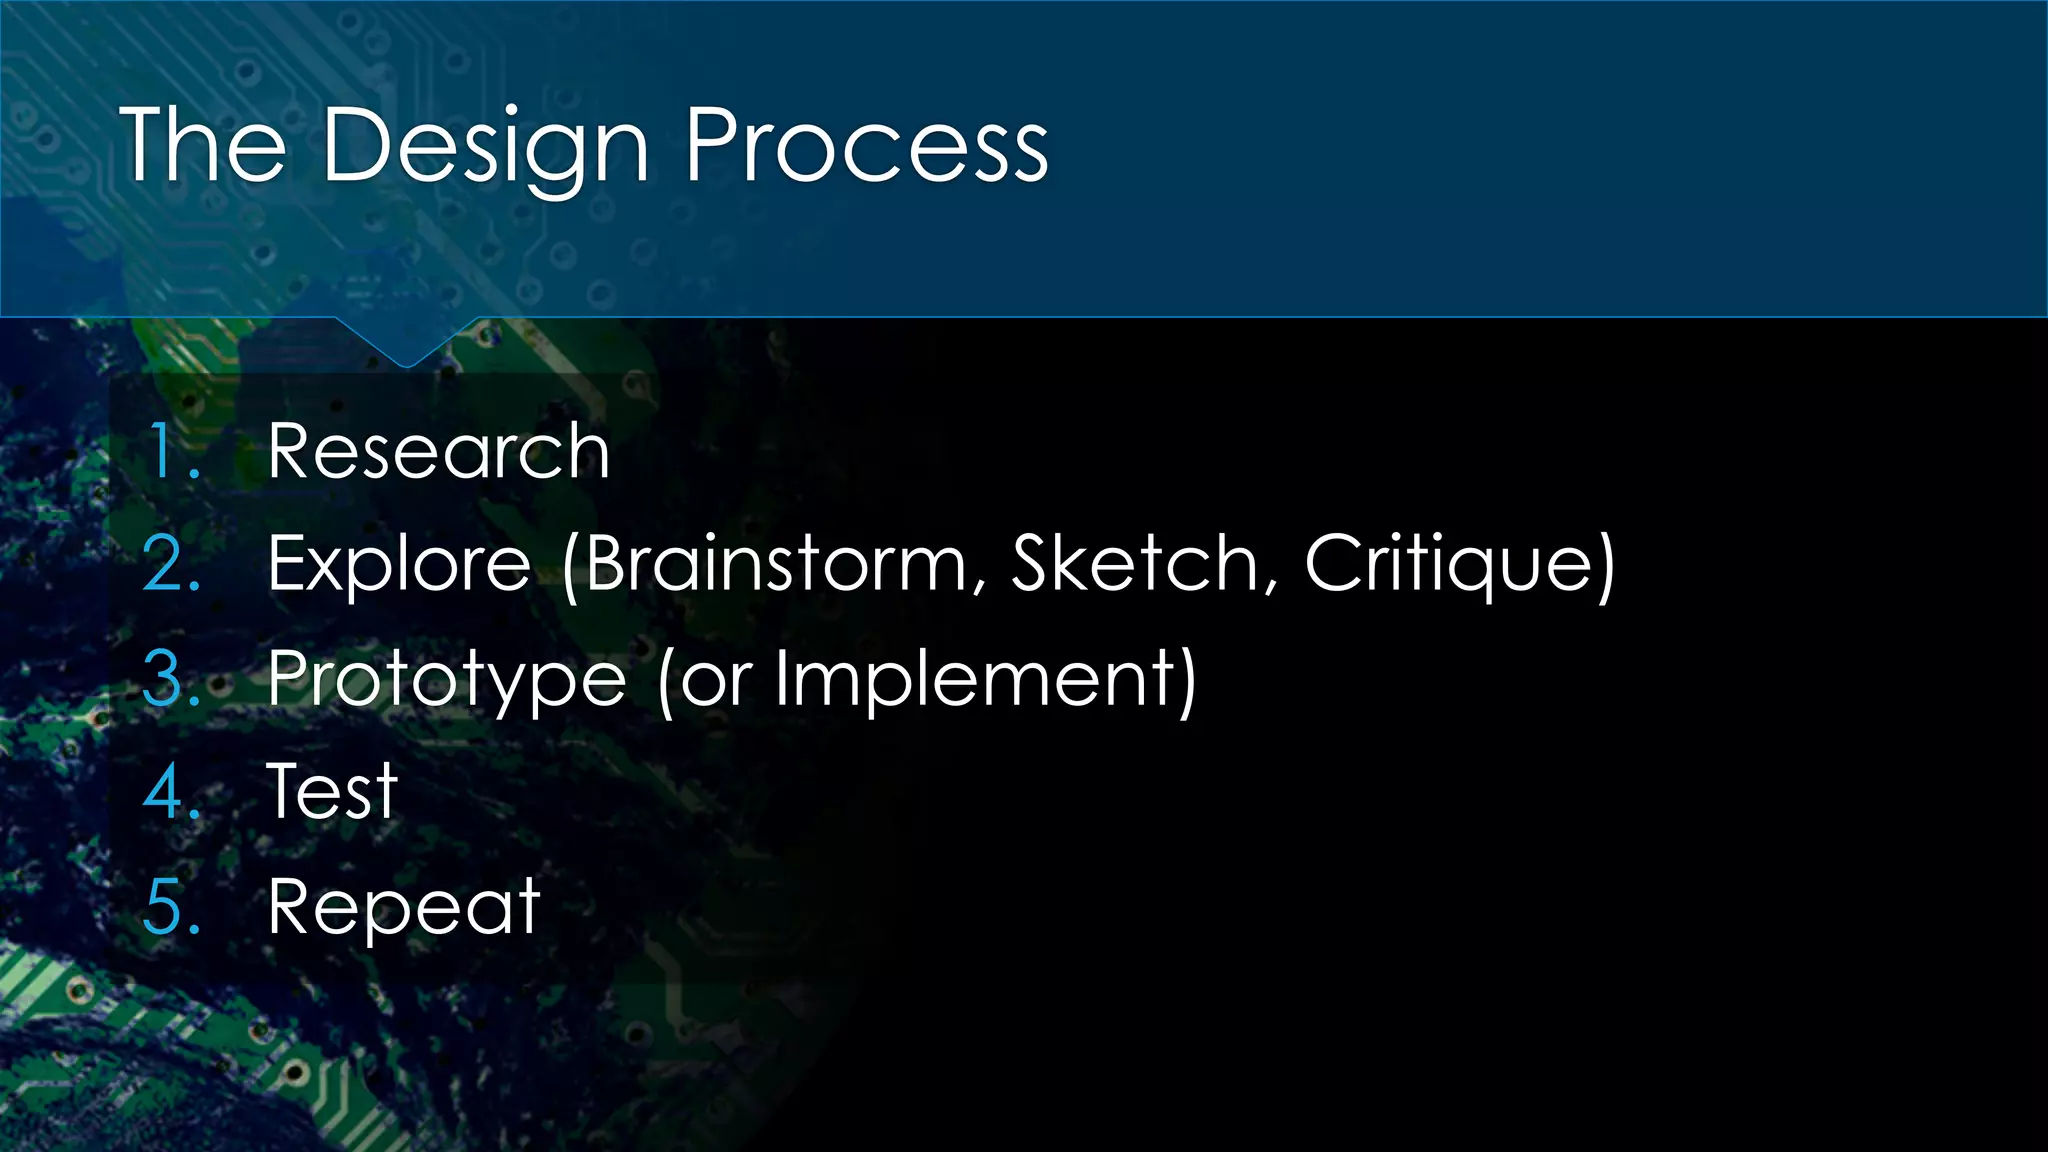
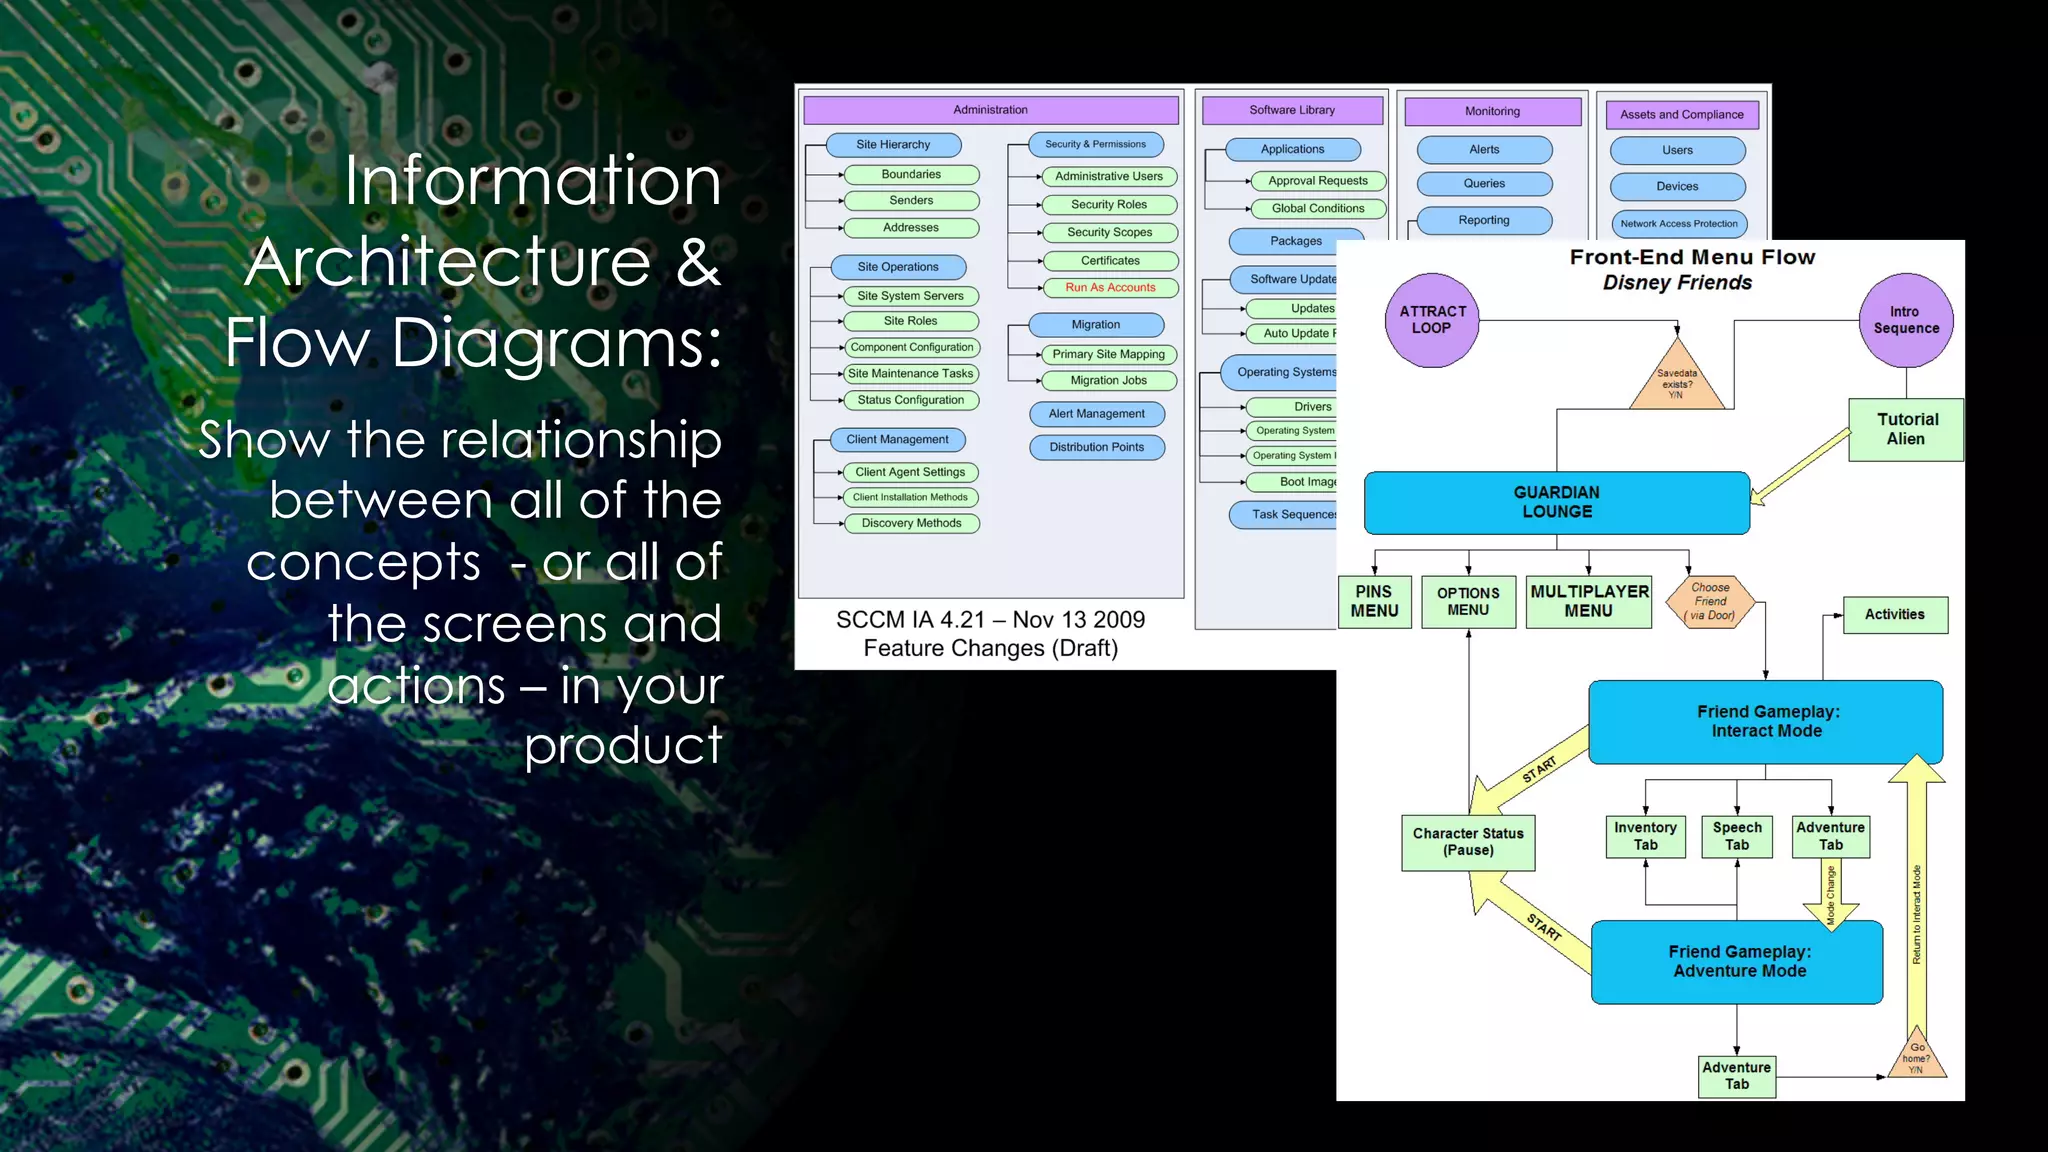
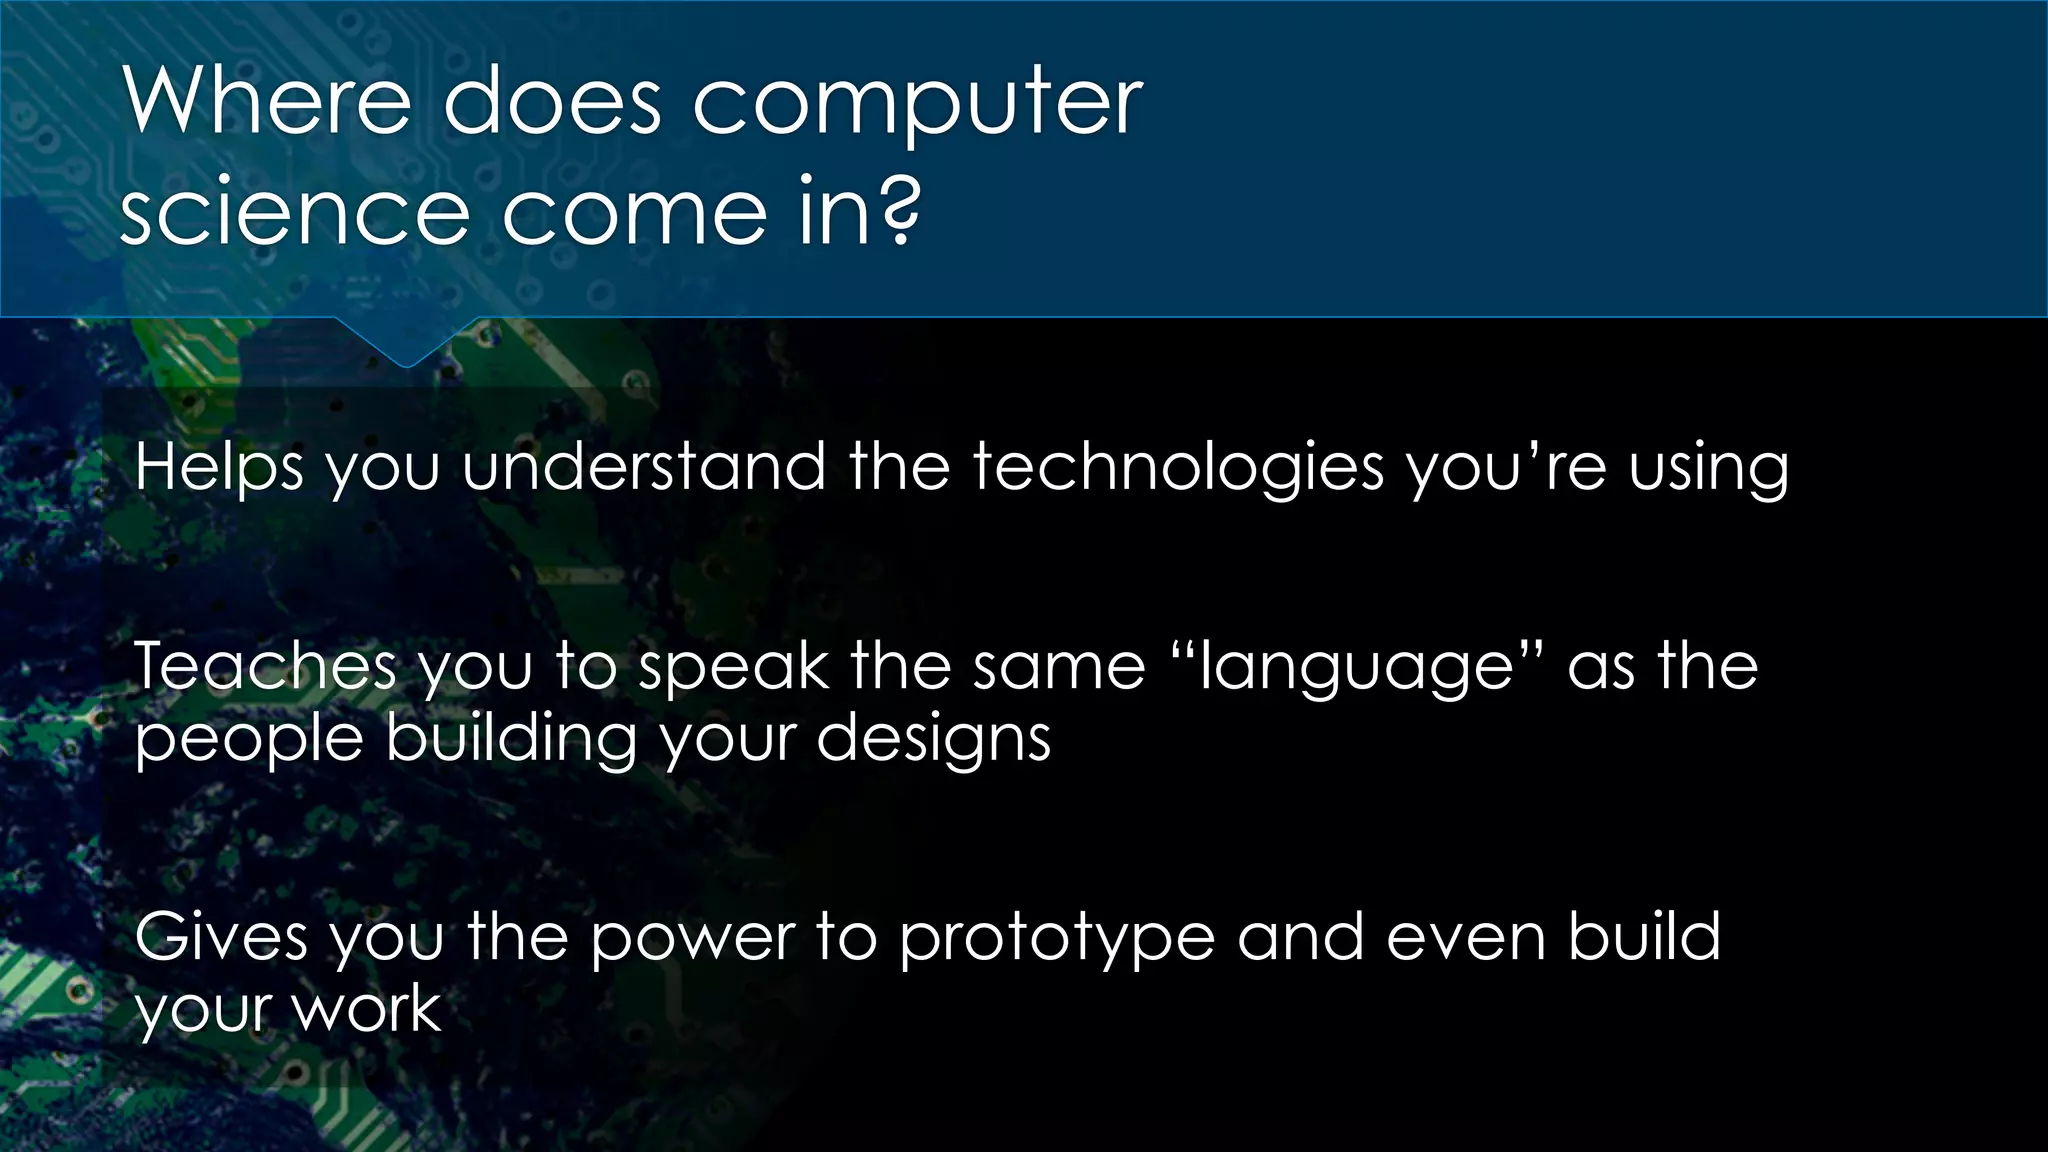
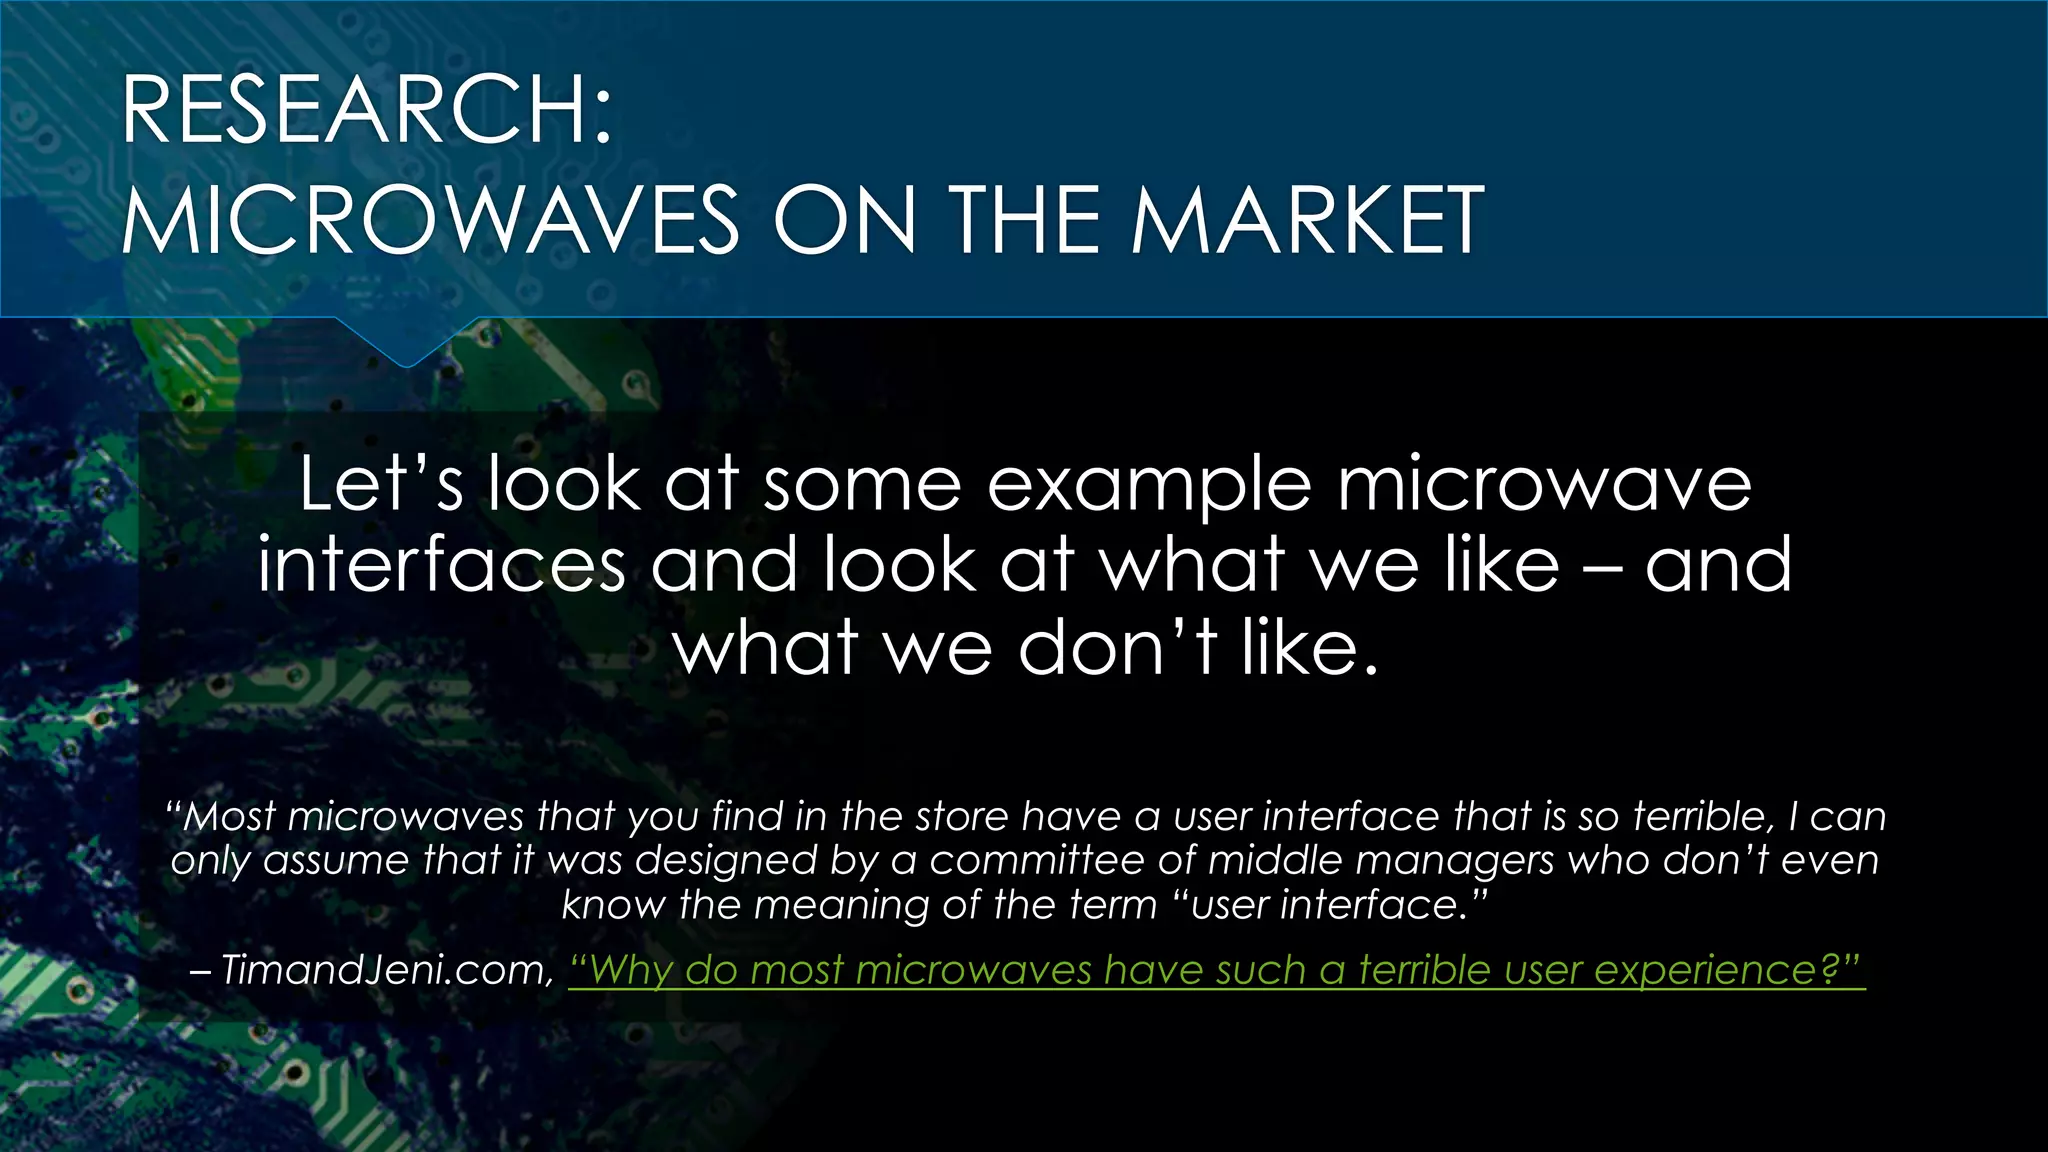
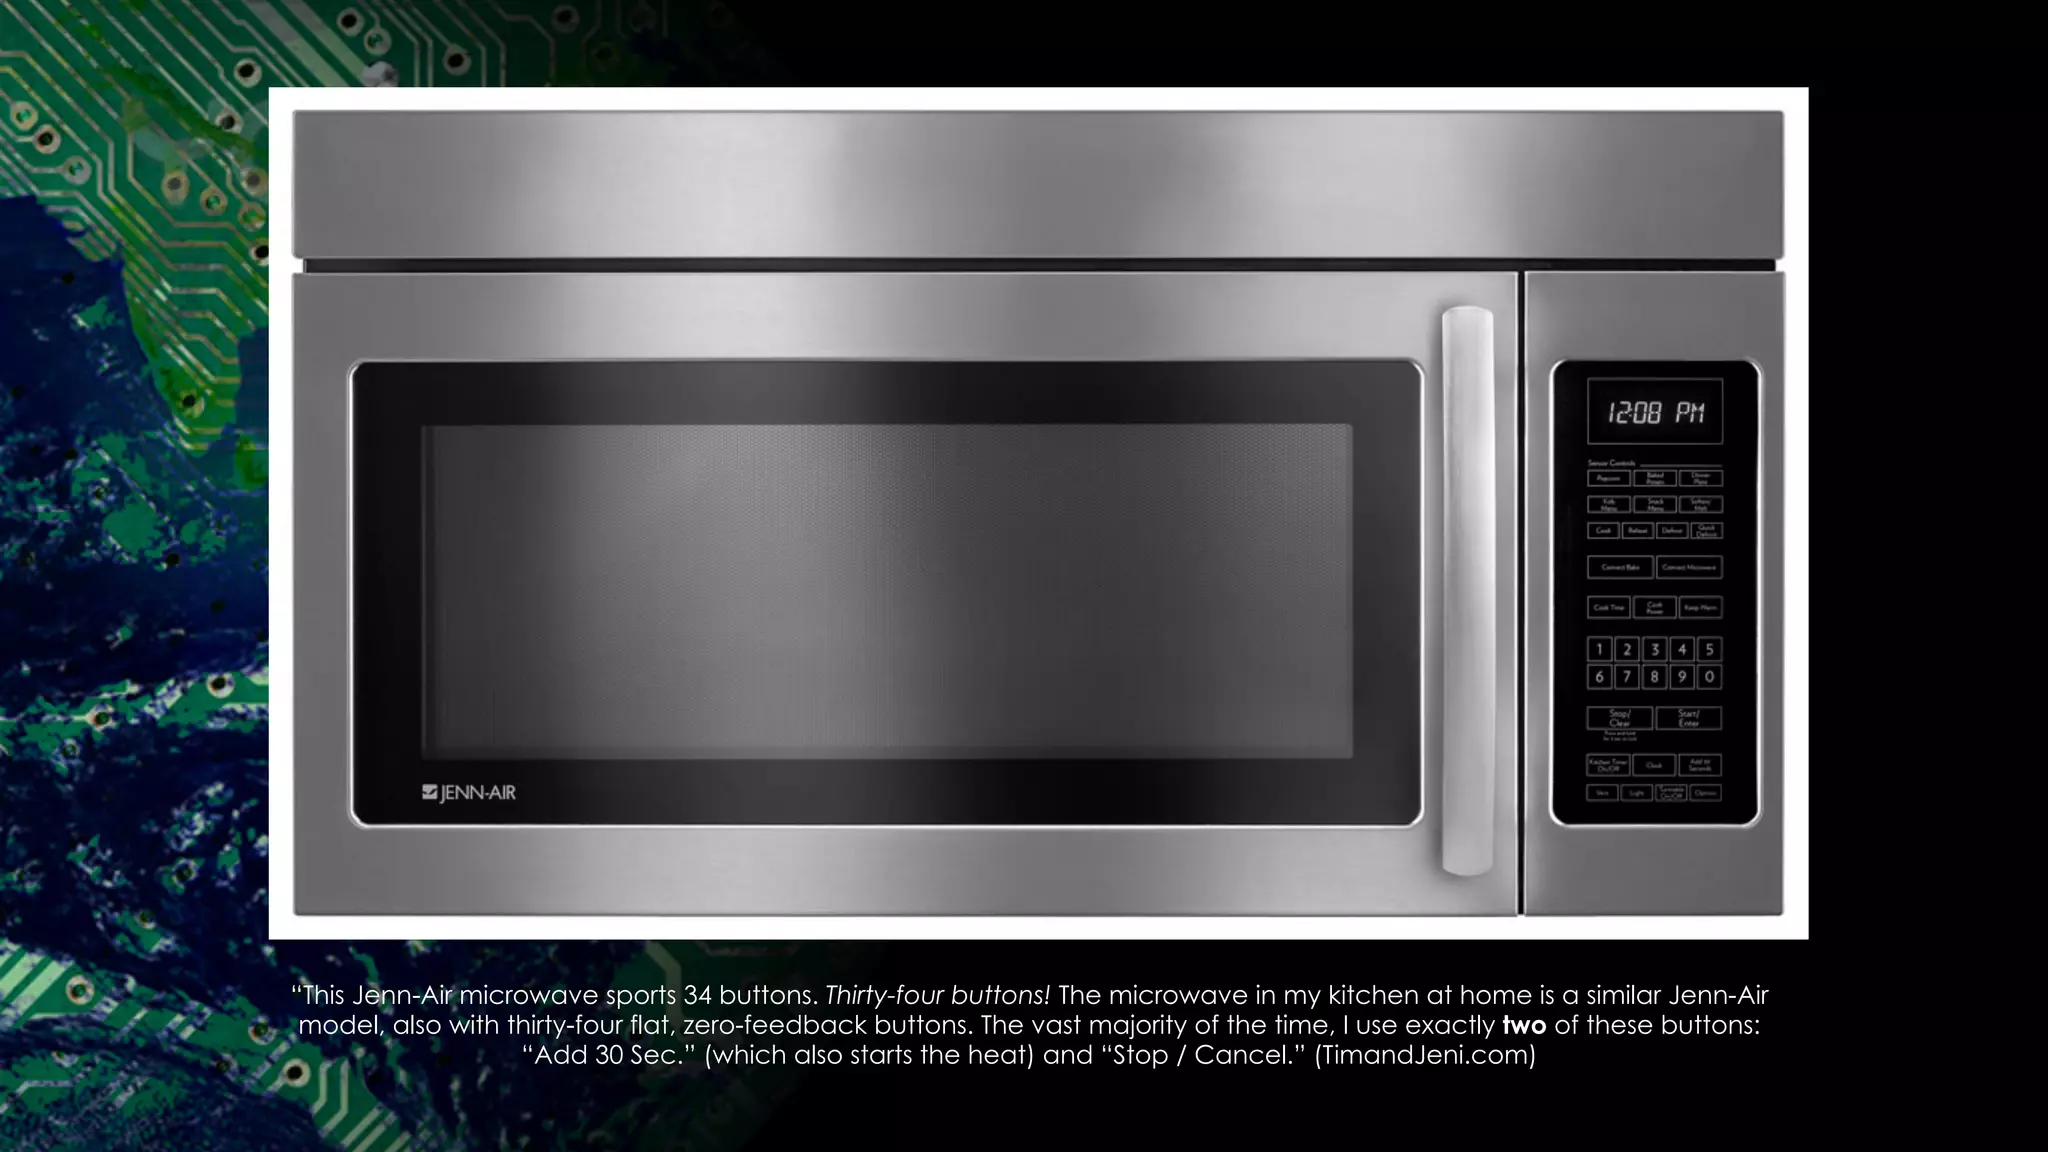
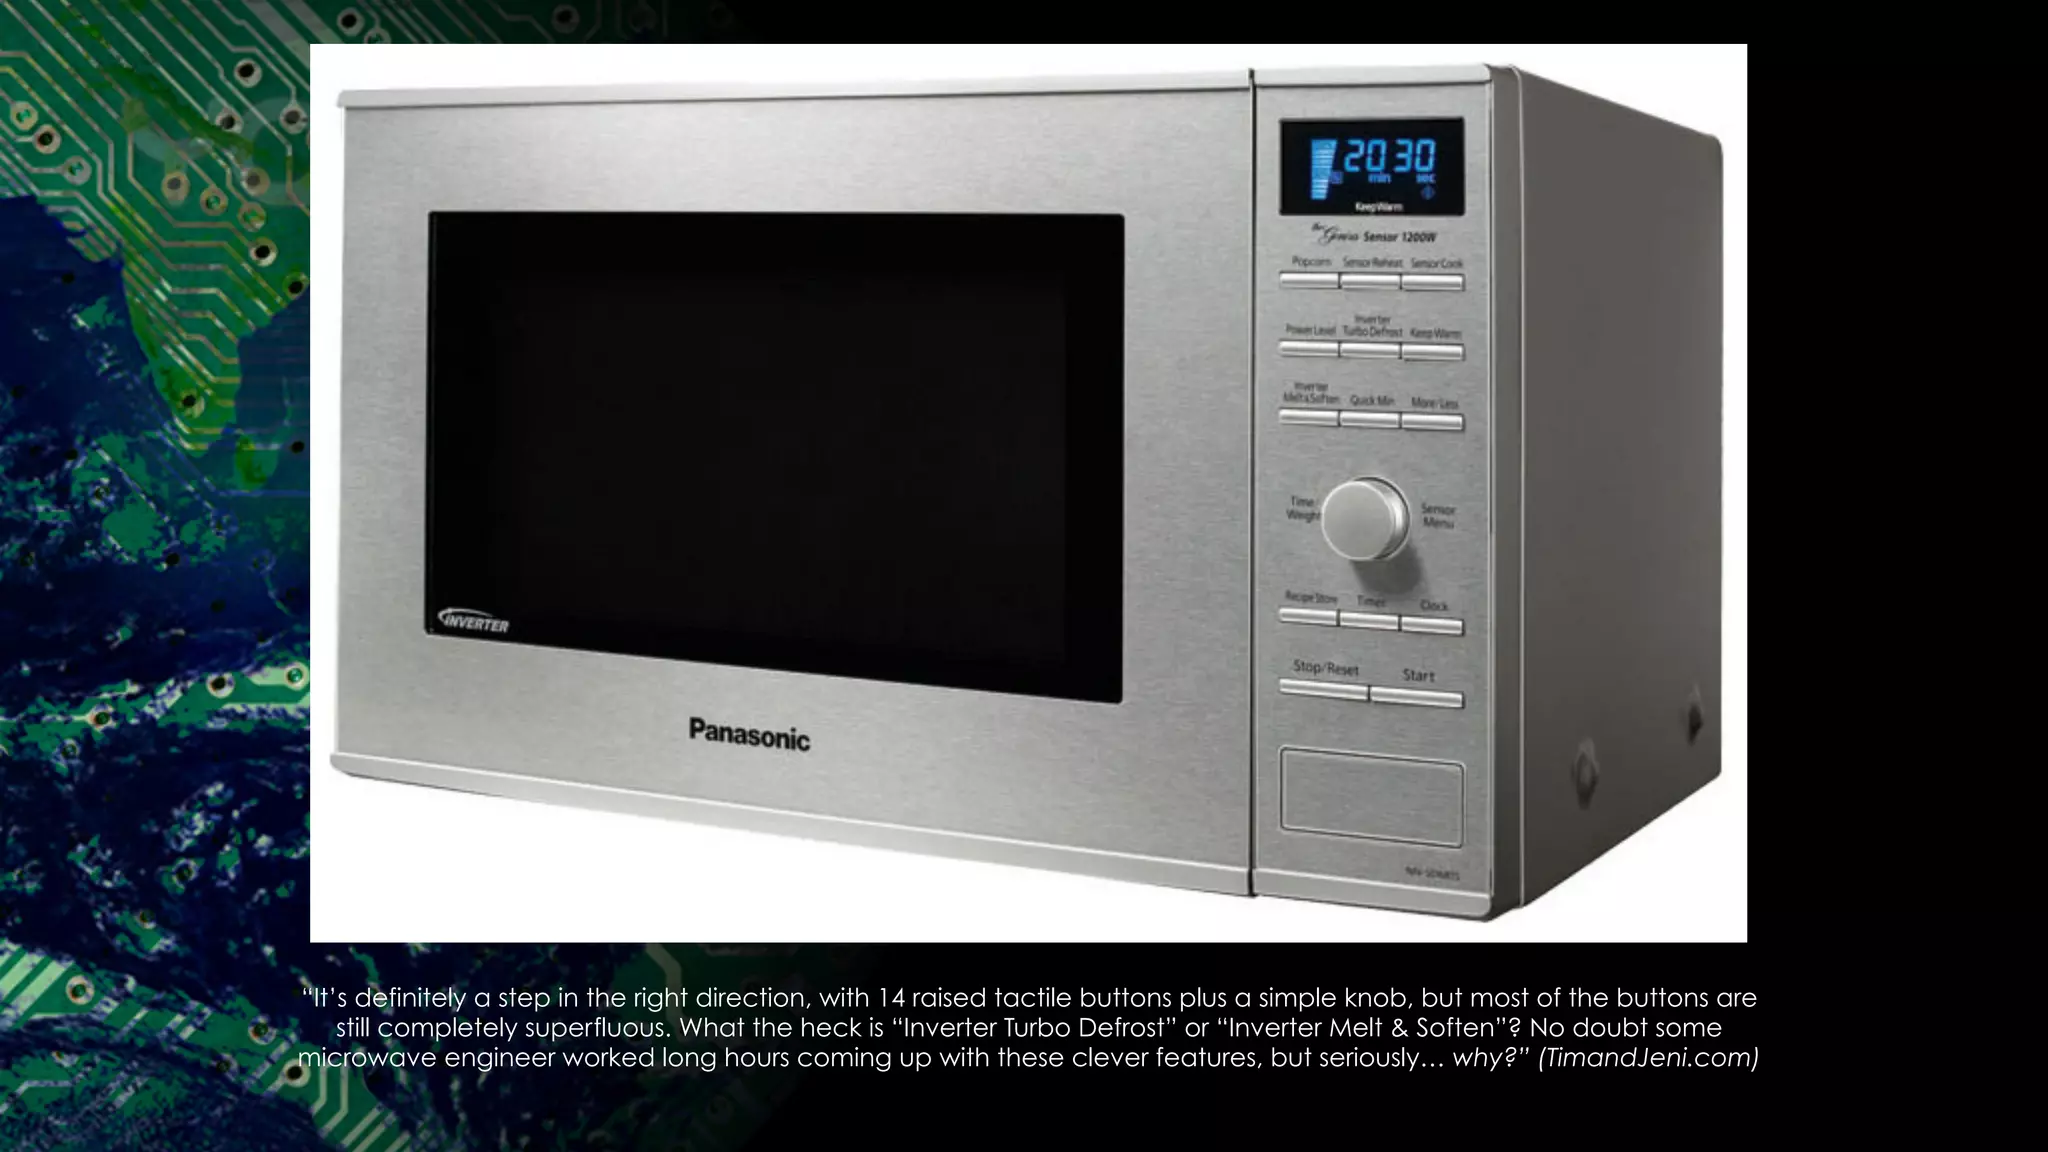
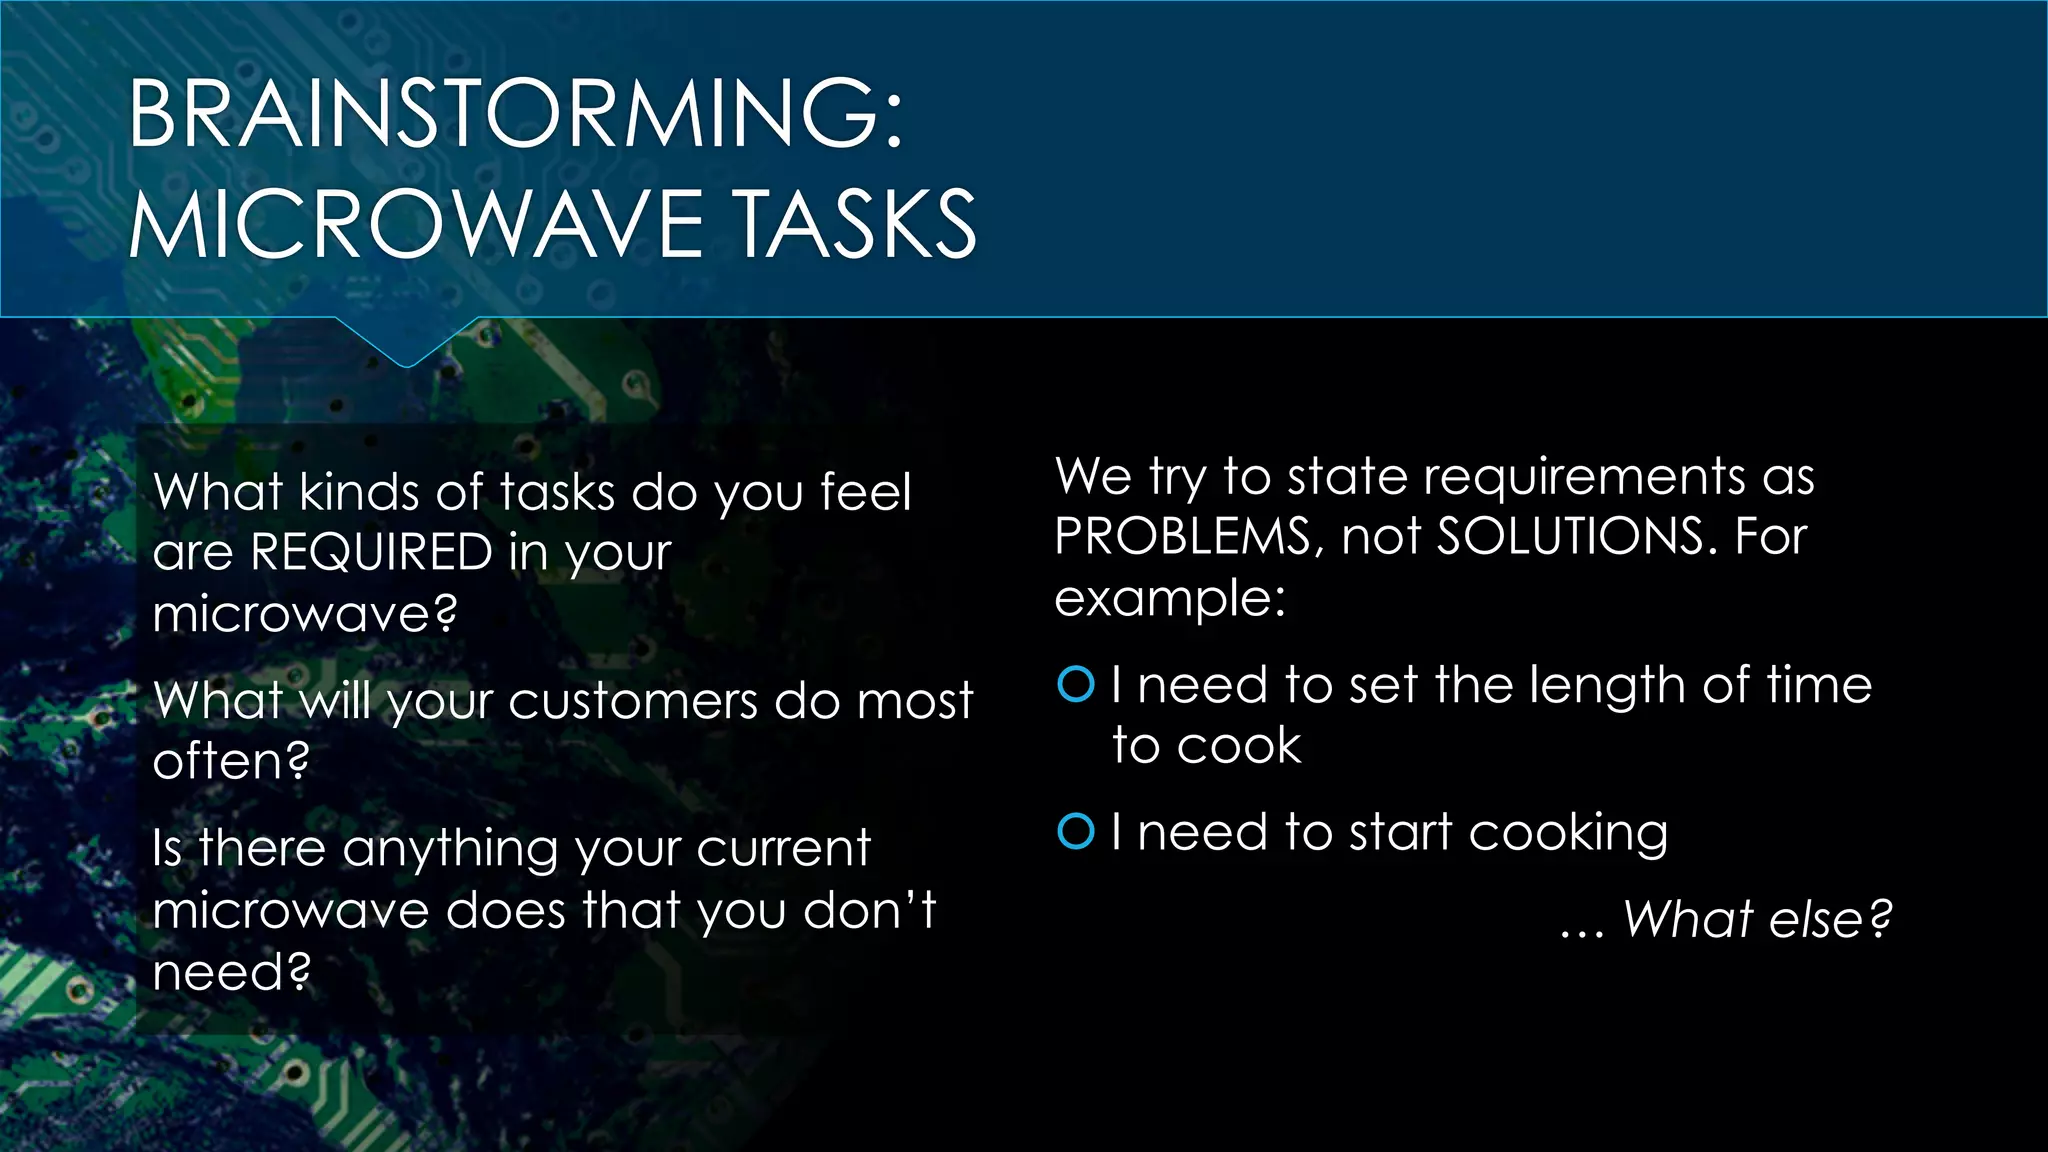
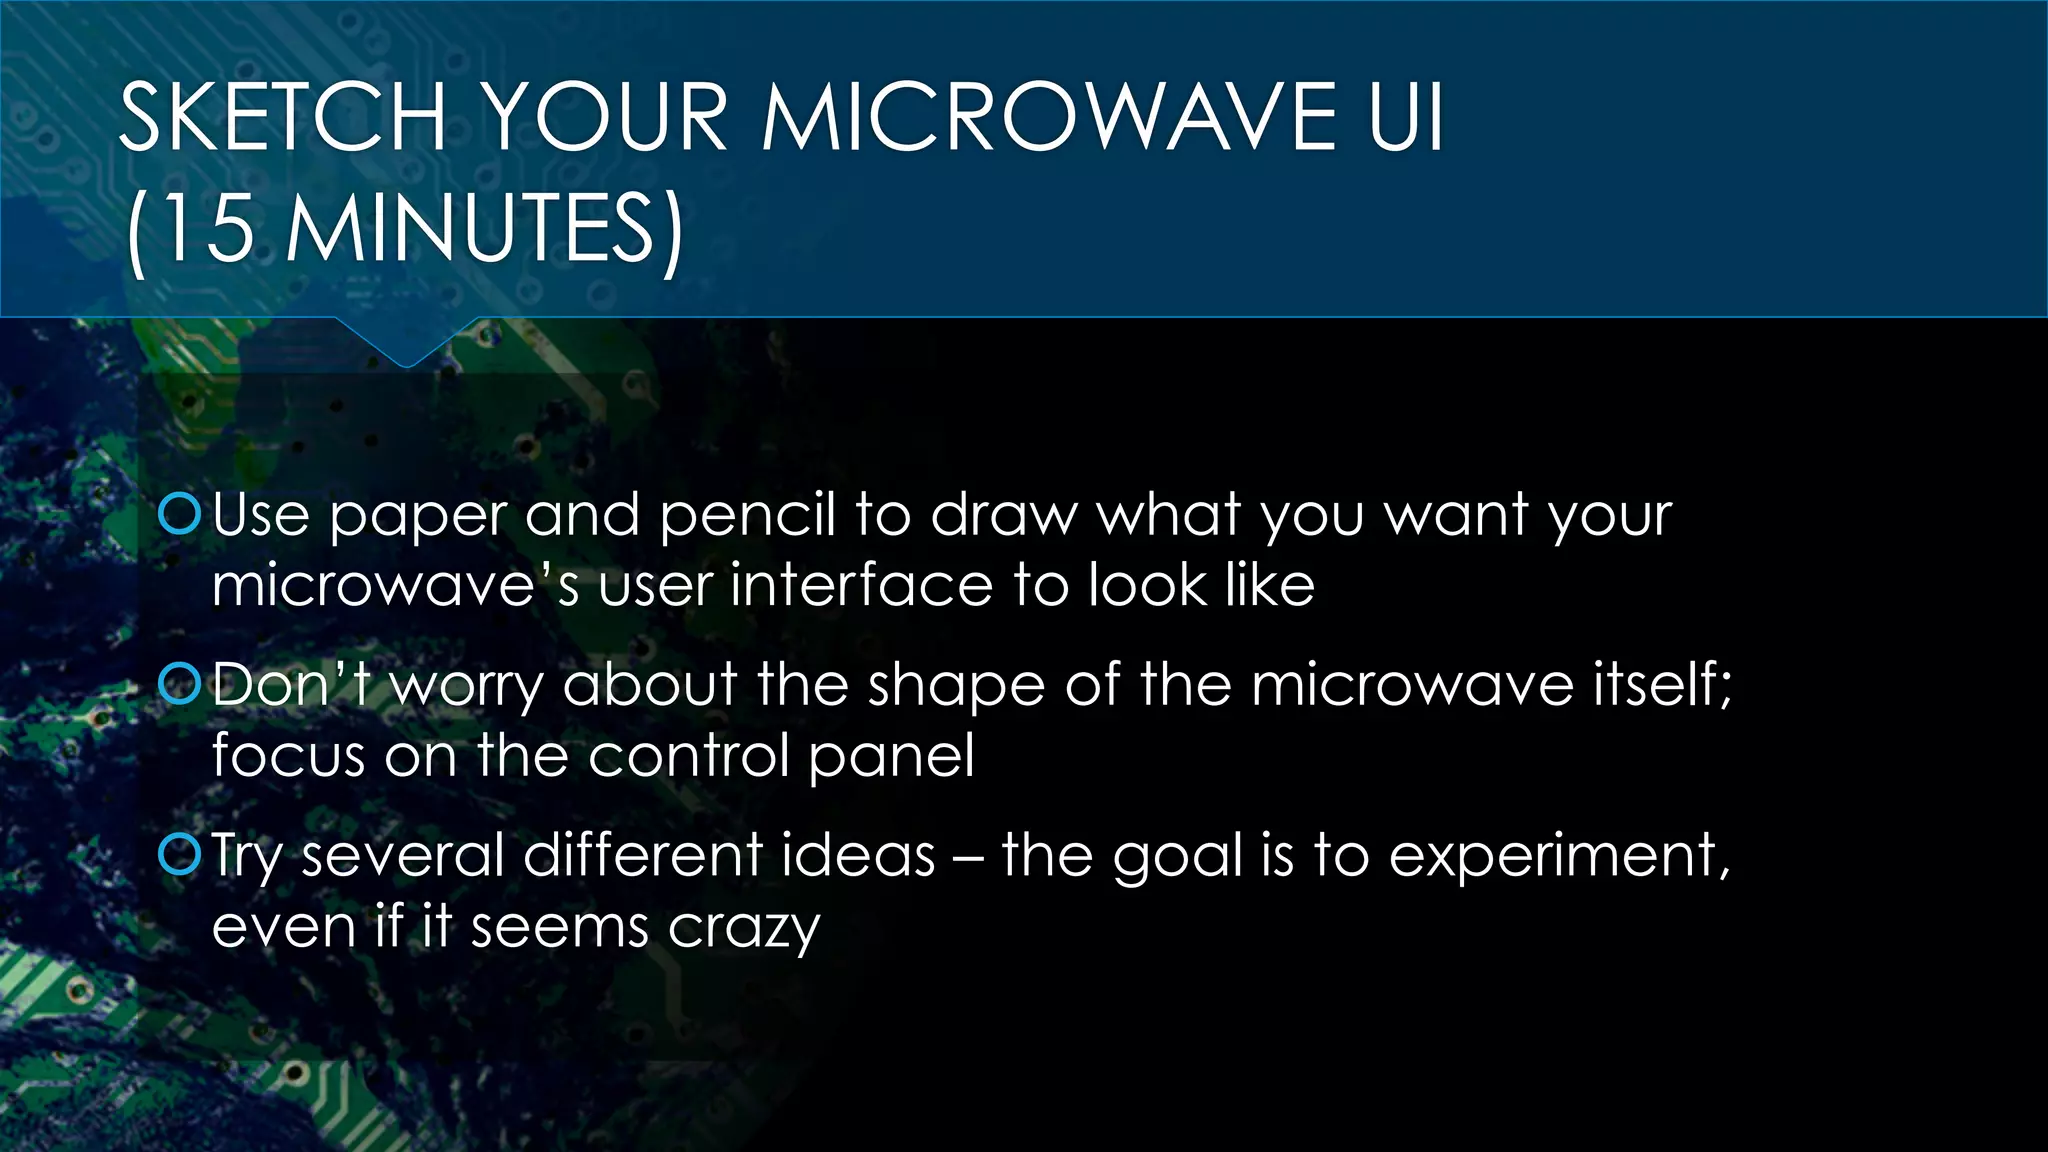
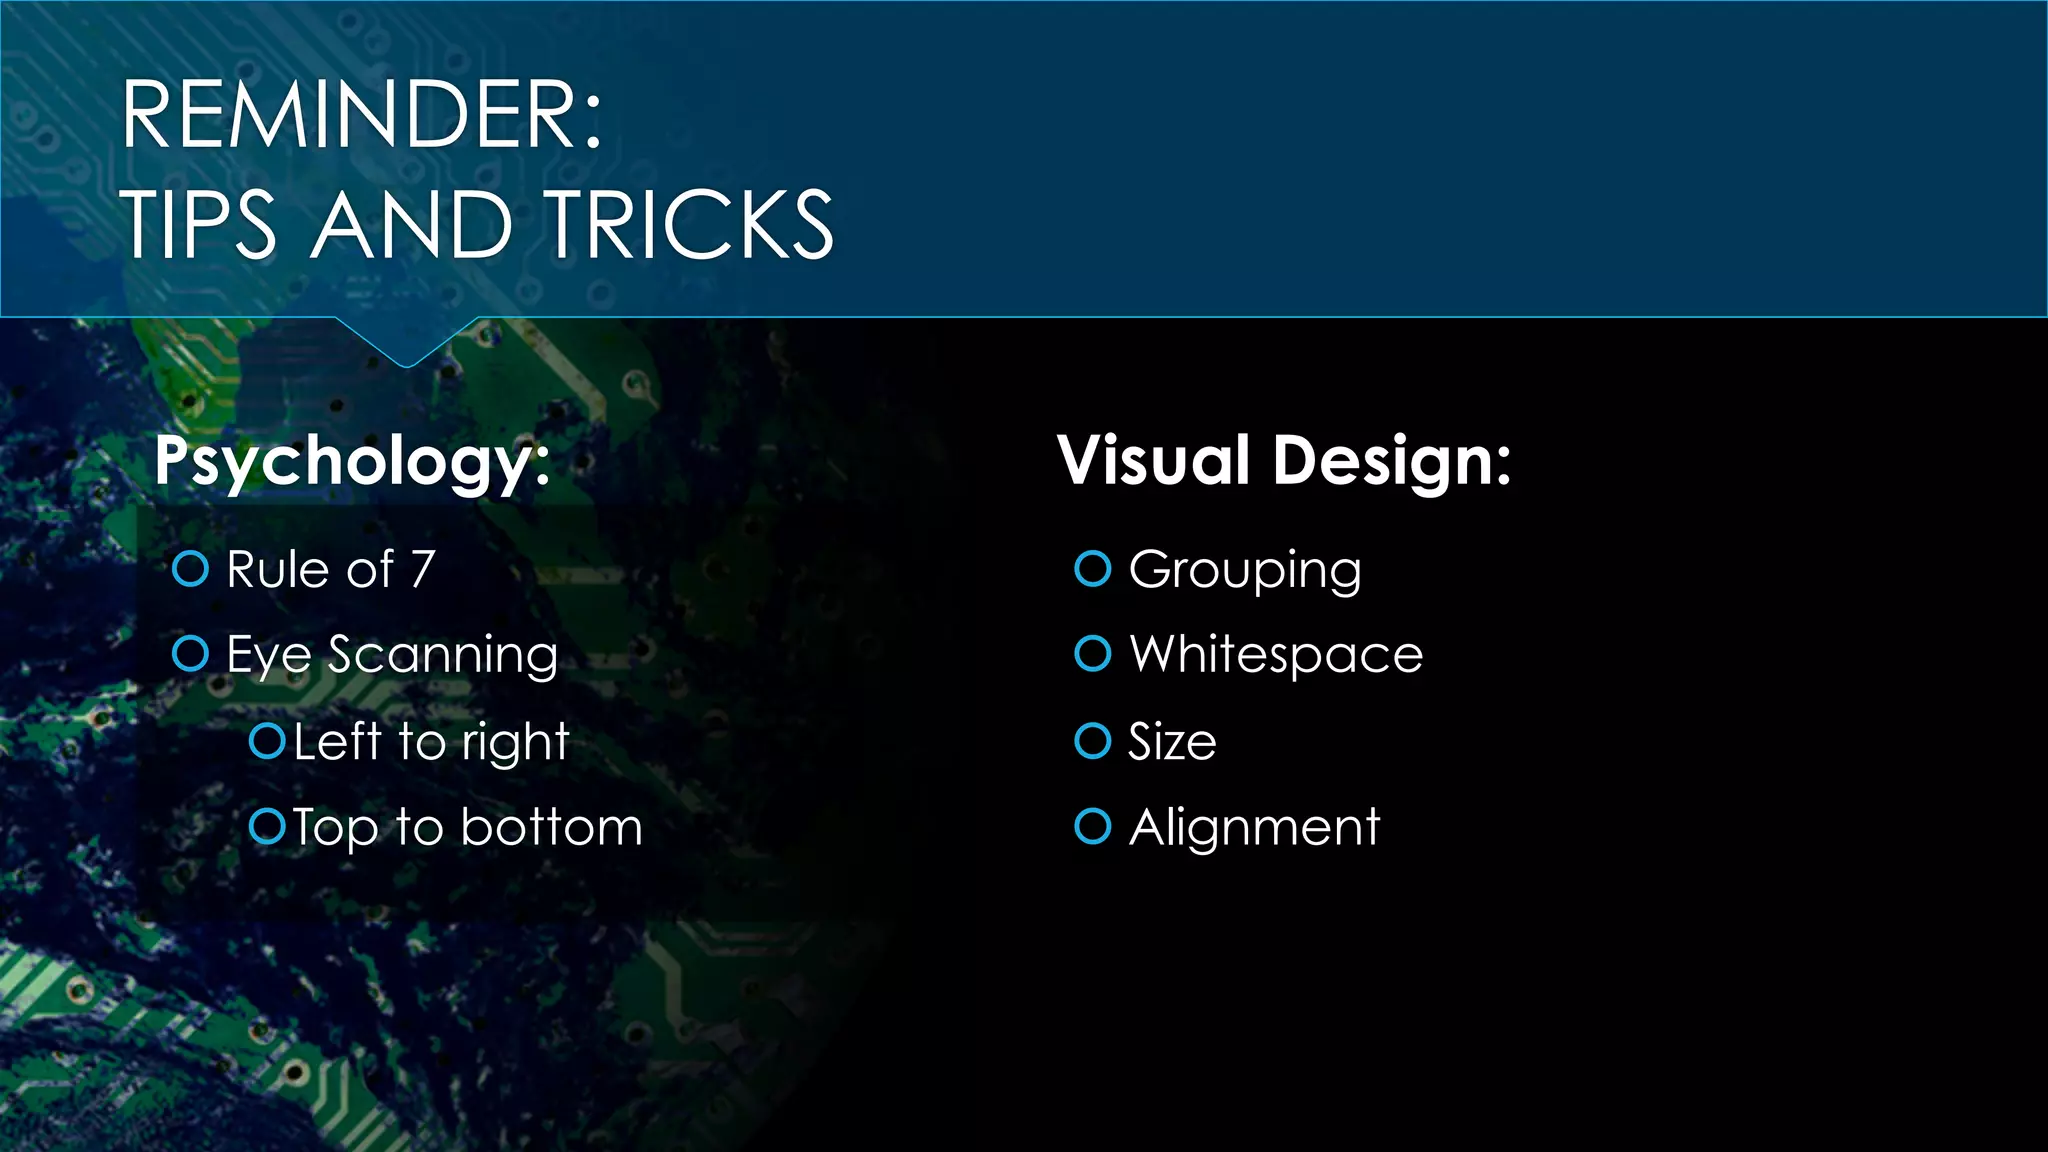
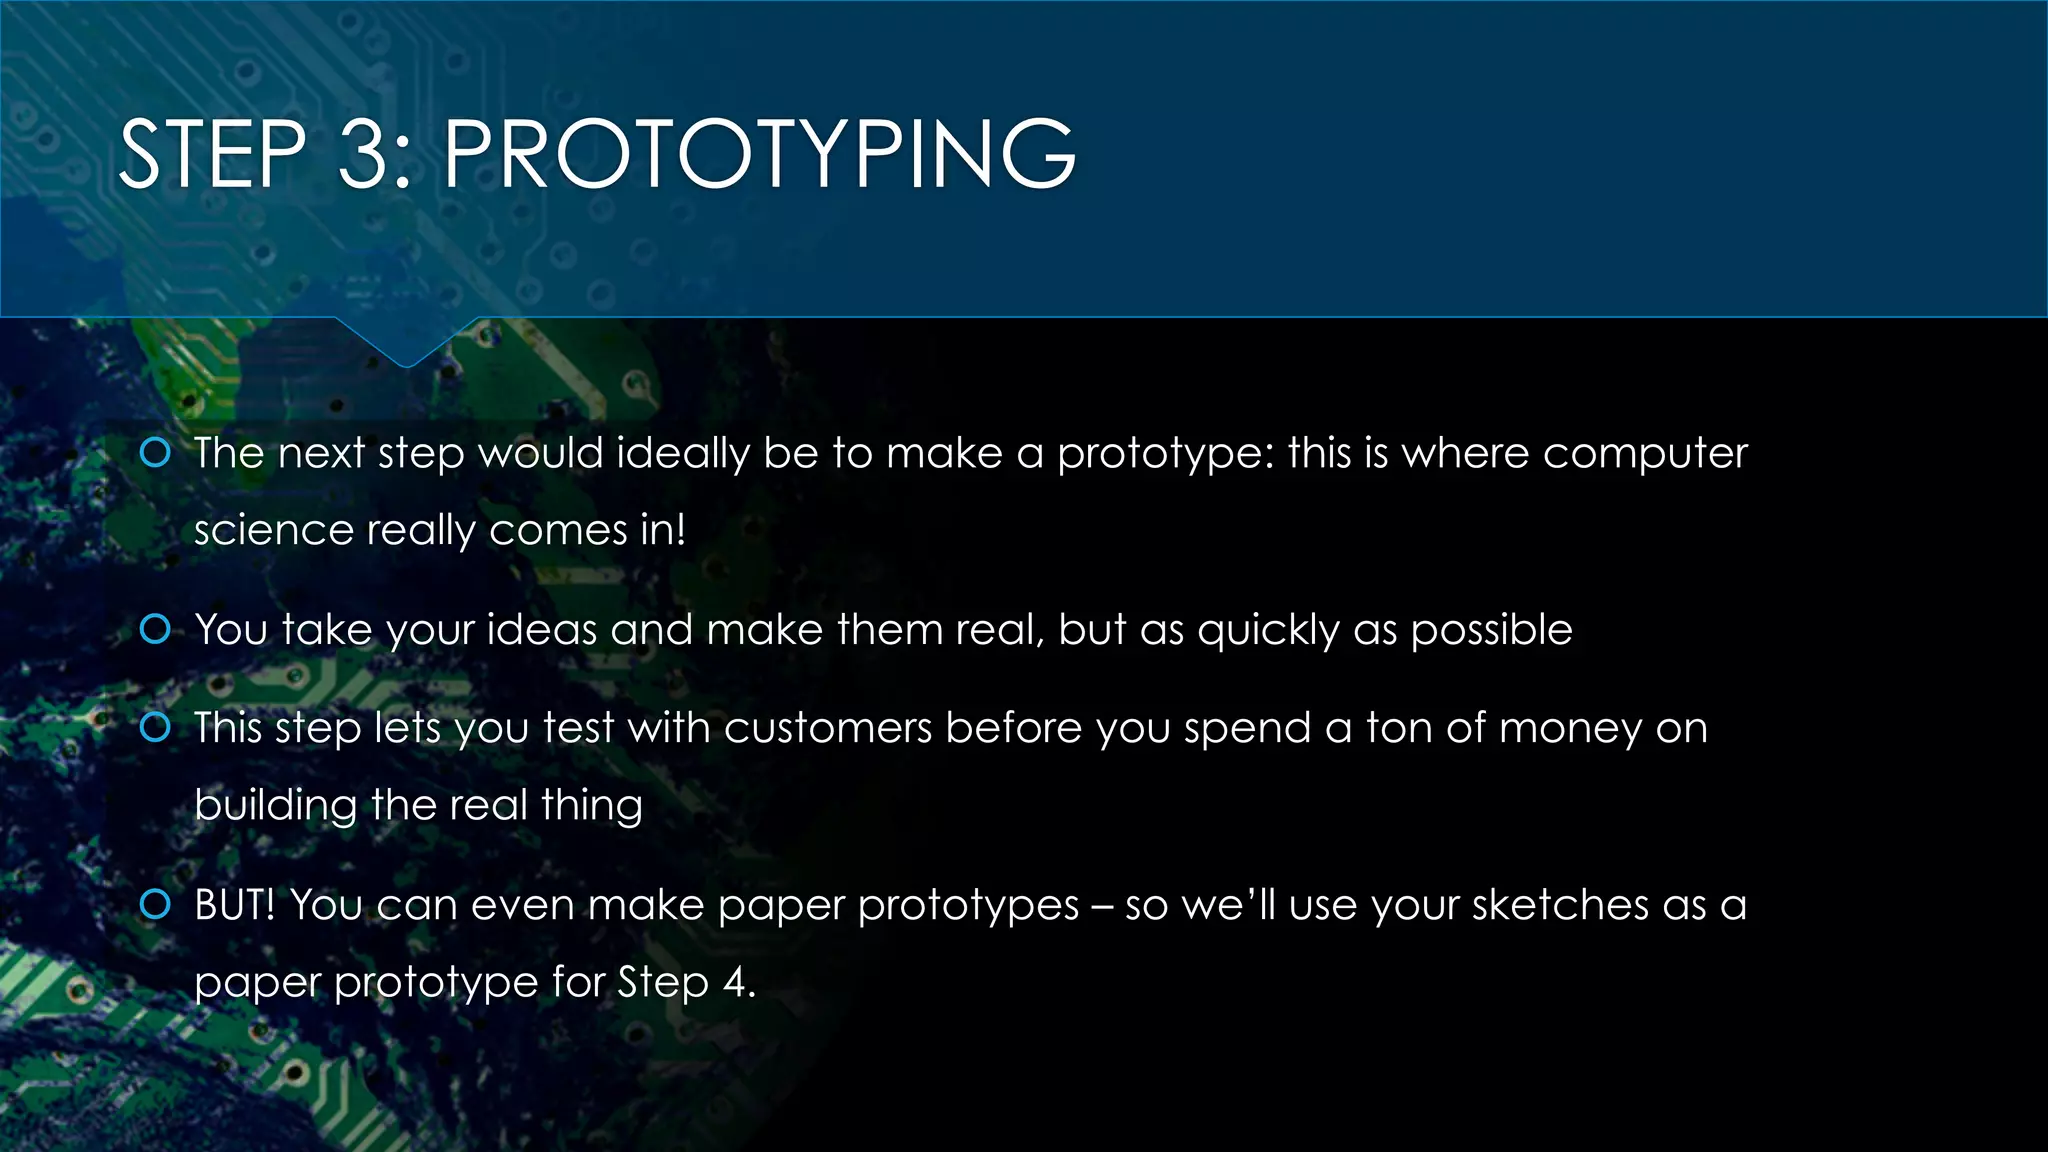
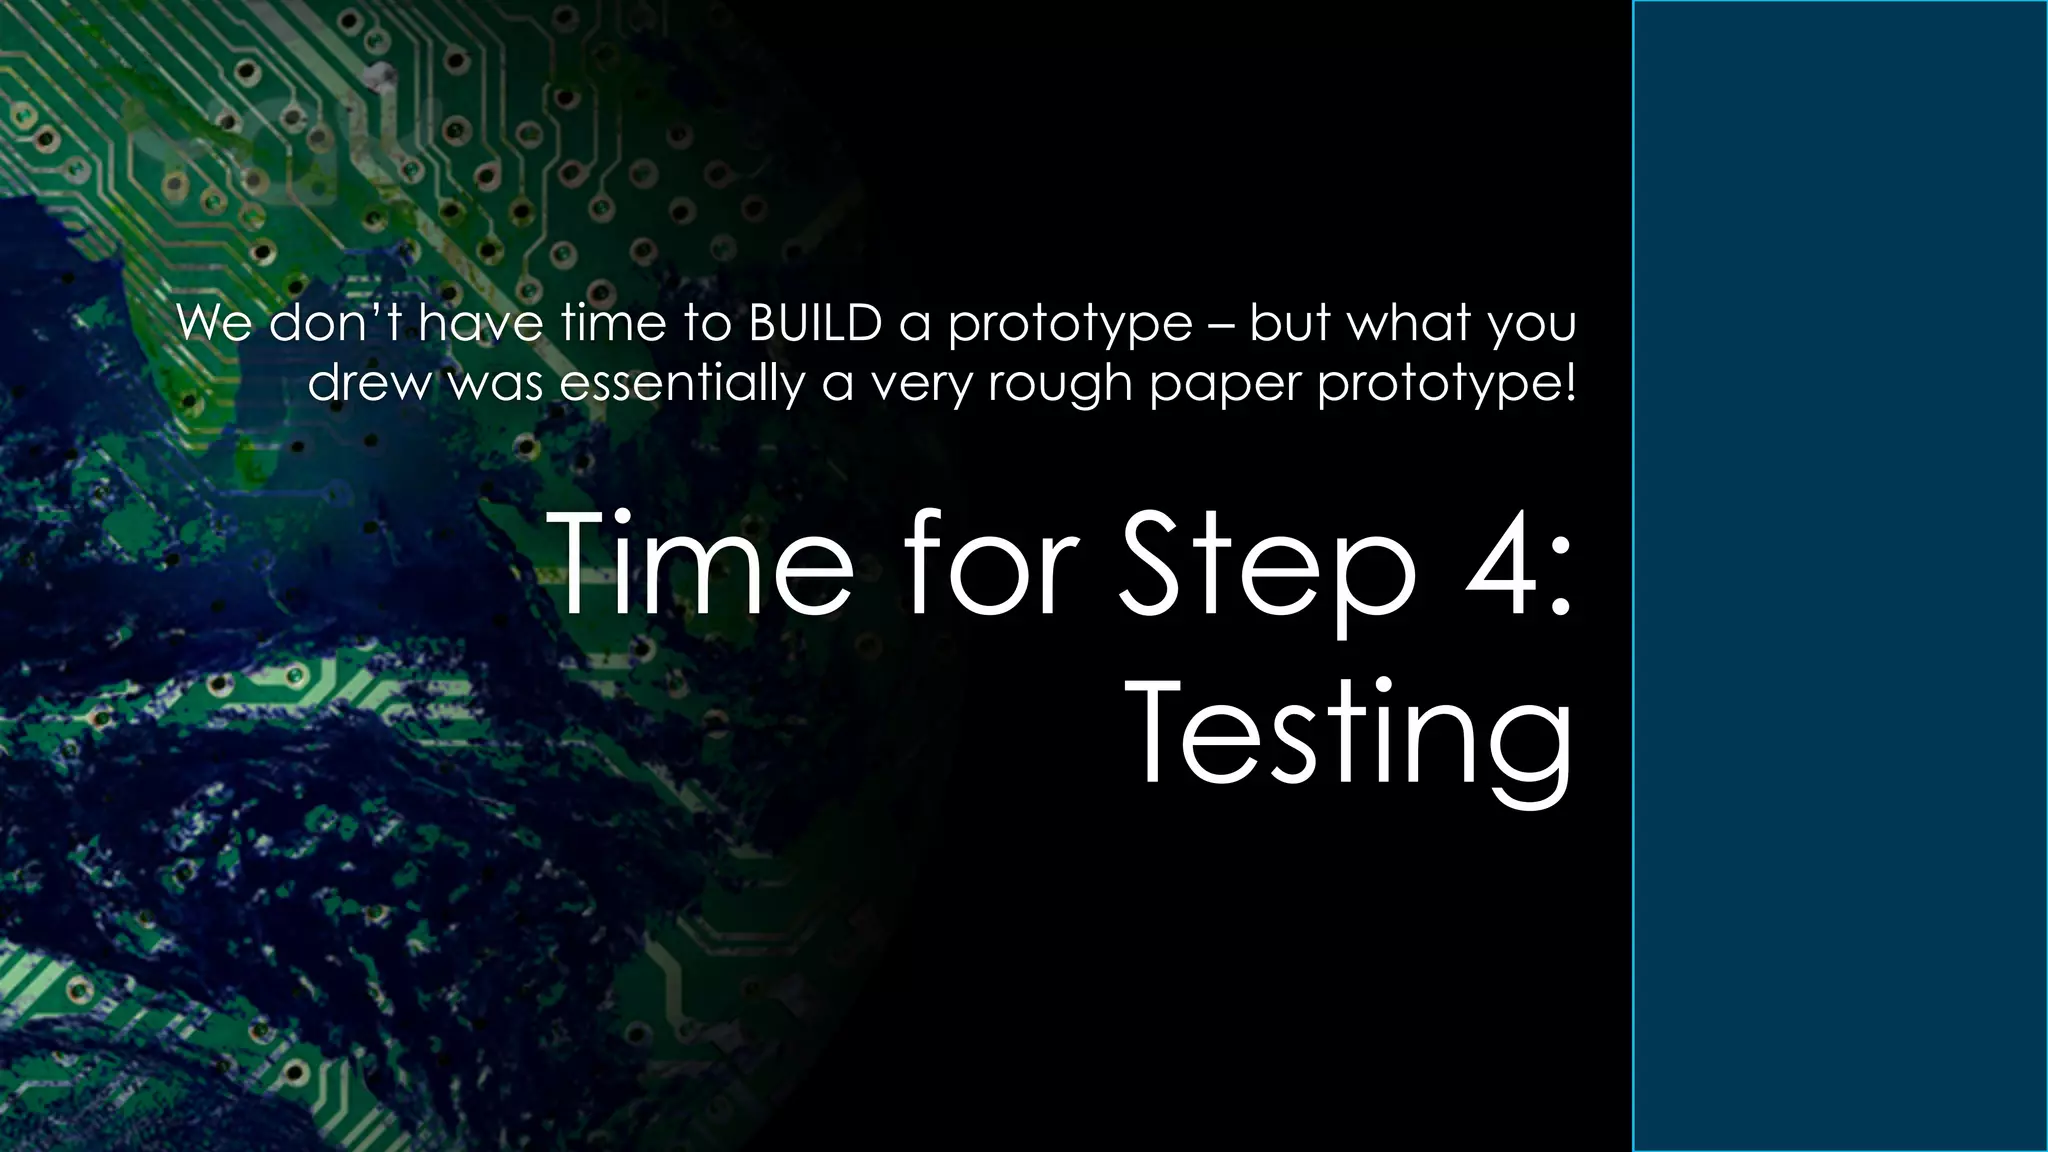
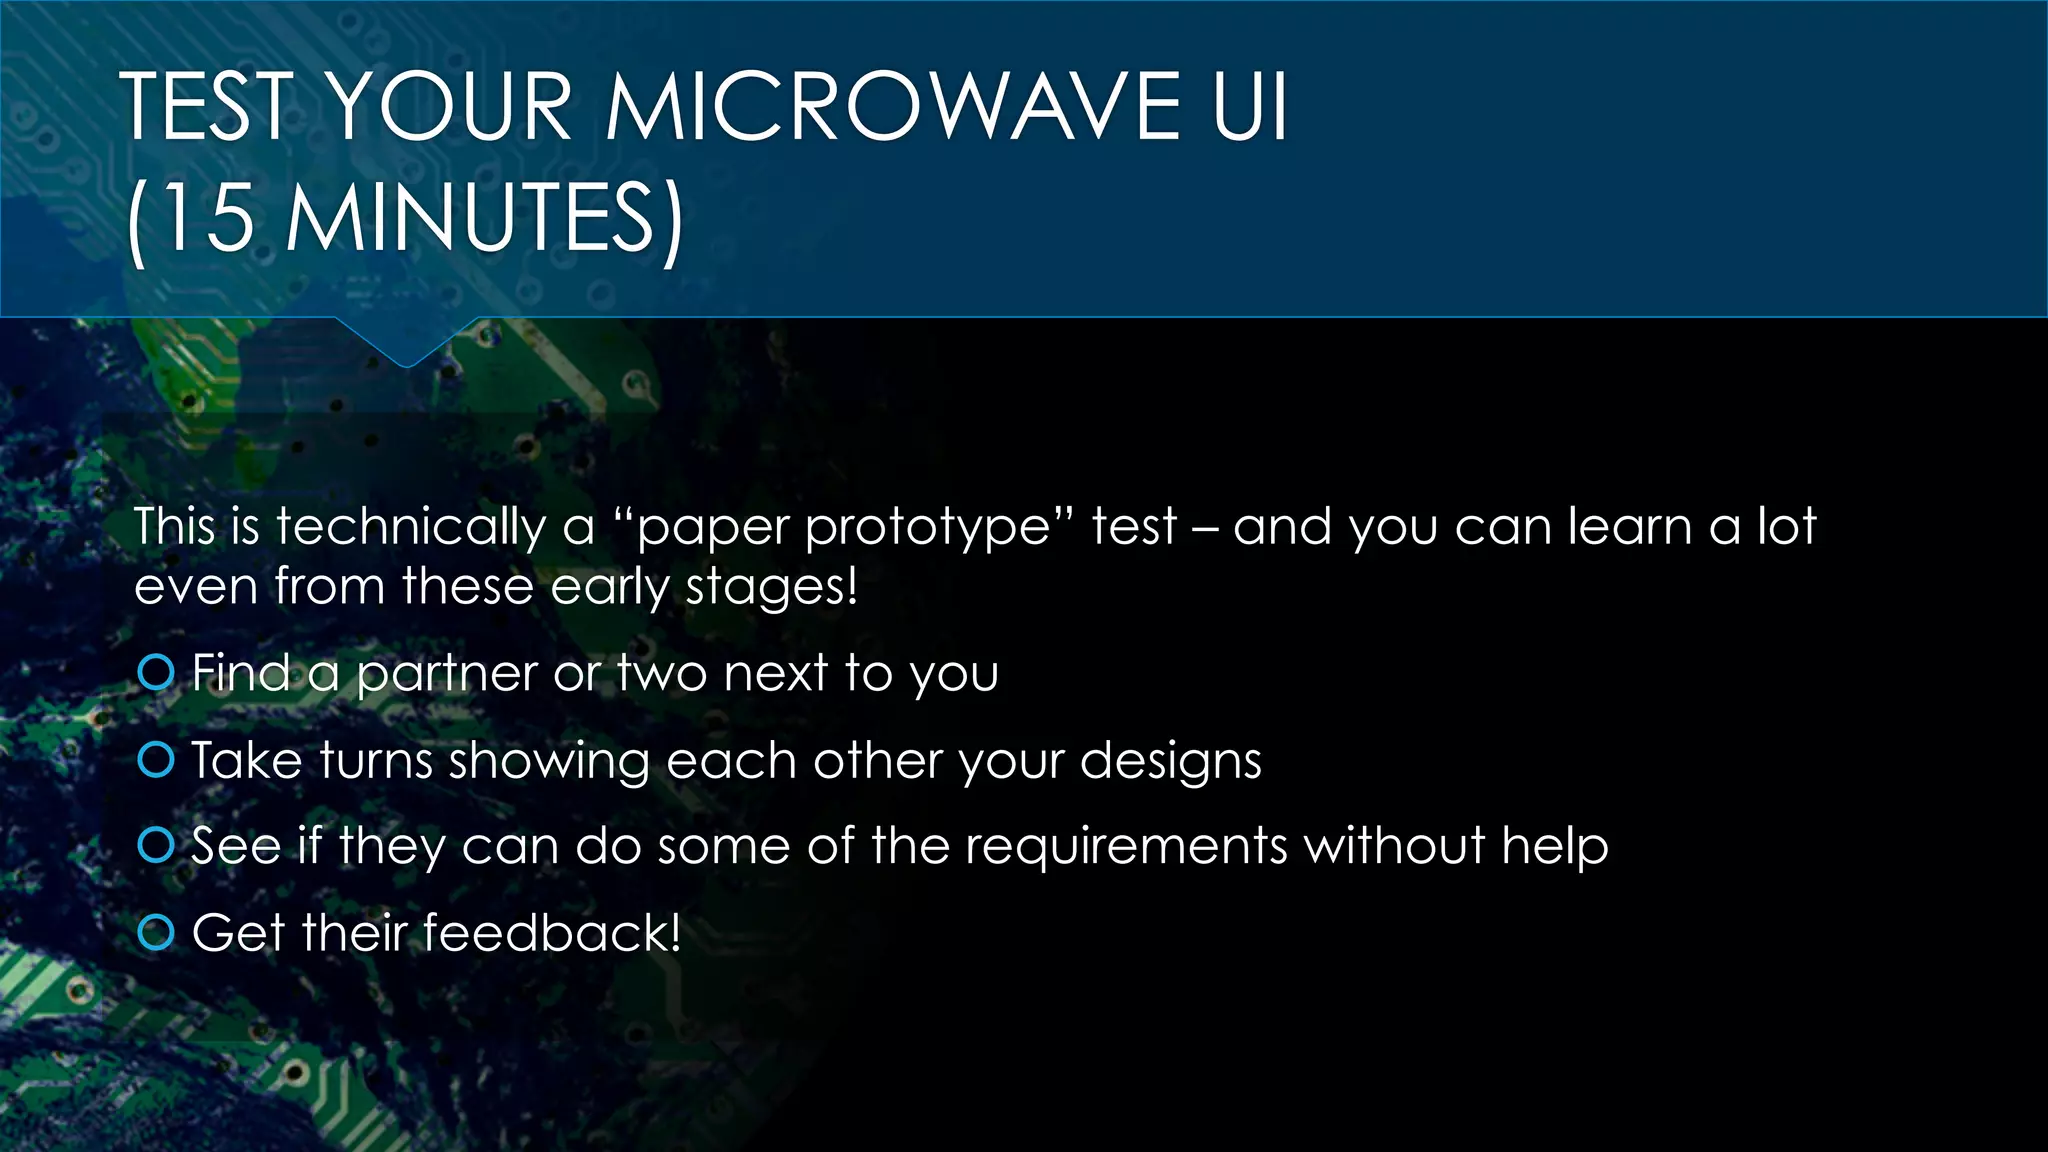
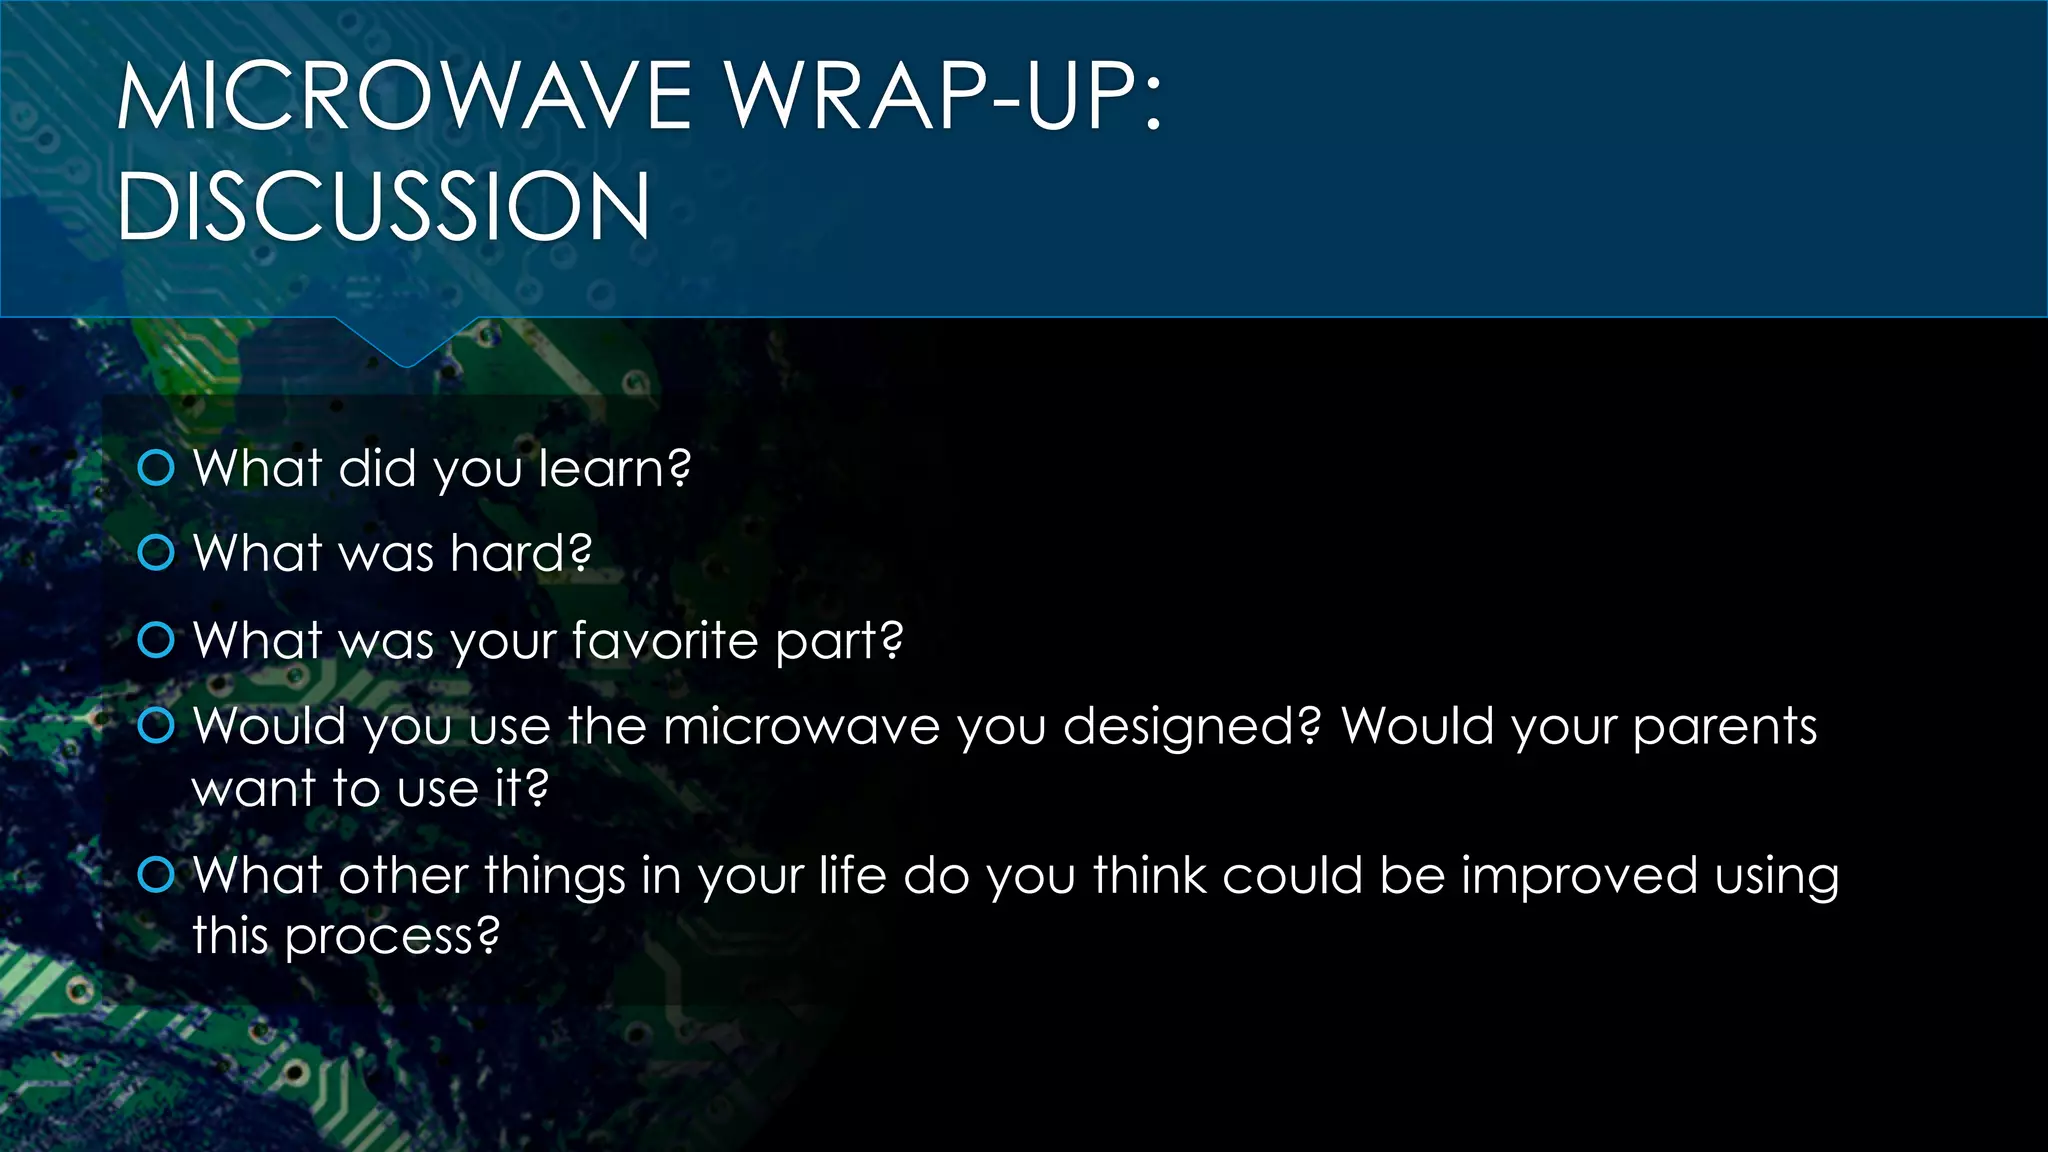
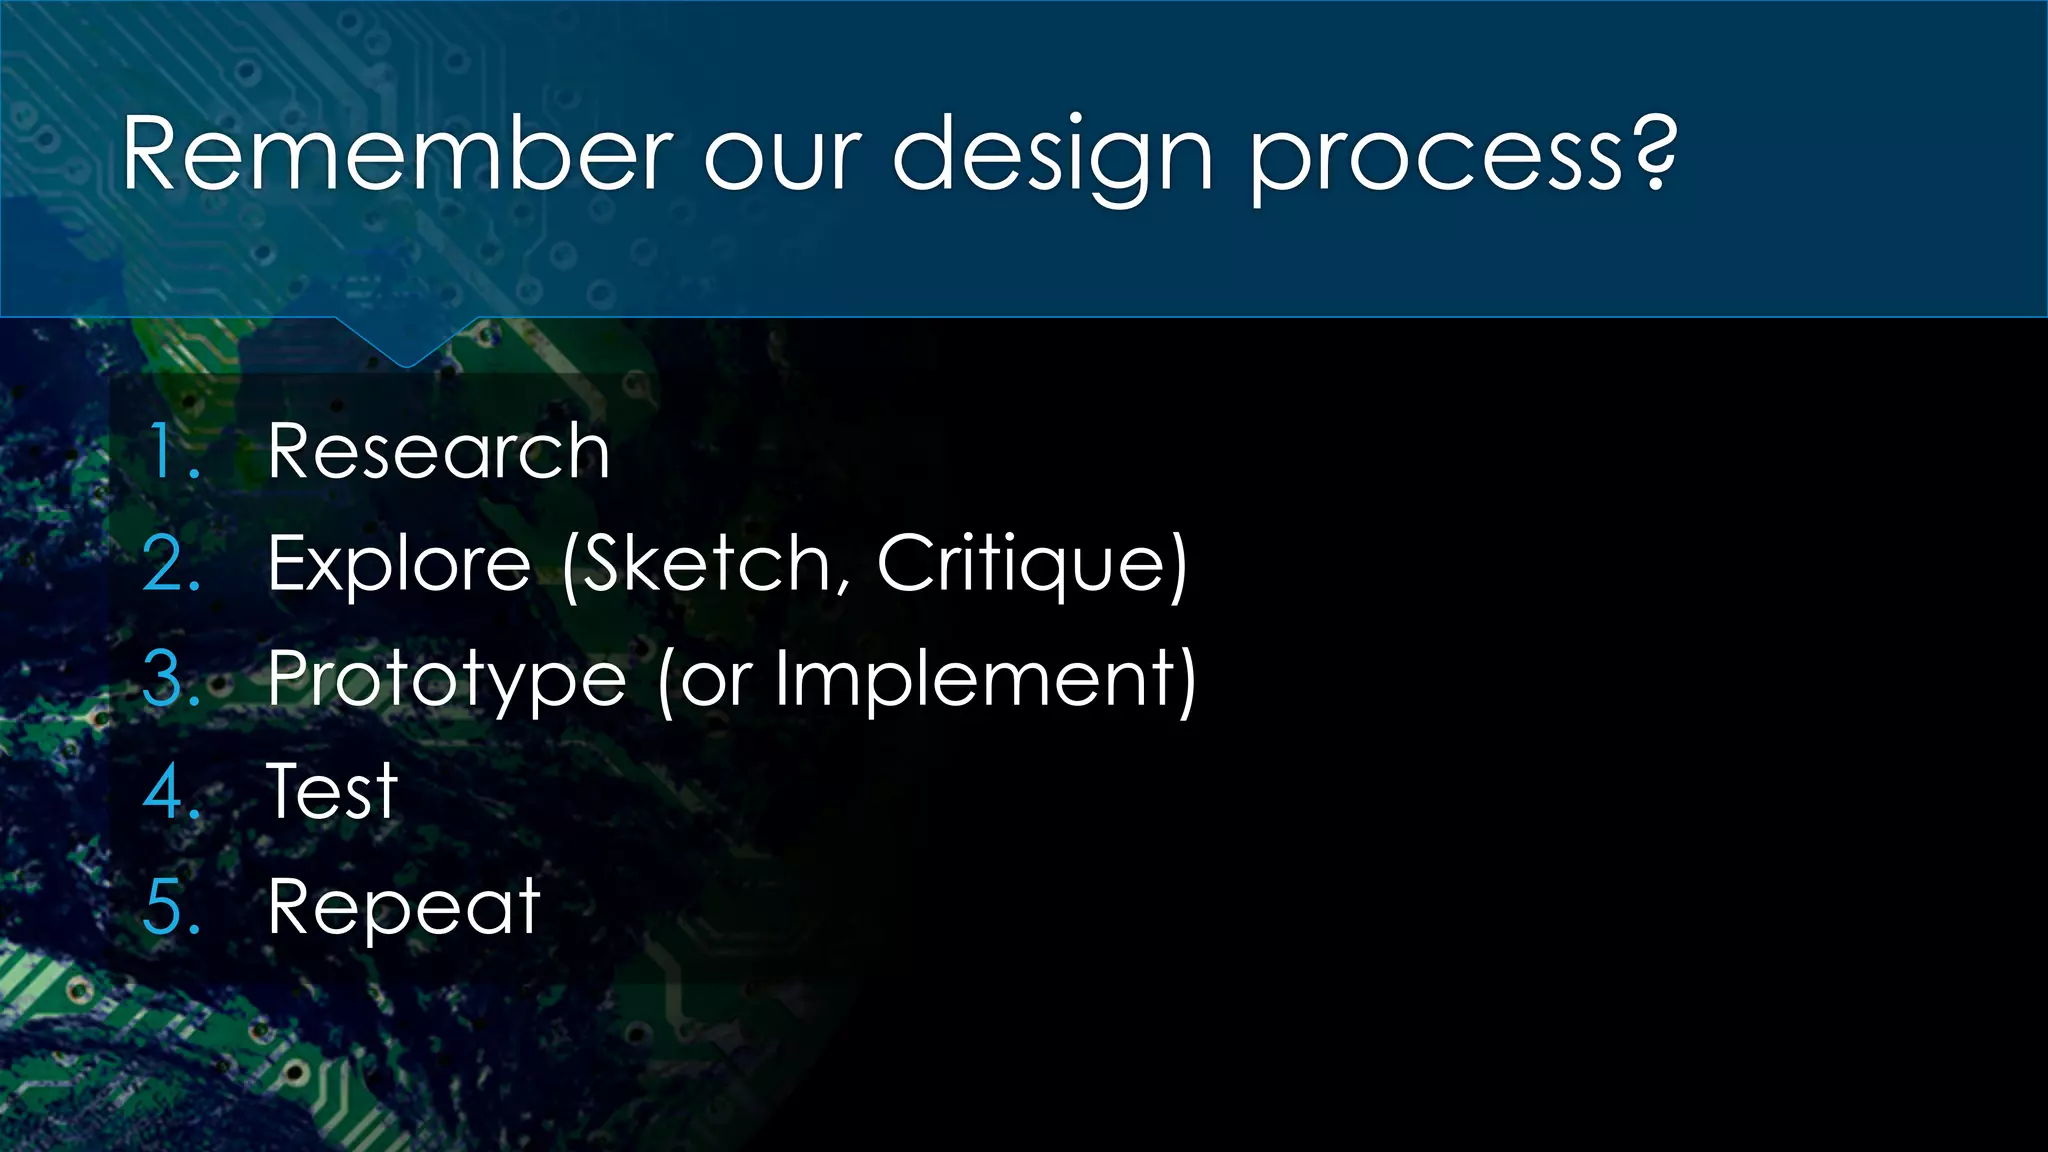
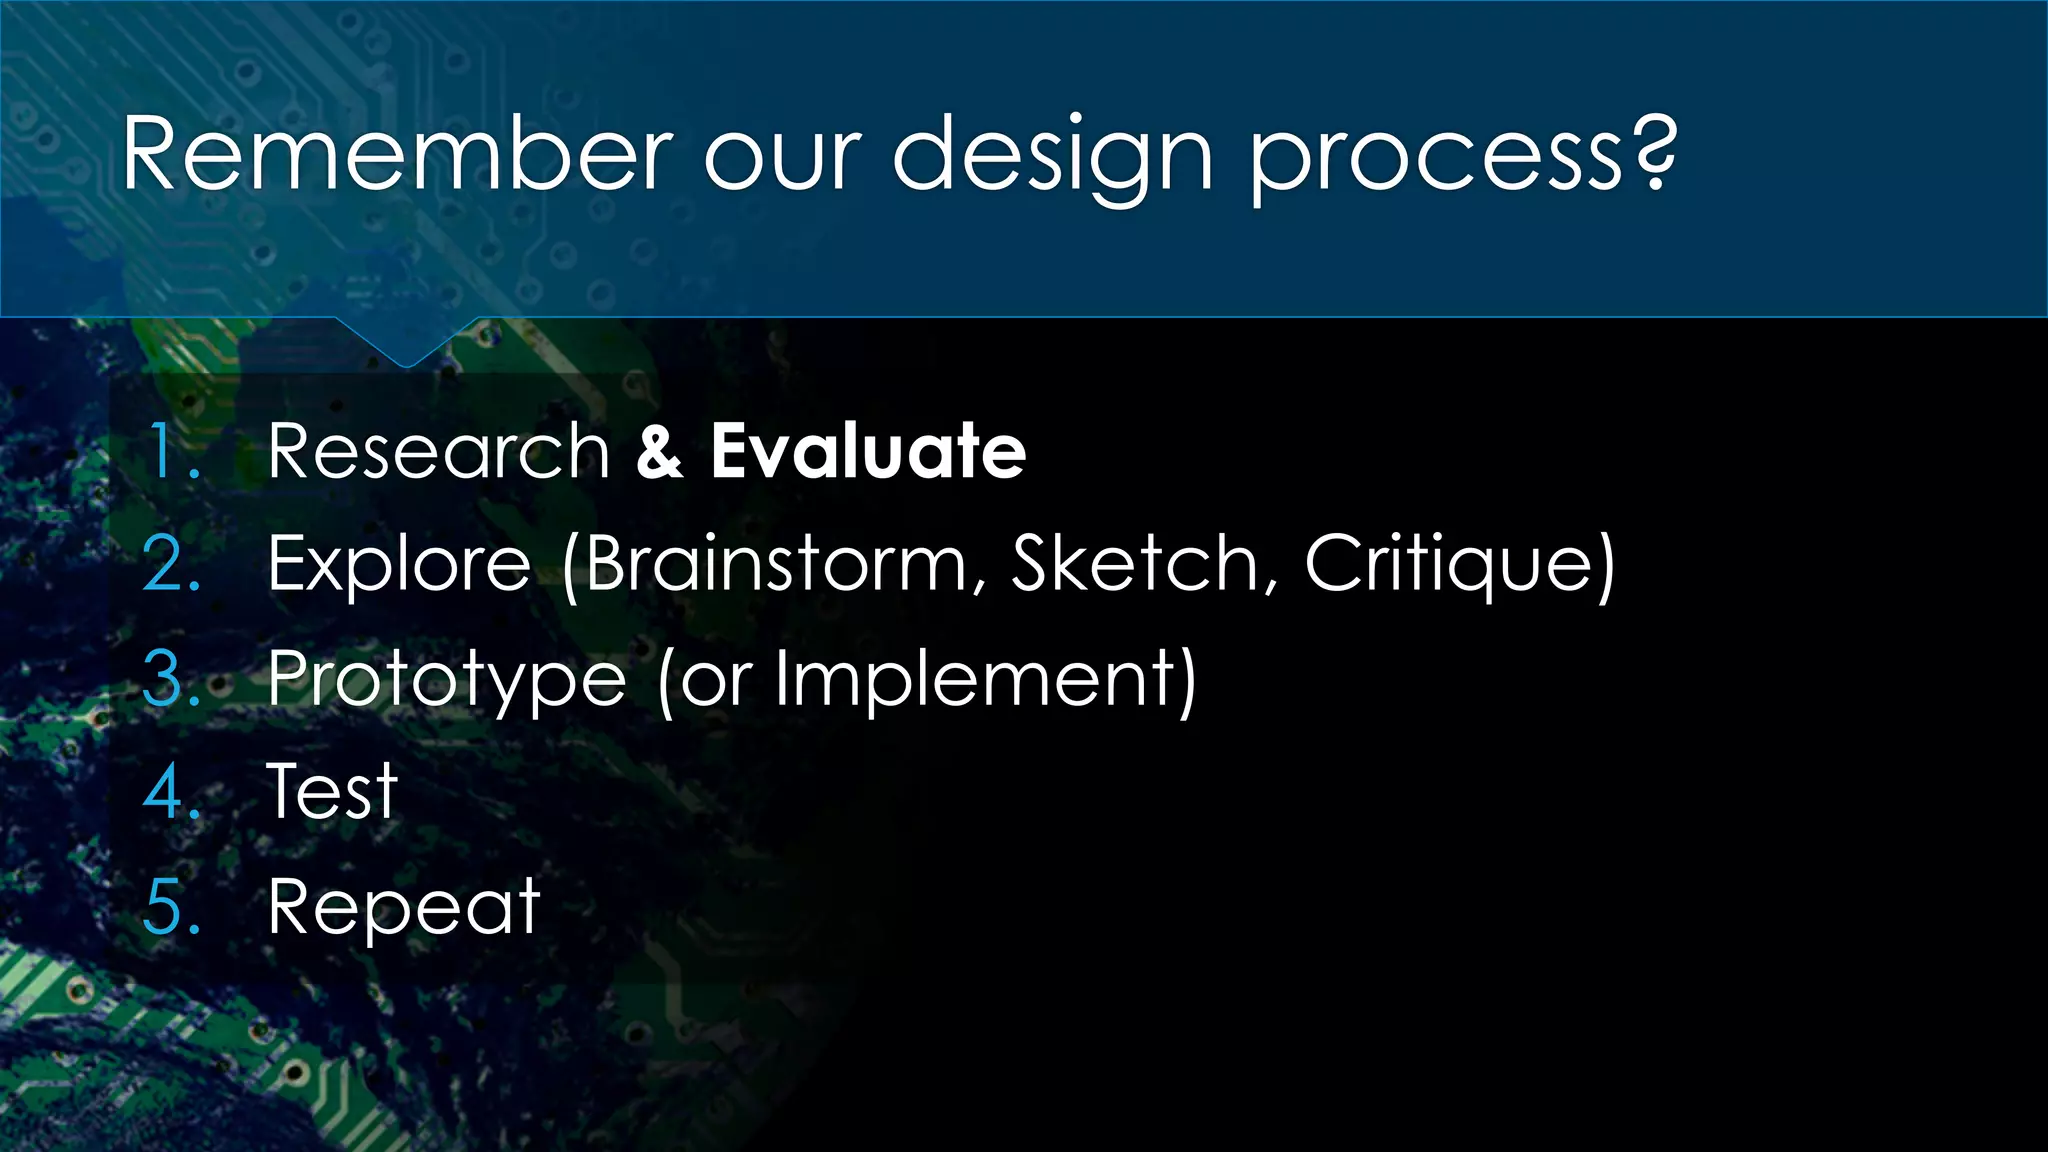
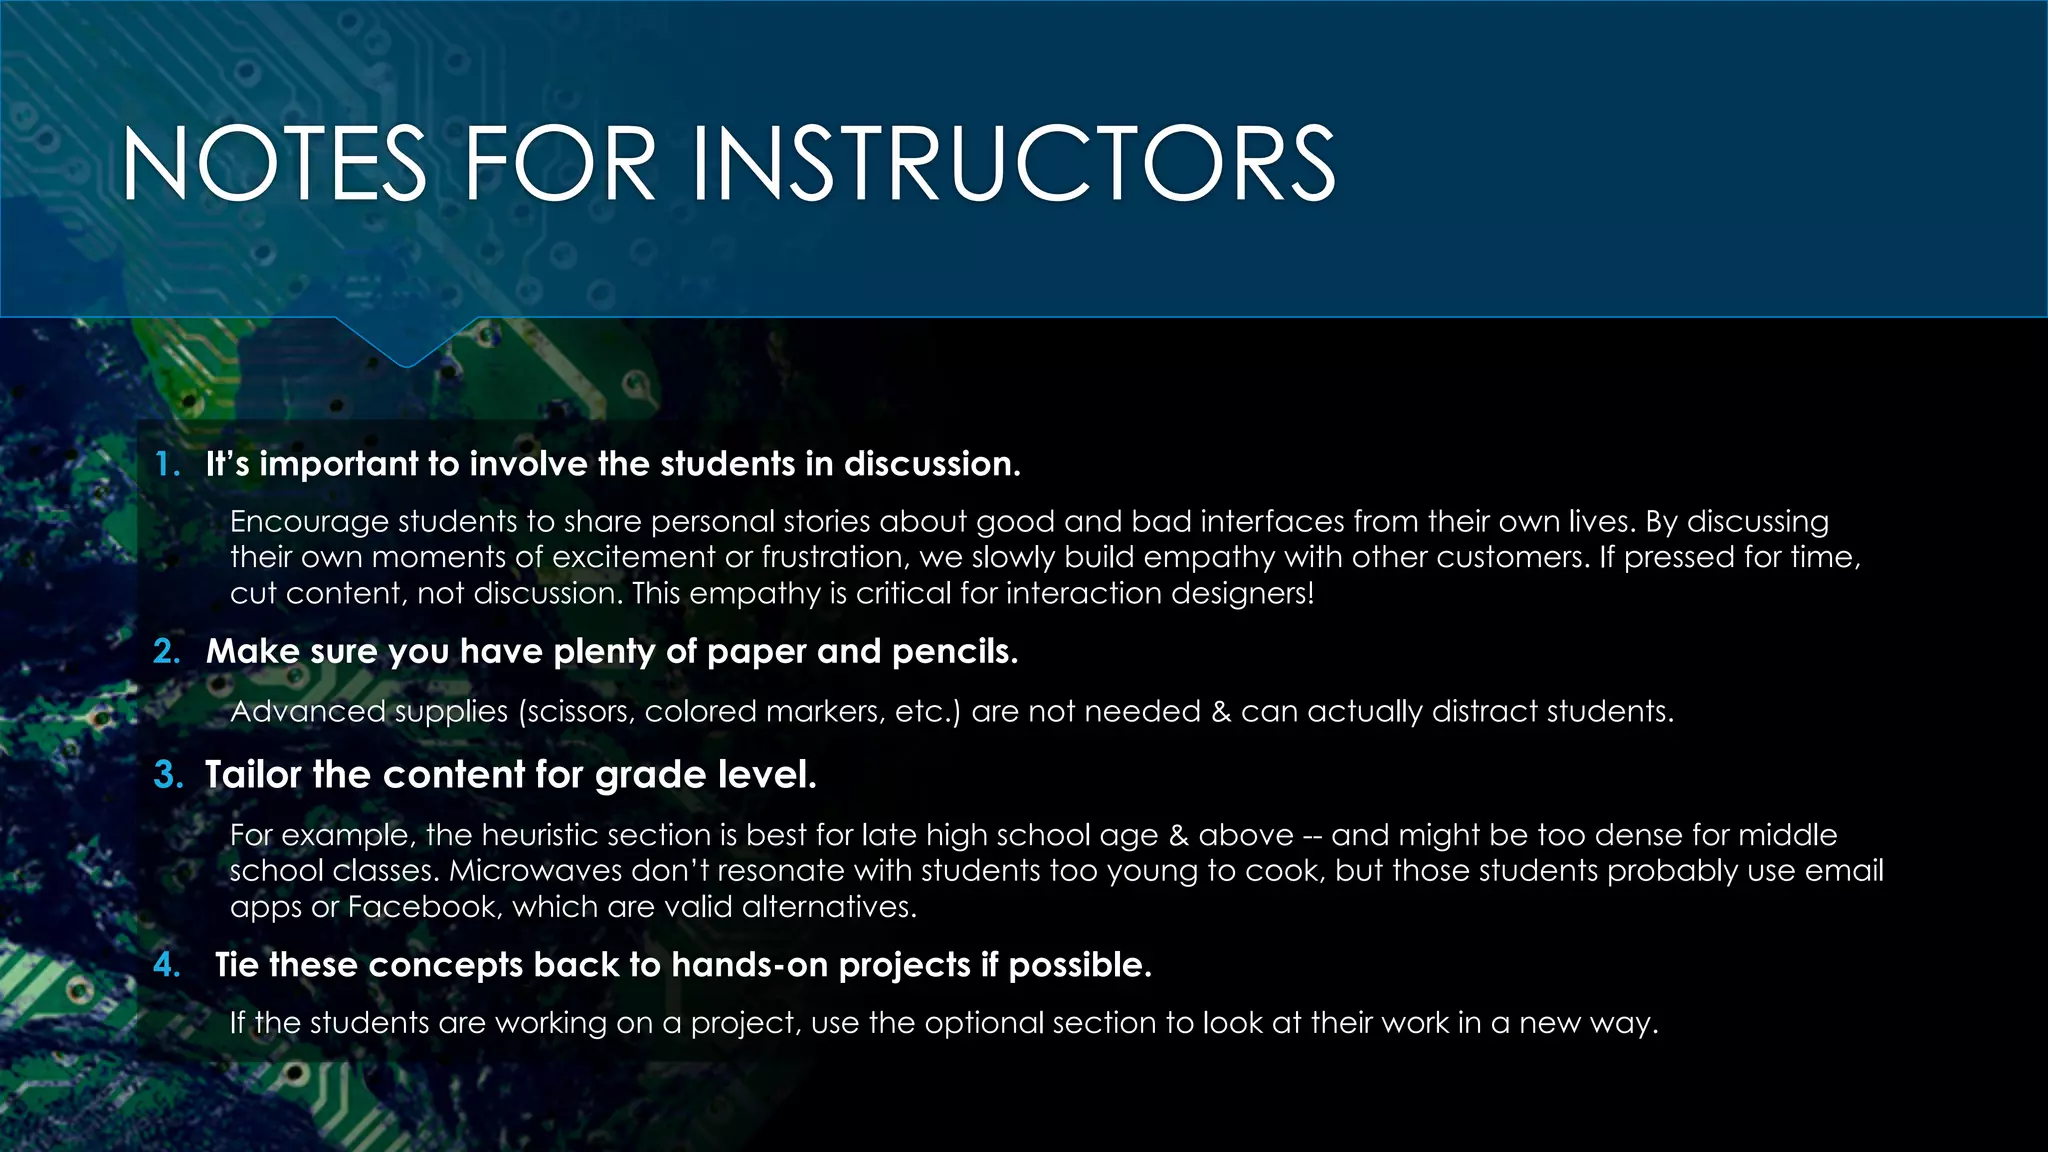
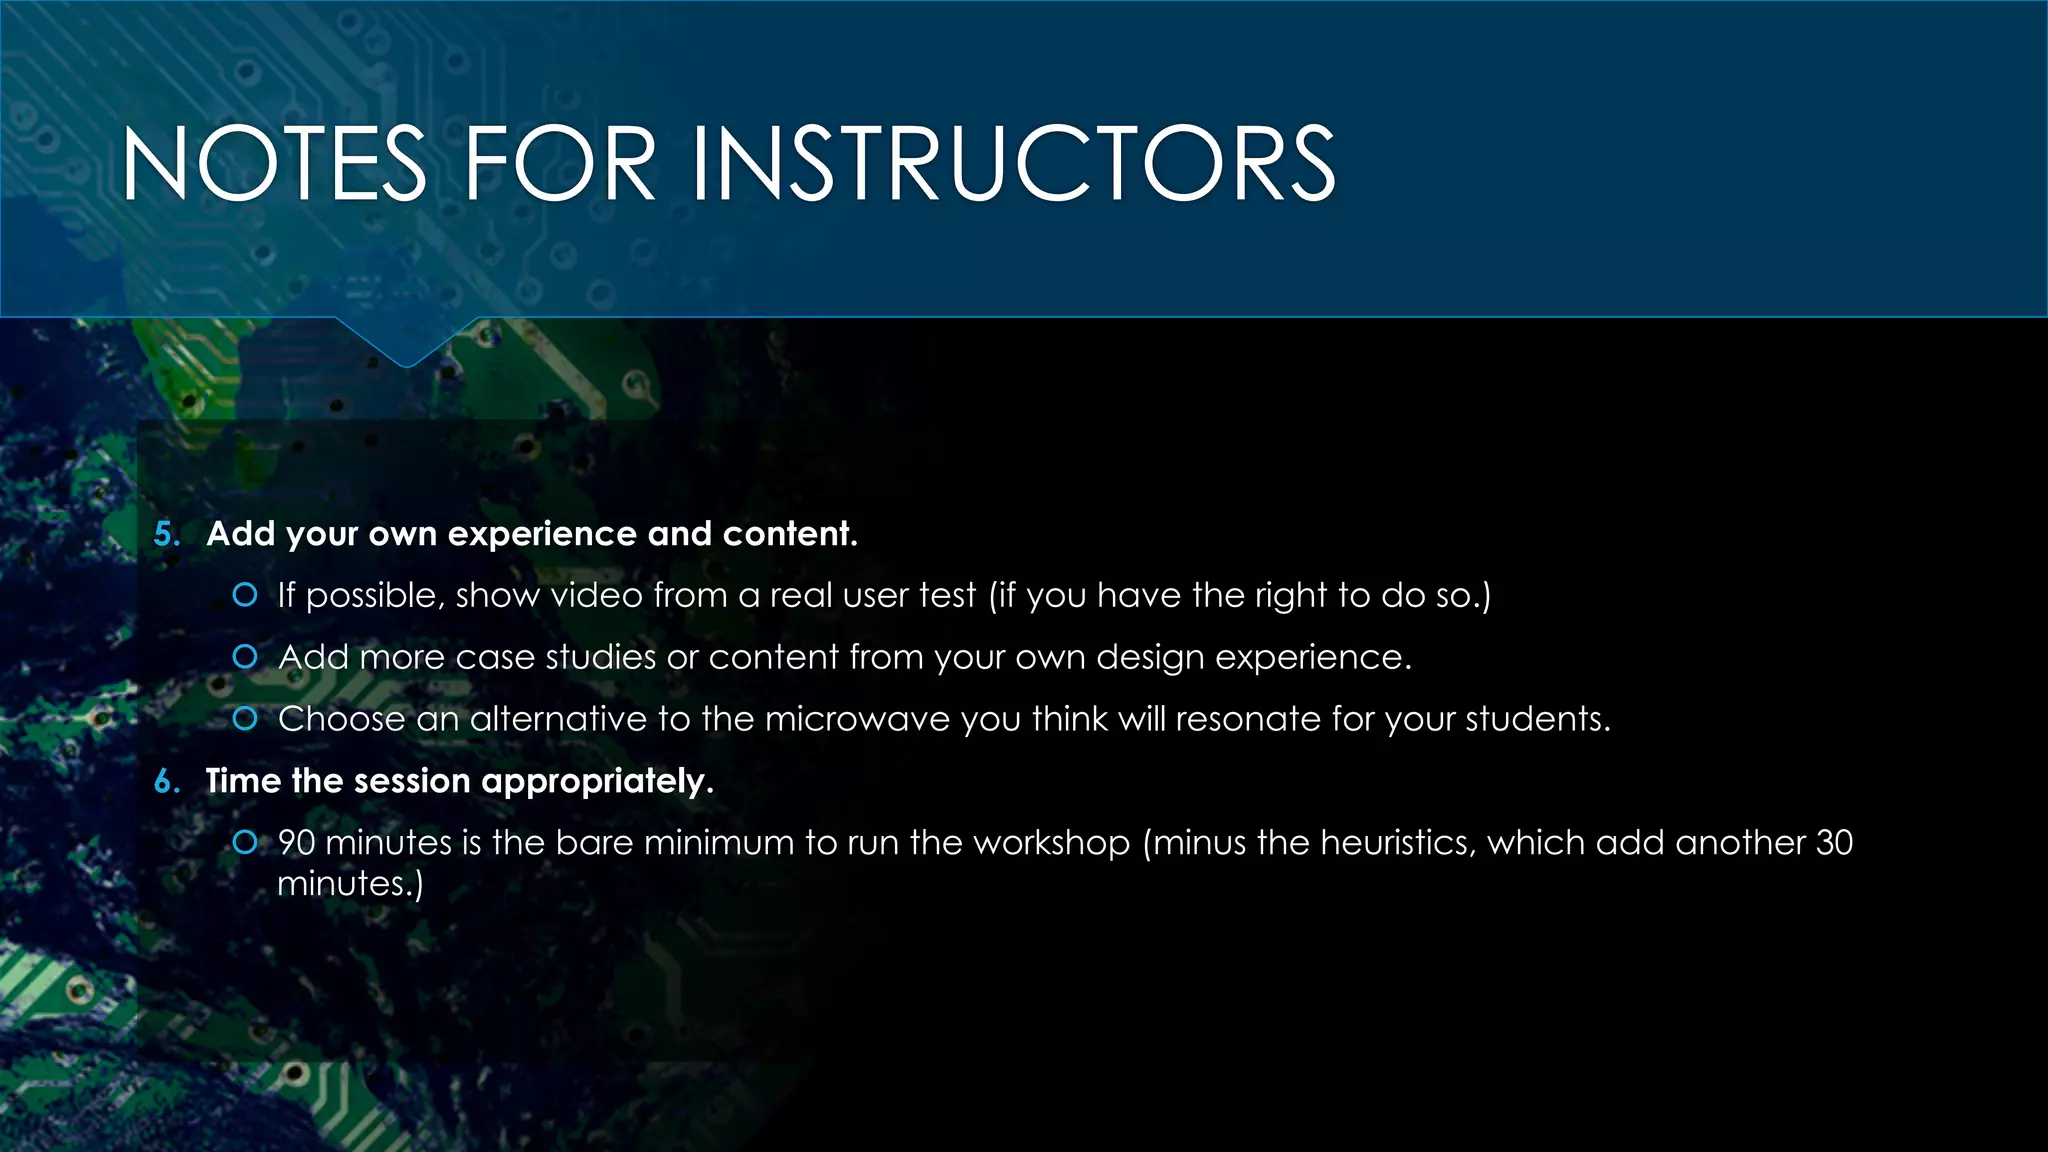
Making The World Easier
with Interaction Design
Cheryl Platz
Senior User Experience Designer, Amazon
What’s “interaction design”?
Interaction designers try to make
technology do what people expect it
to do.
Translation?
It’s my job to make sure you
don’t want to throw your
computer across the room.
Discussion!
Have you ever gotten mad at your
computer? Your phone?
Can you remember why?
Discussion!
What are some examples of things
you feel are easy to use? Why?
Before and After:
Windows Phone BEFORE
AFTER
You get to work with art AND technology.
Design is very collaborative –working together!
You can work in many industries with the same skills.
You can make people’s lives easier - and better.
What’s different about interaction
design?
But seriously,
what IS Interaction Design?
PSYCHOLOGY VISUAL DESIGNCOMPUTER SCIENCE
+ +
The Design Process
1.  Research
2.  Explore (Brainstorm, Sketch, Critique)
3.  Prototype (or Implement)
4.  Test
5.  Repeat
Let’s look at some of the
tools designers use to
communicate their ideas.
Storyboarding:
Helps us understand
the context in which
our customers will use
our products.
Most useful for:
Device design, phone apps
Least useful for: Websites
Storyboarding:
Helps us understand
the context in which
our customers will use
our products.
Most useful for:
Device design, phone apps
Least useful for: Websites
Sketching:
Helps us explore and
communicate many ideas
quickly without investing
development resources.
Encourages discussion of
ideas early in the process.
If you can draw rectangles
and squiggly lines, you can
sketch.
Wireframes:
Show all of the pieces
of the UI, but don’t
worry about final
colors and other
smaller details
Term comes from computer animation
– method for showing a shape with as
little detail as possible
Information
Architecture &
Flow Diagrams:
Show the relationship
between all of the
concepts - or all of
the screens and
actions – in your
product
Today, you’ll try your hand
at planning, sketching,
and evaluating user
experiences.
But first: a few
tips and tricks.
PSYCHOLOGY:
RULE OF 7
It’s hard for the human brain’s
short term memory to remember
more than 7 things at once (more
or less).
The more “things” you put
onscreen, the more work a person
has to do to remember them.
English speakers scan
from left to right and
top to bottom.
Items down here are seen last… and
sometimes not seen at all.
PSYCHOLOGY:
EYE SCANNING
Eyetrackingmapofapast
Facebookhomepagelayout
VISUAL DESIGN:
GROUPING
Similar items should be grouped
together: Make groups clear by using
plenty of space
Avoid the
Sesame Street scenario:
“One of these things
is not like the other”
VISUAL DESIGN:
GROUPING
Similar items should be grouped
together: Make groups clear by using
plenty of space
Avoid the
Sesame Street scenario:
“One of these things
is not like the other”
Cookie Monster
love Gestalt
principles!
VISUAL DESIGN:
“WHITESPACE”
Give your designs room to breathe! Sometimes less is more…
VISUAL DESIGN:
ALIGNMENT
Line things up so
they
don’t
look
jumbled
Make things larger
if they’re important
There are many more
principles to learn,
but this is a start.
Where does computer
science come in?
Helps you understand the technologies you’re using
Teaches you to speak the same “language” as the
people building your designs
Gives you the power to prototype and even build
your work
Your challenge: design
a new microwave.
Step 1: Research
RESEARCH:
MICROWAVES ON THE MARKET
Let’s look at some example microwave
interfaces and look at what we like – and
what we don’t like.
“Most microwaves that you find in the store have a user interface that is so terrible, I can
only assume that it was designed by a committee of middle managers who don’t even
know the meaning of the term “user interface.”
– TimandJeni.com, “Why do most microwaves have such a terrible user experience?”
“This Jenn-Air microwave sports 34 buttons. Thirty-four buttons! The microwave in my kitchen at home is a similar Jenn-Air
model, also with thirty-four flat, zero-feedback buttons. The vast majority of the time, I use exactly two of these buttons:
“Add 30 Sec.” (which also starts the heat) and “Stop / Cancel.” (TimandJeni.com)
“It’s definitely a step in the right direction, with 14 raised tactile buttons plus a simple knob, but most of the buttons are
still completely superfluous. What the heck is “Inverter Turbo Defrost” or “Inverter Melt & Soften”? No doubt some
microwave engineer worked long hours coming up with these clever features, but seriously… why?” (TimandJeni.com)
Step 2: Exploring
(Brainstorming &
Sketching)
BRAINSTORMING:
MICROWAVE TASKS
What kinds of tasks do you feel
are REQUIRED in your
microwave?
What will your customers do most
often?
Is there anything your current
microwave does that you don’t
need?
We try to state requirements as
PROBLEMS, not SOLUTIONS. For
example:
š I need to set the length of time
to cook
š I need to start cooking
… What else?
SKETCH YOUR MICROWAVE UI
(15 MINUTES)
š Use paper and pencil to draw what you want your
microwave’s user interface to look like
š Don’t worry about the shape of the microwave itself;
focus on the control panel
š Try several different ideas – the goal is to experiment,
even if it seems crazy
REMINDER:
TIPS AND TRICKS
Psychology:
š Rule of 7
š Eye Scanning
š Left to right
š Top to bottom
Visual Design:
š Grouping
š Whitespace
š Size
š Alignment
STEP 3: PROTOTYPING
š  The next step would ideally be to make a prototype: this is where computer
science really comes in!
š  You take your ideas and make them real, but as quickly as possible
š  This step lets you test with customers before you spend a ton of money on
building the real thing
š  BUT! You can even make paper prototypes – so we’ll use your sketches as a
paper prototype for Step 4.
We don’t have time to BUILD a prototype – but what you
drew was essentially a very rough paper prototype!
Time for Step 4:
Testing
TEST YOUR MICROWAVE UI
(15 MINUTES)
This is technically a “paper prototype” test – and you can learn a lot
even from these early stages!
š Find a partner or two next to you
š Take turns showing each other your designs
š See if they can do some of the requirements without help
š Get their feedback!
MICROWAVE WRAP-UP:
DISCUSSION
š What did you learn?
š What was hard?
š What was your favorite part?
š Would you use the microwave you designed? Would your parents
want to use it?
š What other things in your life do you think could be improved using
this process?
NOW, GO MAKE THE WORLD AN
EASIER PLACE TO LIVE!
š Contacting me: @muppetaphrodite or
Cheryl@cherylplatz.com
š Blog posts on IxD: http://blog.cherylplatz.com/?cat=13
š Schools that teach interaction design:
š Carnegie Mellon University (undergrad & graduate)
š University of Washington (undergrad & graduate)
š Savannah College of Art & Design
š Click here for a Wikipedia list of global IxD college programs
EXERCISE: Evaluate an existing
project using heuristics
Optional 30-minute exercise for classes with existing project work.
It can also be used on a specific existing public site, platform or app.
What do you do to
improve an existing
user interface?
Remember our design process?
1.  Research
2.  Explore (Sketch, Critique)
3.  Prototype (or Implement)
4.  Test
5.  Repeat
Remember our design process?
1.  Research & Evaluate
2.  Explore (Brainstorm, Sketch, Critique)
3.  Prototype (or Implement)
4.  Test
5.  Repeat
Evaluating Existing
User Interfaces
One technique is called a heuristic evaluation,
where someone trained in usability walks through a
UI and notes where it violates key design principles,
or “heuristics”.
Jakob Nielsen’s
Usability Heuristics
1.  Visibility of system status
2.  Match between system and
the real world
3.  User control and freedom
4.  Consistency and standards
5.  Error prevention
6.  Recognition rather than recall
7.  Flexibility and efficiency of use
8.  Aesthetic and minimalist design
9.  Help users recognize, diagnose
and recover from errors
10. Help and documentation
From http://www.nngroup.com/articles/ten-usability-heuristics/
Let’s spend some time
evaluating your projects using
some of these heuristics.
Can we make your future
customers happier?
Hands-on discussion:
Let’s focus on these heuristics
1. Visibility of system status
2. Match between system and the
real world
3.  User control and freedom
4. Consistency and standards
5.  Error prevention
6. Recognition rather than recall
7.  Flexibility and efficiency of use
8.  Aesthetic and minimalist design
9.  Help users recognize, diagnose
and recover from errors
10. Help and documentation
Heuristic:
Match between system & real world
Official Definition:
“The system should speak the
users' language, with words,
phrases and concepts familiar to
the user, rather than system-
oriented terms. Follow real-world
conventions, making information
appear in a natural and logical
order.”
In plain English:
-  Don’t make up new terms for
concepts your users already
know.
-  Borrow metaphors from the real
world when it’s helpful.
-  Don’t be overly technical.
Heuristic:
Visibility of System Status
Official Definition:
“The system should always keep
users informed about what is
going on, through appropriate
feedback within reasonable
time.”
In plain English:
-  Don’t take too long to let
people know your app is doing
something
-  “Appropriate” means don’t
interrupt me unless it’s
important.
Heuristic:
Consistency and Standards
Official Definition:
“Users should not have to wonder
whether different words,
situations, or actions mean the
same thing. Follow platform
conventions.”
In plain English:
-  Don’t implement lots of
different ways to do a single
task in your app
-  Be inspired (and borrow heavily
from) the platform you’re
building for (like iOS).
Heuristic:
Recognition rather than Recall
Official Definition:
“Minimize the user's memory load
by making objects, actions, and
options visible. The user should
not have to remember
information from one part of the
dialogue to another.”
In plain English:
-  Don’t make your customer
remember too much
-  If information is important, find
a way to show it frequently
-  Be careful when deciding to
hide content or controls!
Now, get together with your project
group and pull up your app or any
screenshots you might have.
We’ll come through to talk to each
of you briefly about how some of
these heuristics might apply to your
project.
HEURISTIC EVALUATION WRAPUP:
DISCUSSION
š What did you learn?
š What was hard?
š What was your favorite part?
š Are you inspired to make any changes to your own projects?
NOTES FOR INSTRUCTORS
1.  It’s important to involve the students in discussion.
Encourage students to share personal stories about good and bad interfaces from their own lives. By discussing
their own moments of excitement or frustration, we slowly build empathy with other customers. If pressed for time,
cut content, not discussion. This empathy is critical for interaction designers!
2.  Make sure you have plenty of paper and pencils.
Advanced supplies (scissors, colored markers, etc.) are not needed & can actually distract students.
3.  Tailor the content for grade level.
For example, the heuristic section is best for late high school age & above -- and might be too dense for middle
school classes. Microwaves don’t resonate with students too young to cook, but those students probably use email
apps or Facebook, which are valid alternatives.
4.  Tie these concepts back to hands-on projects if possible.
If the students are working on a project, use the optional section to look at their work in a new way.
NOTES FOR INSTRUCTORS
5.  Add your own experience and content.
š  If possible, show video from a real user test (if you have the right to do so.)
š  Add more case studies or content from your own design experience.
š  Choose an alternative to the microwave you think will resonate for your students.
6.  Time the session appropriately.
š  90 minutes is the bare minimum to run the workshop (minus the heuristics, which add another 30
minutes.)
About Cheryl
Current Employer
PastEmployers
Other Companies
Cheryl’s Resume
Cheryl’s UX Portfolio
LinkedIn
Cheryl Platz
http://blog. cherylplatz.com
cheryl@cherylplatz.com

WORKSHOP: Making the World Easier with Interaction Design

  • 1.
    Making The WorldEasier with Interaction Design Cheryl Platz Senior User Experience Designer, Amazon
  • 2.
    What’s “interaction design”? Interactiondesigners try to make technology do what people expect it to do.
  • 3.
  • 4.
    It’s my jobto make sure you don’t want to throw your computer across the room.
  • 5.
    Discussion! Have you evergotten mad at your computer? Your phone? Can you remember why?
  • 6.
    Discussion! What are someexamples of things you feel are easy to use? Why?
  • 7.
    Before and After: WindowsPhone BEFORE AFTER
  • 8.
    You get towork with art AND technology. Design is very collaborative –working together! You can work in many industries with the same skills. You can make people’s lives easier - and better. What’s different about interaction design?
  • 9.
    But seriously, what ISInteraction Design? PSYCHOLOGY VISUAL DESIGNCOMPUTER SCIENCE + +
  • 10.
    The Design Process 1. Research 2.  Explore (Brainstorm, Sketch, Critique) 3.  Prototype (or Implement) 4.  Test 5.  Repeat
  • 11.
    Let’s look atsome of the tools designers use to communicate their ideas.
  • 12.
    Storyboarding: Helps us understand thecontext in which our customers will use our products. Most useful for: Device design, phone apps Least useful for: Websites
  • 13.
    Storyboarding: Helps us understand thecontext in which our customers will use our products. Most useful for: Device design, phone apps Least useful for: Websites
  • 14.
    Sketching: Helps us exploreand communicate many ideas quickly without investing development resources. Encourages discussion of ideas early in the process. If you can draw rectangles and squiggly lines, you can sketch.
  • 15.
    Wireframes: Show all ofthe pieces of the UI, but don’t worry about final colors and other smaller details Term comes from computer animation – method for showing a shape with as little detail as possible
  • 16.
    Information Architecture & Flow Diagrams: Showthe relationship between all of the concepts - or all of the screens and actions – in your product
  • 17.
    Today, you’ll tryyour hand at planning, sketching, and evaluating user experiences.
  • 18.
    But first: afew tips and tricks.
  • 19.
    PSYCHOLOGY: RULE OF 7 It’shard for the human brain’s short term memory to remember more than 7 things at once (more or less). The more “things” you put onscreen, the more work a person has to do to remember them.
  • 20.
    English speakers scan fromleft to right and top to bottom. Items down here are seen last… and sometimes not seen at all. PSYCHOLOGY: EYE SCANNING Eyetrackingmapofapast Facebookhomepagelayout
  • 21.
    VISUAL DESIGN: GROUPING Similar itemsshould be grouped together: Make groups clear by using plenty of space Avoid the Sesame Street scenario: “One of these things is not like the other”
  • 22.
    VISUAL DESIGN: GROUPING Similar itemsshould be grouped together: Make groups clear by using plenty of space Avoid the Sesame Street scenario: “One of these things is not like the other” Cookie Monster love Gestalt principles!
  • 23.
    VISUAL DESIGN: “WHITESPACE” Give yourdesigns room to breathe! Sometimes less is more…
  • 24.
    VISUAL DESIGN: ALIGNMENT Line thingsup so they don’t look jumbled Make things larger if they’re important
  • 25.
    There are manymore principles to learn, but this is a start.
  • 26.
    Where does computer sciencecome in? Helps you understand the technologies you’re using Teaches you to speak the same “language” as the people building your designs Gives you the power to prototype and even build your work
  • 27.
    Your challenge: design anew microwave. Step 1: Research
  • 28.
    RESEARCH: MICROWAVES ON THEMARKET Let’s look at some example microwave interfaces and look at what we like – and what we don’t like. “Most microwaves that you find in the store have a user interface that is so terrible, I can only assume that it was designed by a committee of middle managers who don’t even know the meaning of the term “user interface.” – TimandJeni.com, “Why do most microwaves have such a terrible user experience?”
  • 29.
    “This Jenn-Air microwavesports 34 buttons. Thirty-four buttons! The microwave in my kitchen at home is a similar Jenn-Air model, also with thirty-four flat, zero-feedback buttons. The vast majority of the time, I use exactly two of these buttons: “Add 30 Sec.” (which also starts the heat) and “Stop / Cancel.” (TimandJeni.com)
  • 30.
    “It’s definitely astep in the right direction, with 14 raised tactile buttons plus a simple knob, but most of the buttons are still completely superfluous. What the heck is “Inverter Turbo Defrost” or “Inverter Melt & Soften”? No doubt some microwave engineer worked long hours coming up with these clever features, but seriously… why?” (TimandJeni.com)
  • 31.
  • 32.
    BRAINSTORMING: MICROWAVE TASKS What kindsof tasks do you feel are REQUIRED in your microwave? What will your customers do most often? Is there anything your current microwave does that you don’t need? We try to state requirements as PROBLEMS, not SOLUTIONS. For example: š I need to set the length of time to cook š I need to start cooking … What else?
  • 33.
    SKETCH YOUR MICROWAVEUI (15 MINUTES) š Use paper and pencil to draw what you want your microwave’s user interface to look like š Don’t worry about the shape of the microwave itself; focus on the control panel š Try several different ideas – the goal is to experiment, even if it seems crazy
  • 34.
    REMINDER: TIPS AND TRICKS Psychology: š Ruleof 7 š Eye Scanning š Left to right š Top to bottom Visual Design: š Grouping š Whitespace š Size š Alignment
  • 35.
    STEP 3: PROTOTYPING š The next step would ideally be to make a prototype: this is where computer science really comes in! š  You take your ideas and make them real, but as quickly as possible š  This step lets you test with customers before you spend a ton of money on building the real thing š  BUT! You can even make paper prototypes – so we’ll use your sketches as a paper prototype for Step 4.
  • 36.
    We don’t havetime to BUILD a prototype – but what you drew was essentially a very rough paper prototype! Time for Step 4: Testing
  • 37.
    TEST YOUR MICROWAVEUI (15 MINUTES) This is technically a “paper prototype” test – and you can learn a lot even from these early stages! š Find a partner or two next to you š Take turns showing each other your designs š See if they can do some of the requirements without help š Get their feedback!
  • 38.
    MICROWAVE WRAP-UP: DISCUSSION š What didyou learn? š What was hard? š What was your favorite part? š Would you use the microwave you designed? Would your parents want to use it? š What other things in your life do you think could be improved using this process?
  • 39.
    NOW, GO MAKETHE WORLD AN EASIER PLACE TO LIVE! š Contacting me: @muppetaphrodite or Cheryl@cherylplatz.com š Blog posts on IxD: http://blog.cherylplatz.com/?cat=13 š Schools that teach interaction design: š Carnegie Mellon University (undergrad & graduate) š University of Washington (undergrad & graduate) š Savannah College of Art & Design š Click here for a Wikipedia list of global IxD college programs
  • 40.
    EXERCISE: Evaluate anexisting project using heuristics Optional 30-minute exercise for classes with existing project work. It can also be used on a specific existing public site, platform or app.
  • 41.
    What do youdo to improve an existing user interface?
  • 42.
    Remember our designprocess? 1.  Research 2.  Explore (Sketch, Critique) 3.  Prototype (or Implement) 4.  Test 5.  Repeat
  • 43.
    Remember our designprocess? 1.  Research & Evaluate 2.  Explore (Brainstorm, Sketch, Critique) 3.  Prototype (or Implement) 4.  Test 5.  Repeat
  • 44.
    Evaluating Existing User Interfaces Onetechnique is called a heuristic evaluation, where someone trained in usability walks through a UI and notes where it violates key design principles, or “heuristics”.
  • 45.
    Jakob Nielsen’s Usability Heuristics 1. Visibility of system status 2.  Match between system and the real world 3.  User control and freedom 4.  Consistency and standards 5.  Error prevention 6.  Recognition rather than recall 7.  Flexibility and efficiency of use 8.  Aesthetic and minimalist design 9.  Help users recognize, diagnose and recover from errors 10. Help and documentation From http://www.nngroup.com/articles/ten-usability-heuristics/
  • 46.
    Let’s spend sometime evaluating your projects using some of these heuristics. Can we make your future customers happier?
  • 47.
    Hands-on discussion: Let’s focuson these heuristics 1. Visibility of system status 2. Match between system and the real world 3.  User control and freedom 4. Consistency and standards 5.  Error prevention 6. Recognition rather than recall 7.  Flexibility and efficiency of use 8.  Aesthetic and minimalist design 9.  Help users recognize, diagnose and recover from errors 10. Help and documentation
  • 48.
    Heuristic: Match between system& real world Official Definition: “The system should speak the users' language, with words, phrases and concepts familiar to the user, rather than system- oriented terms. Follow real-world conventions, making information appear in a natural and logical order.” In plain English: -  Don’t make up new terms for concepts your users already know. -  Borrow metaphors from the real world when it’s helpful. -  Don’t be overly technical.
  • 49.
    Heuristic: Visibility of SystemStatus Official Definition: “The system should always keep users informed about what is going on, through appropriate feedback within reasonable time.” In plain English: -  Don’t take too long to let people know your app is doing something -  “Appropriate” means don’t interrupt me unless it’s important.
  • 50.
    Heuristic: Consistency and Standards OfficialDefinition: “Users should not have to wonder whether different words, situations, or actions mean the same thing. Follow platform conventions.” In plain English: -  Don’t implement lots of different ways to do a single task in your app -  Be inspired (and borrow heavily from) the platform you’re building for (like iOS).
  • 51.
    Heuristic: Recognition rather thanRecall Official Definition: “Minimize the user's memory load by making objects, actions, and options visible. The user should not have to remember information from one part of the dialogue to another.” In plain English: -  Don’t make your customer remember too much -  If information is important, find a way to show it frequently -  Be careful when deciding to hide content or controls!
  • 52.
    Now, get togetherwith your project group and pull up your app or any screenshots you might have. We’ll come through to talk to each of you briefly about how some of these heuristics might apply to your project.
  • 53.
    HEURISTIC EVALUATION WRAPUP: DISCUSSION š Whatdid you learn? š What was hard? š What was your favorite part? š Are you inspired to make any changes to your own projects?
  • 54.
    NOTES FOR INSTRUCTORS 1. It’s important to involve the students in discussion. Encourage students to share personal stories about good and bad interfaces from their own lives. By discussing their own moments of excitement or frustration, we slowly build empathy with other customers. If pressed for time, cut content, not discussion. This empathy is critical for interaction designers! 2.  Make sure you have plenty of paper and pencils. Advanced supplies (scissors, colored markers, etc.) are not needed & can actually distract students. 3.  Tailor the content for grade level. For example, the heuristic section is best for late high school age & above -- and might be too dense for middle school classes. Microwaves don’t resonate with students too young to cook, but those students probably use email apps or Facebook, which are valid alternatives. 4.  Tie these concepts back to hands-on projects if possible. If the students are working on a project, use the optional section to look at their work in a new way.
  • 55.
    NOTES FOR INSTRUCTORS 5. Add your own experience and content. š  If possible, show video from a real user test (if you have the right to do so.) š  Add more case studies or content from your own design experience. š  Choose an alternative to the microwave you think will resonate for your students. 6.  Time the session appropriately. š  90 minutes is the bare minimum to run the workshop (minus the heuristics, which add another 30 minutes.)
  • 56.
    About Cheryl Current Employer PastEmployers OtherCompanies Cheryl’s Resume Cheryl’s UX Portfolio LinkedIn Cheryl Platz http://blog. cherylplatz.com cheryl@cherylplatz.com