Downloaded 827 times
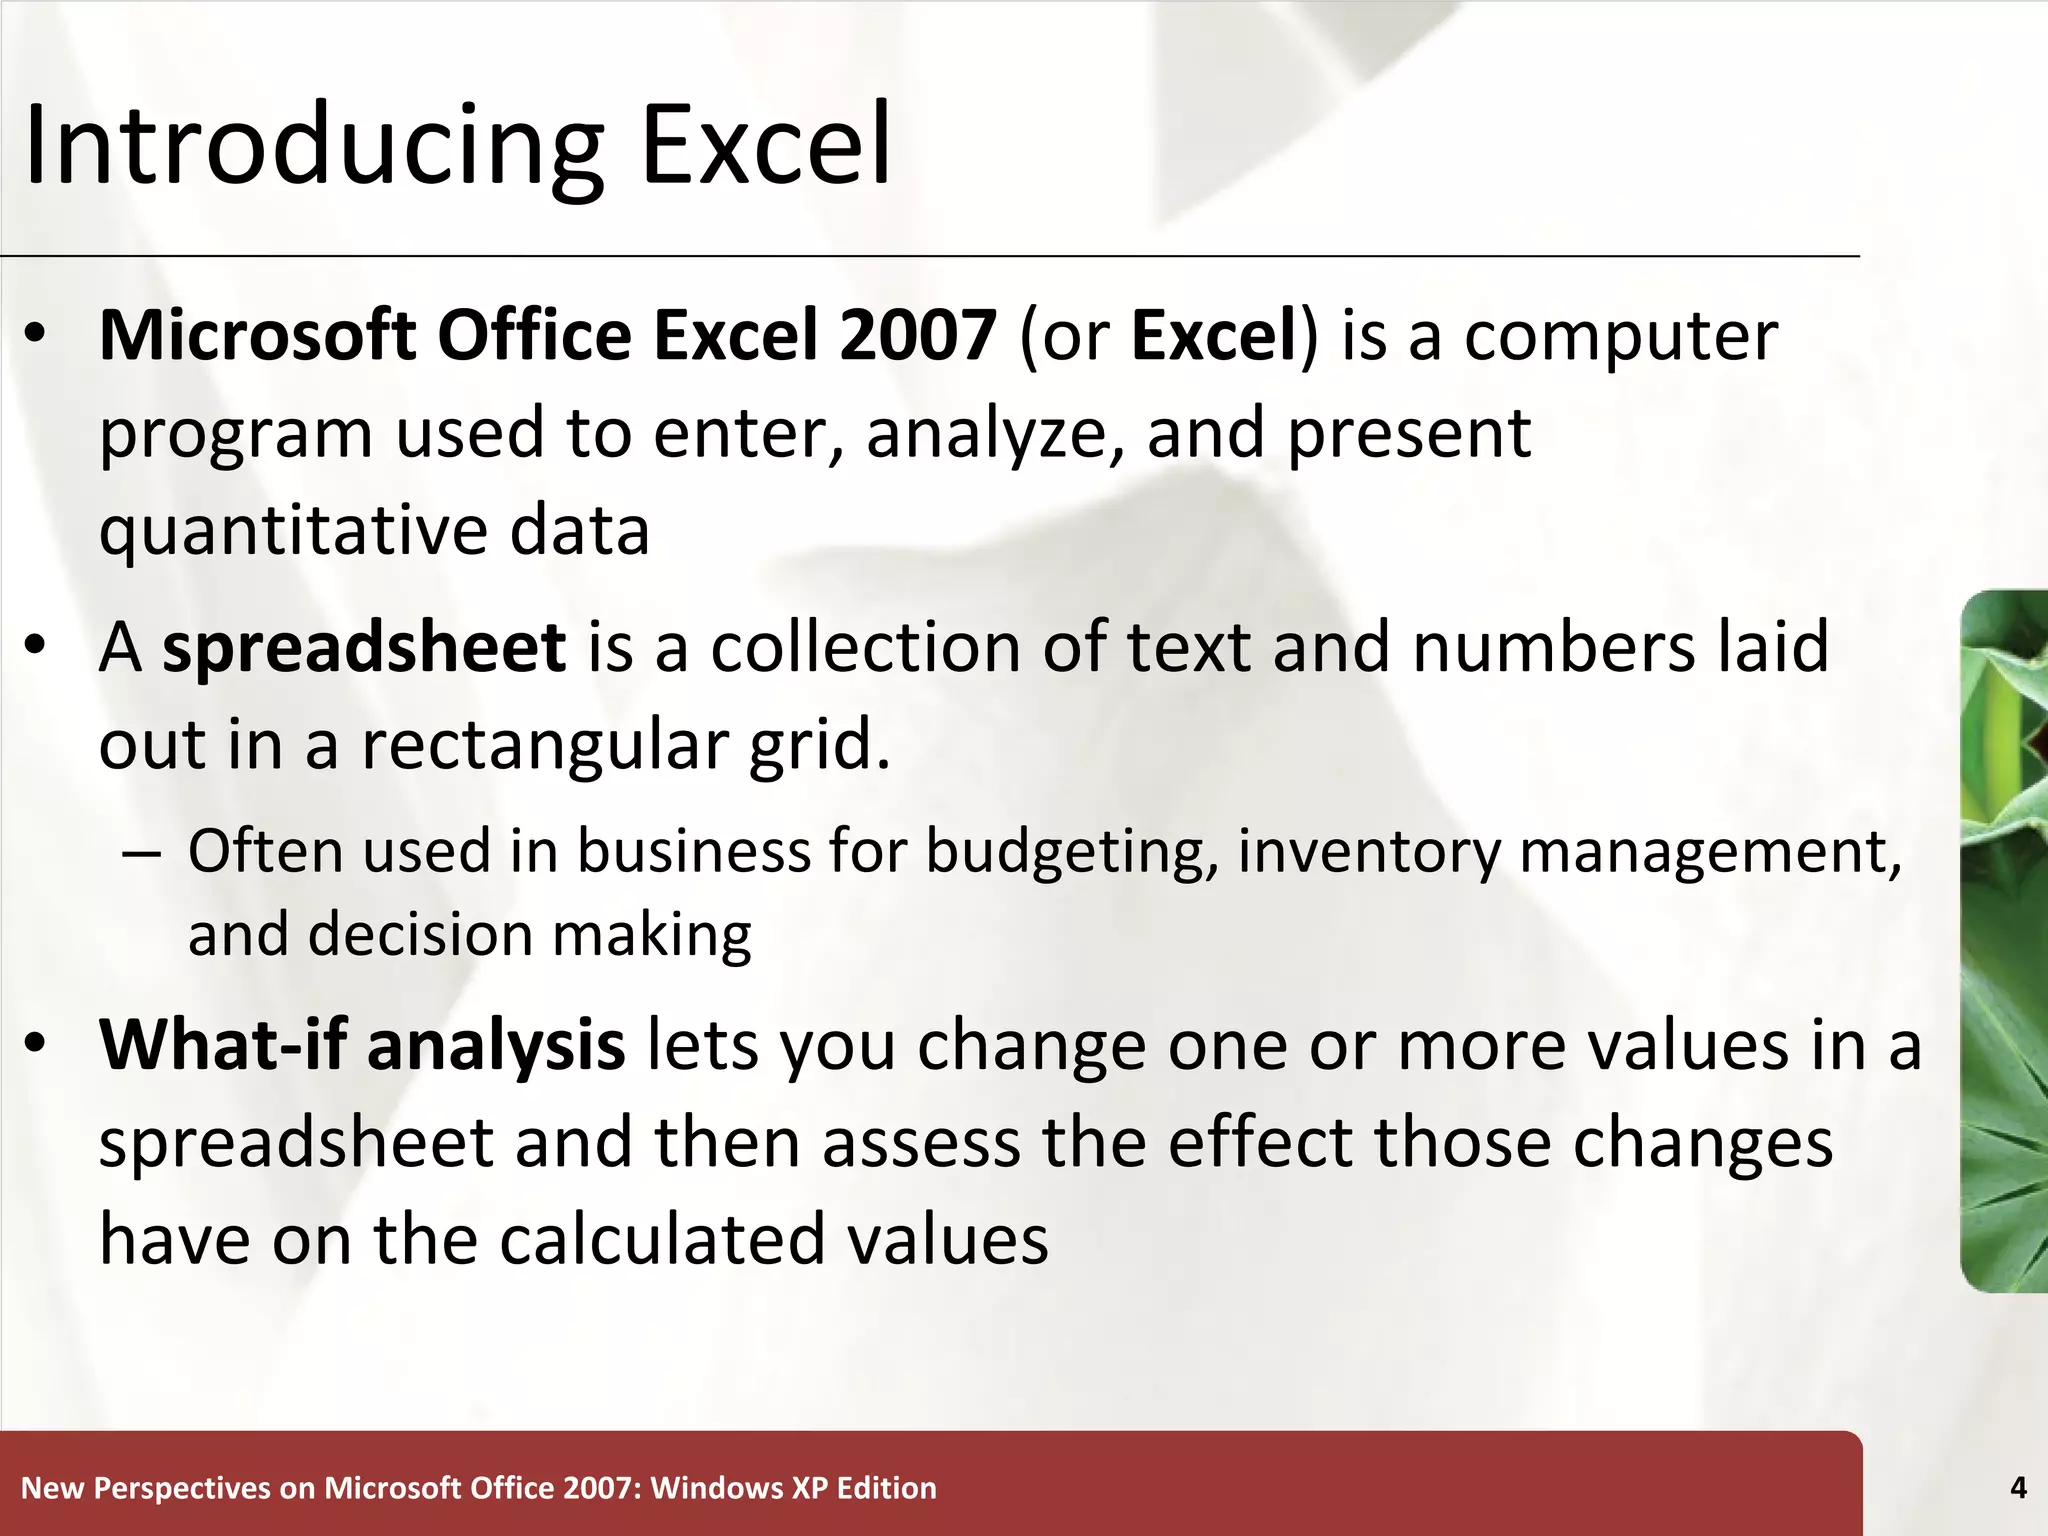


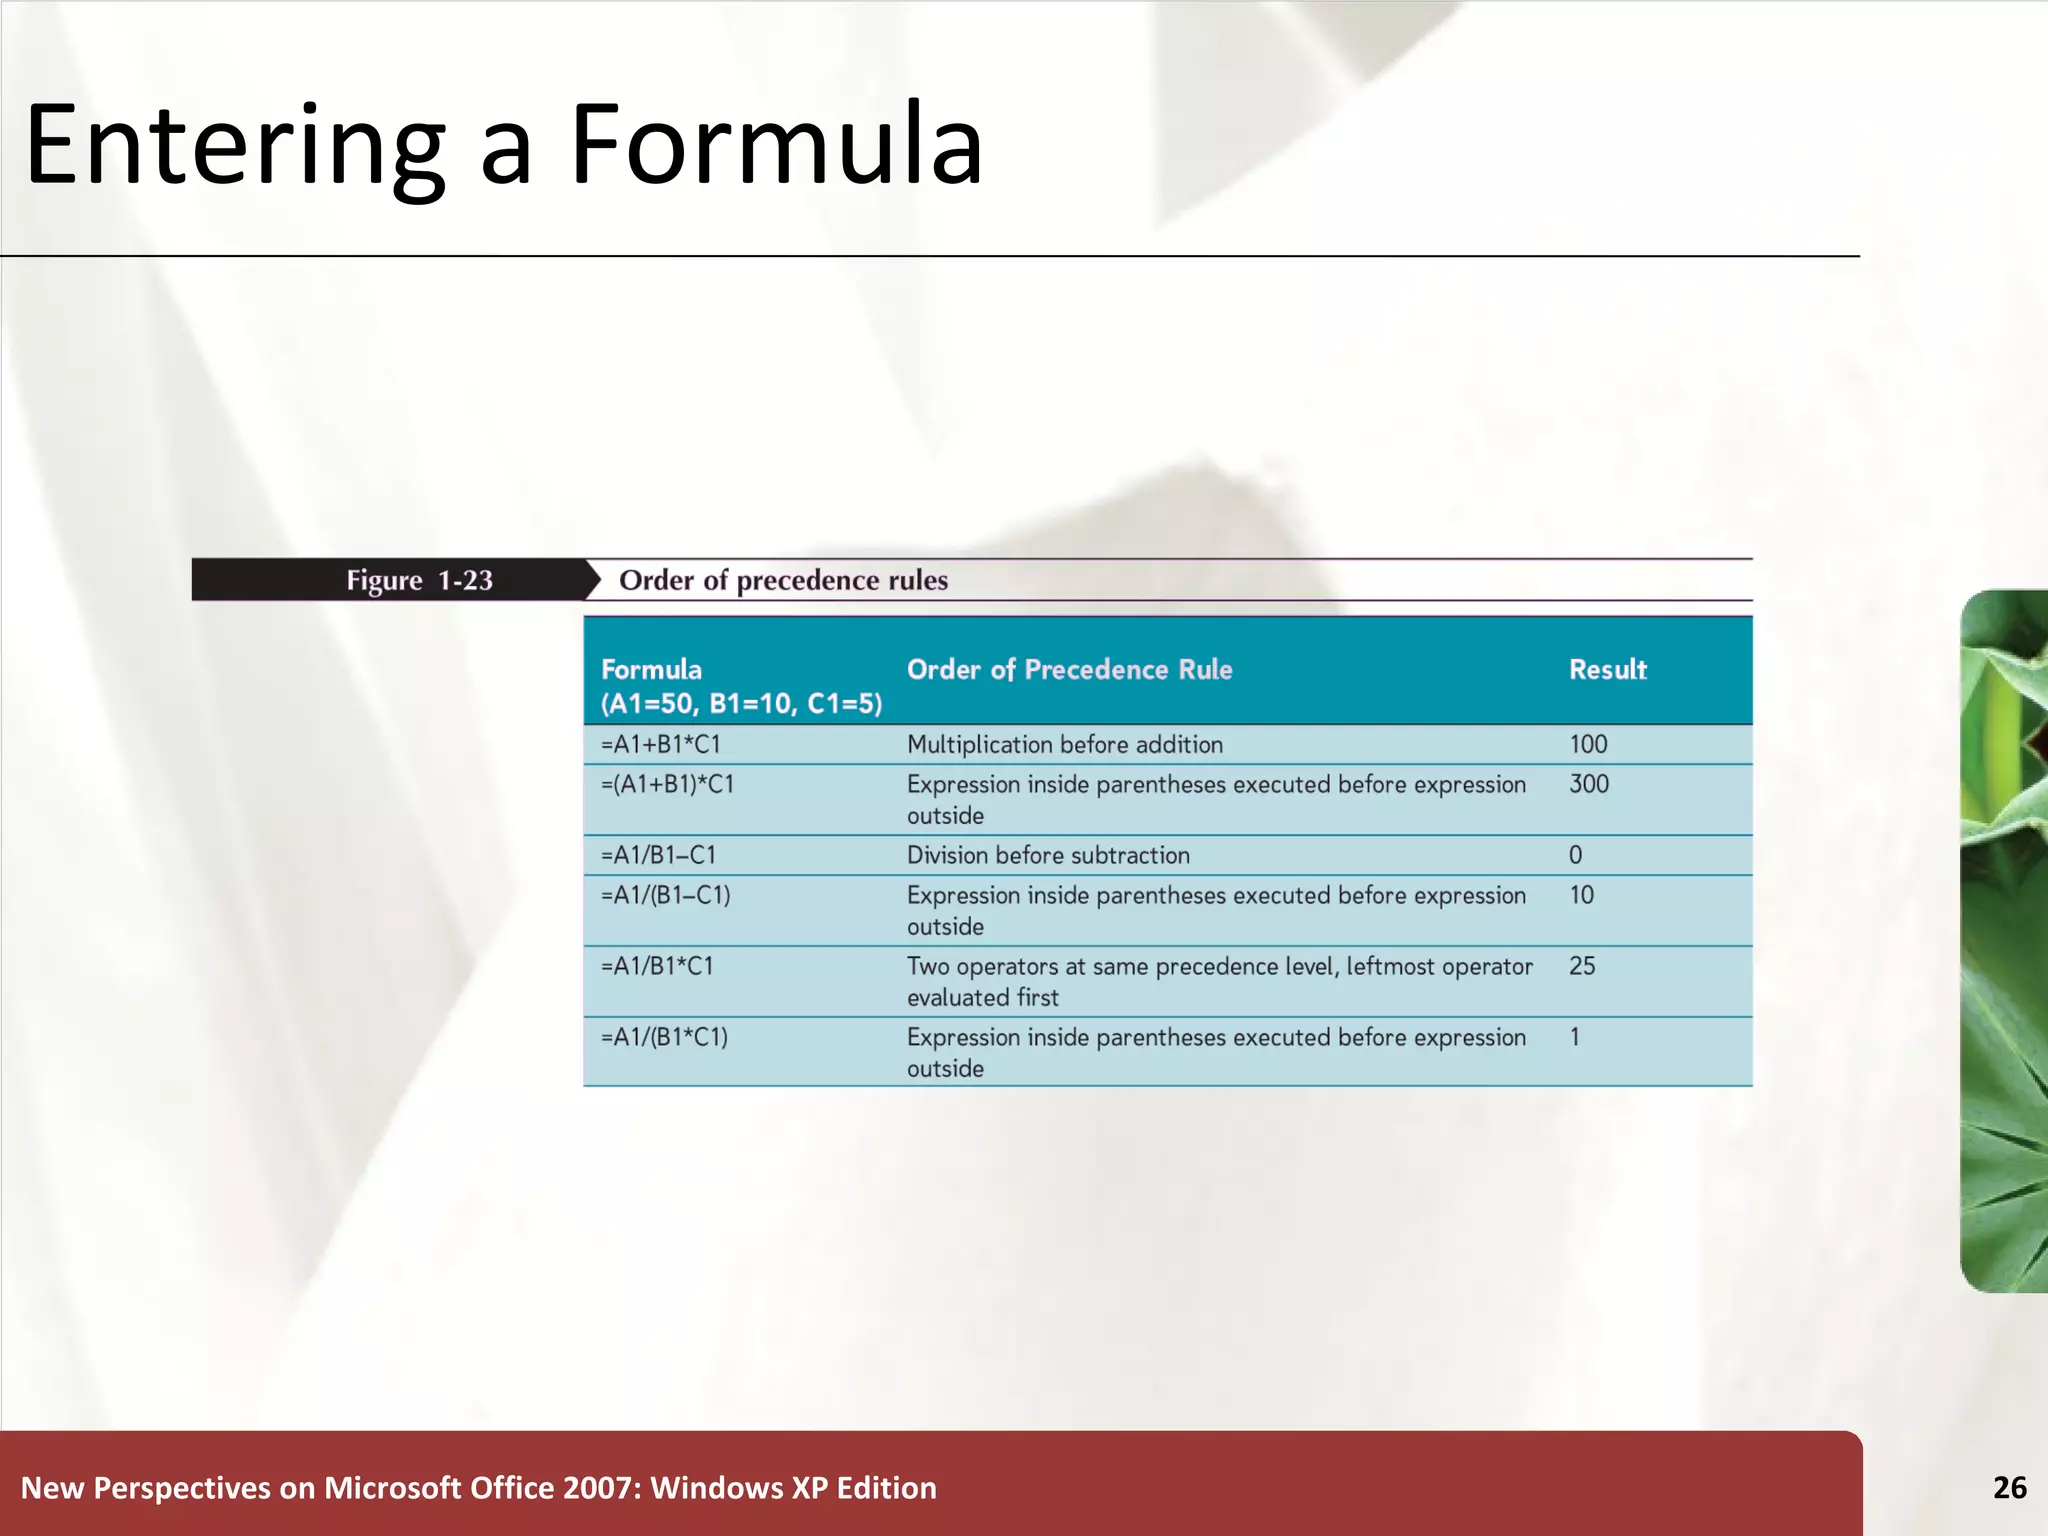
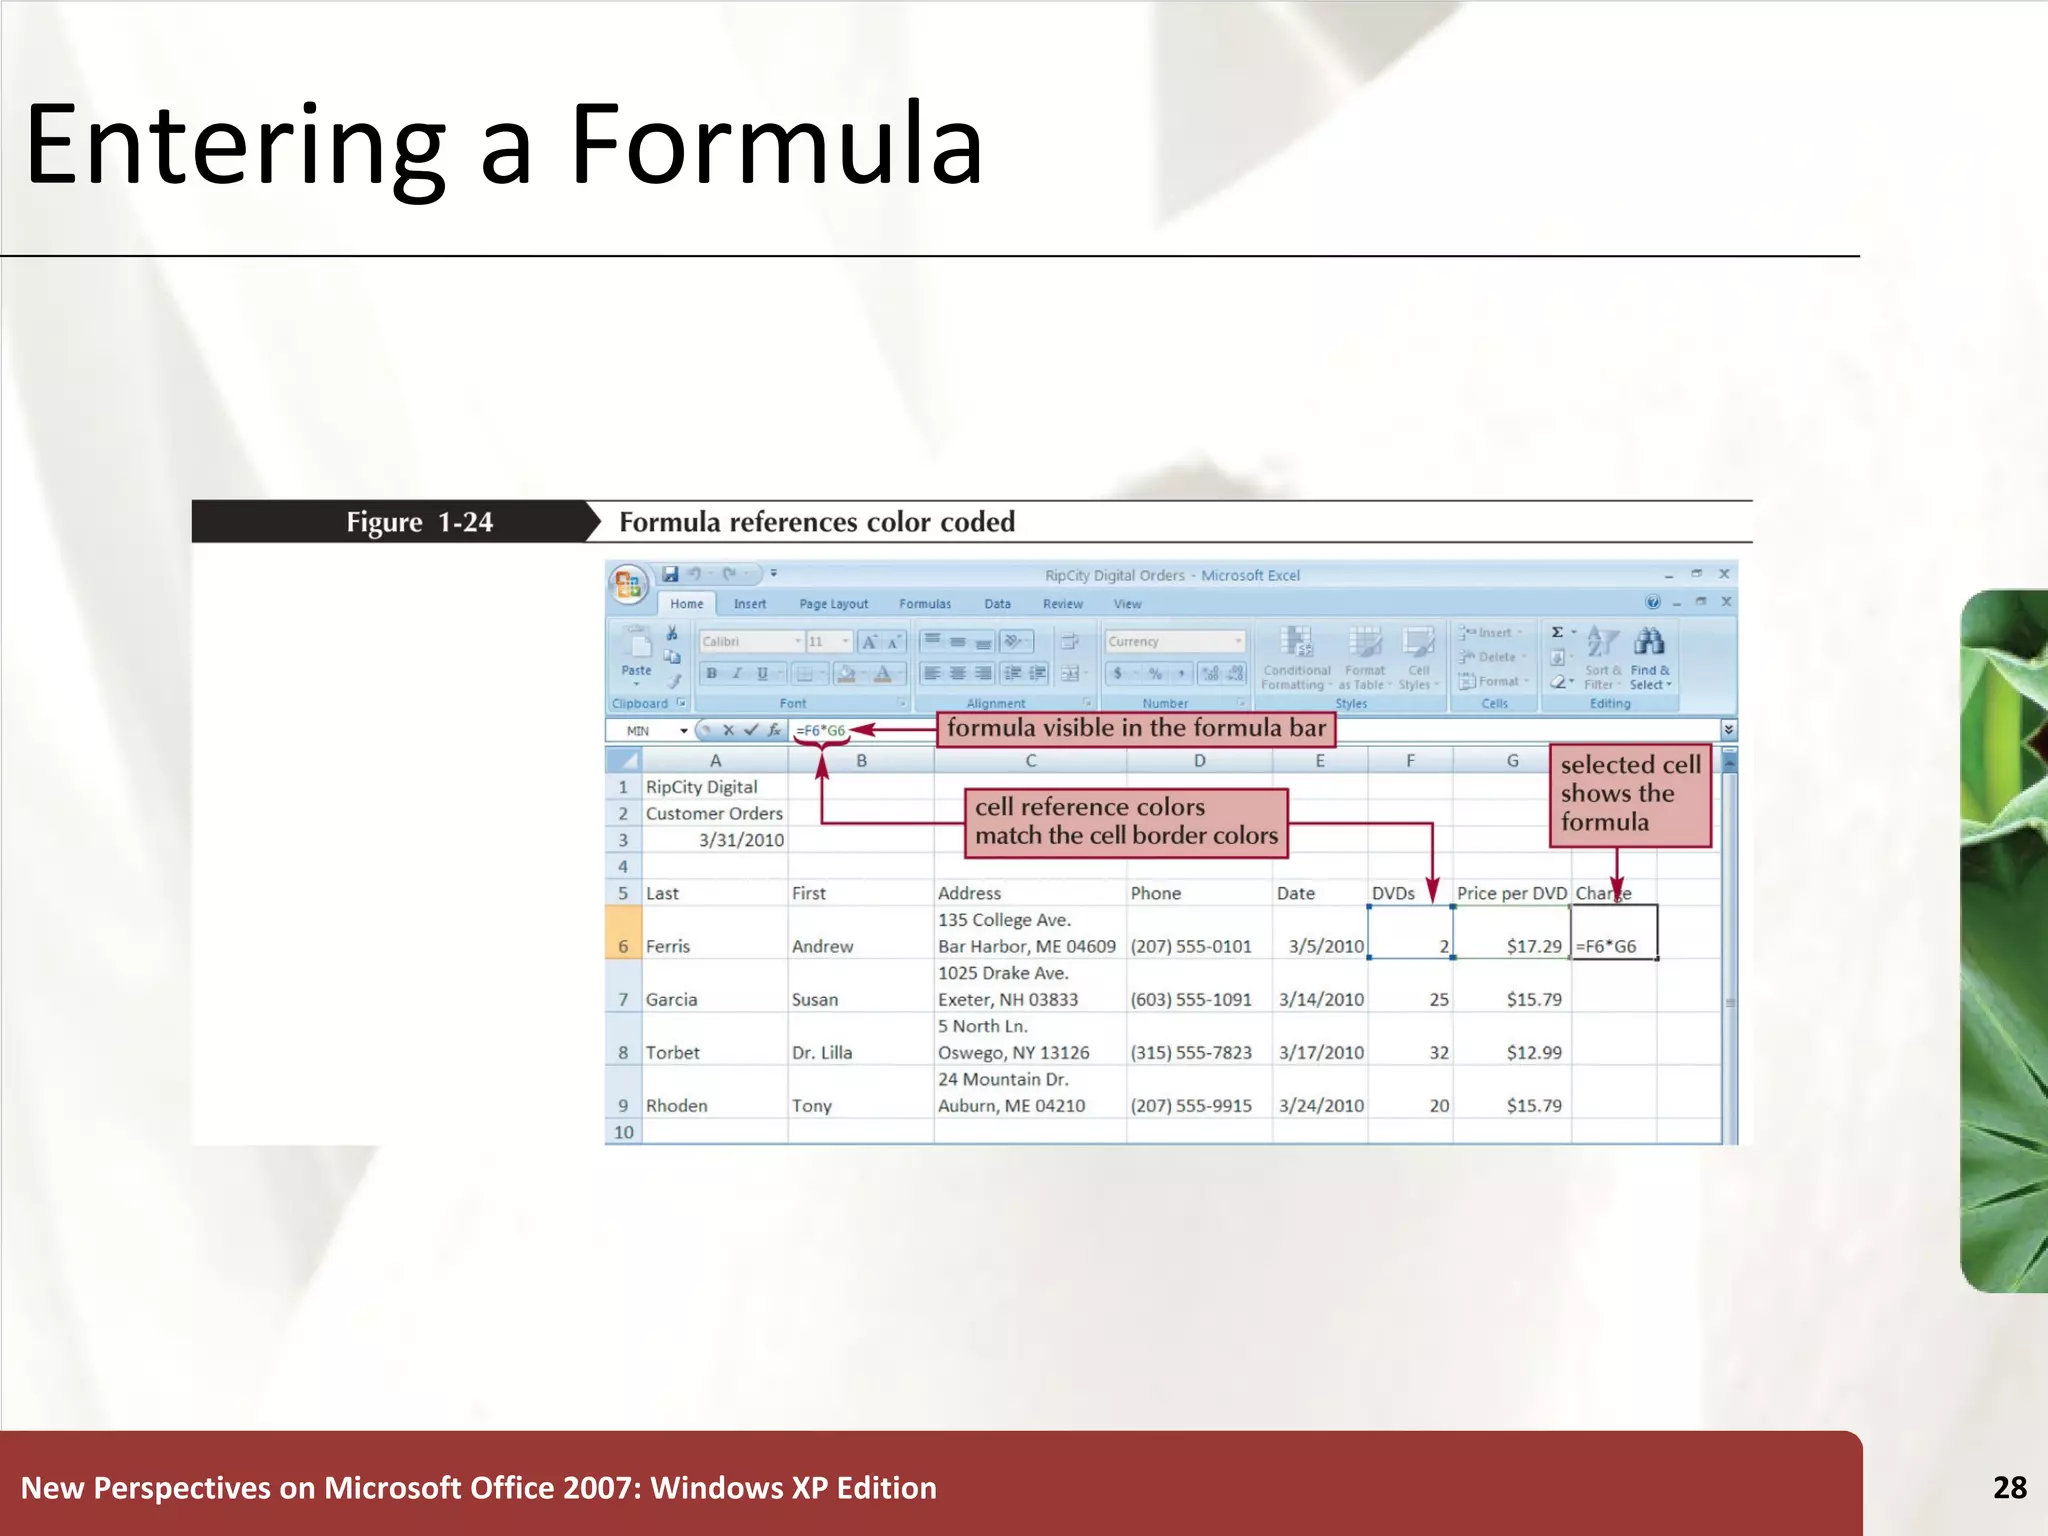
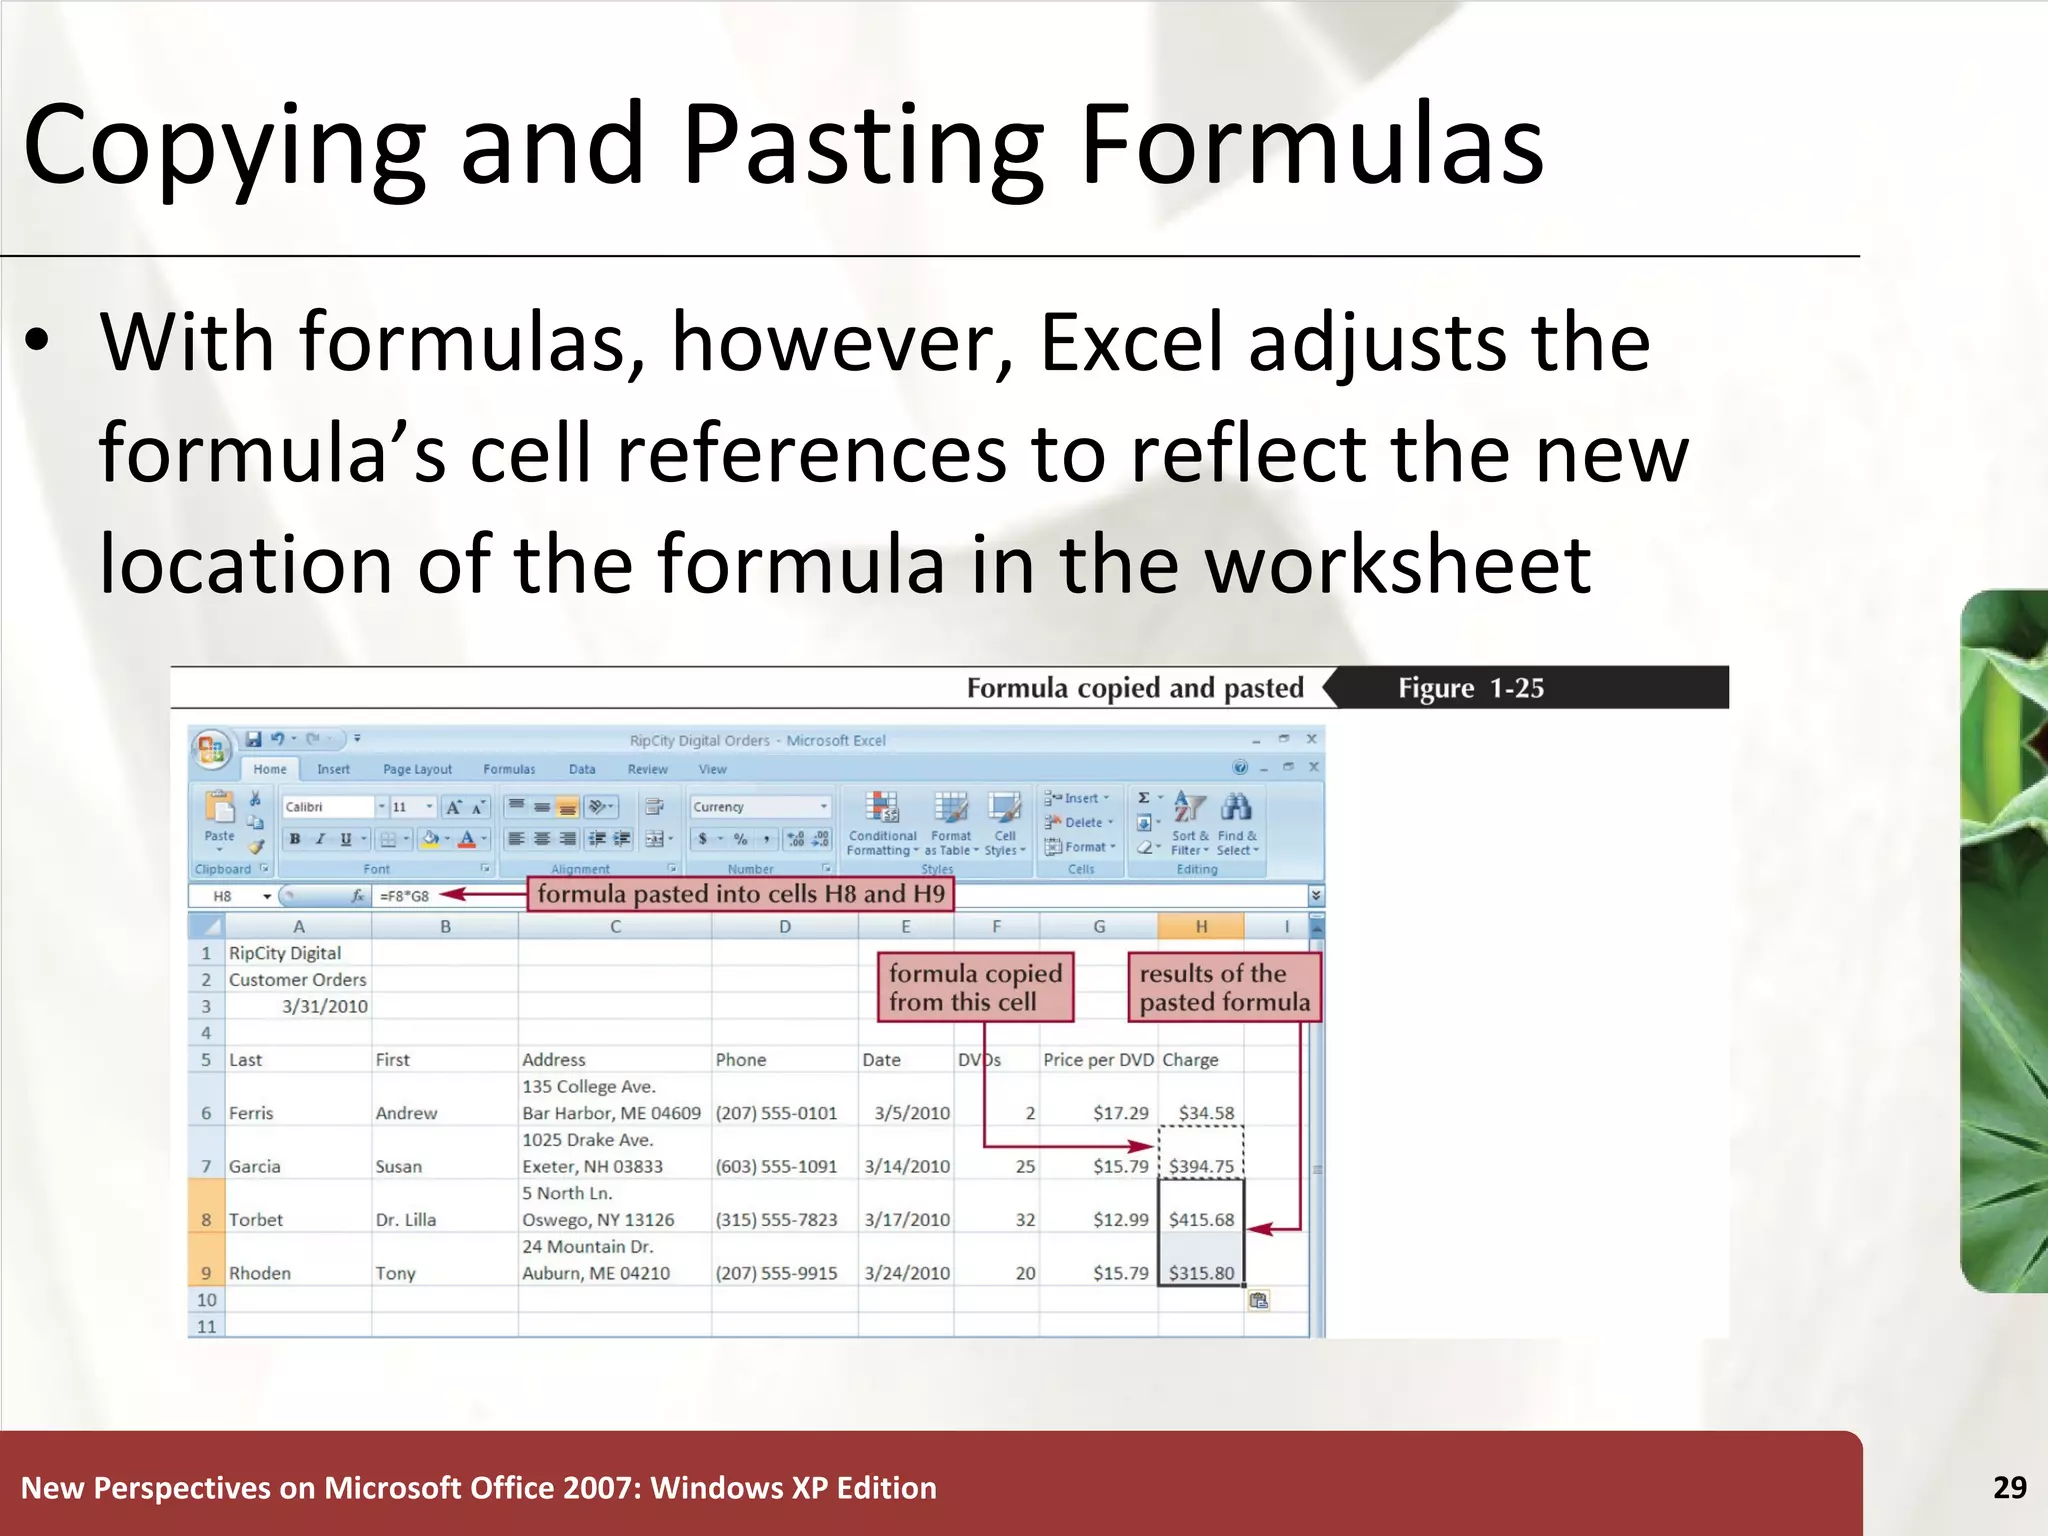
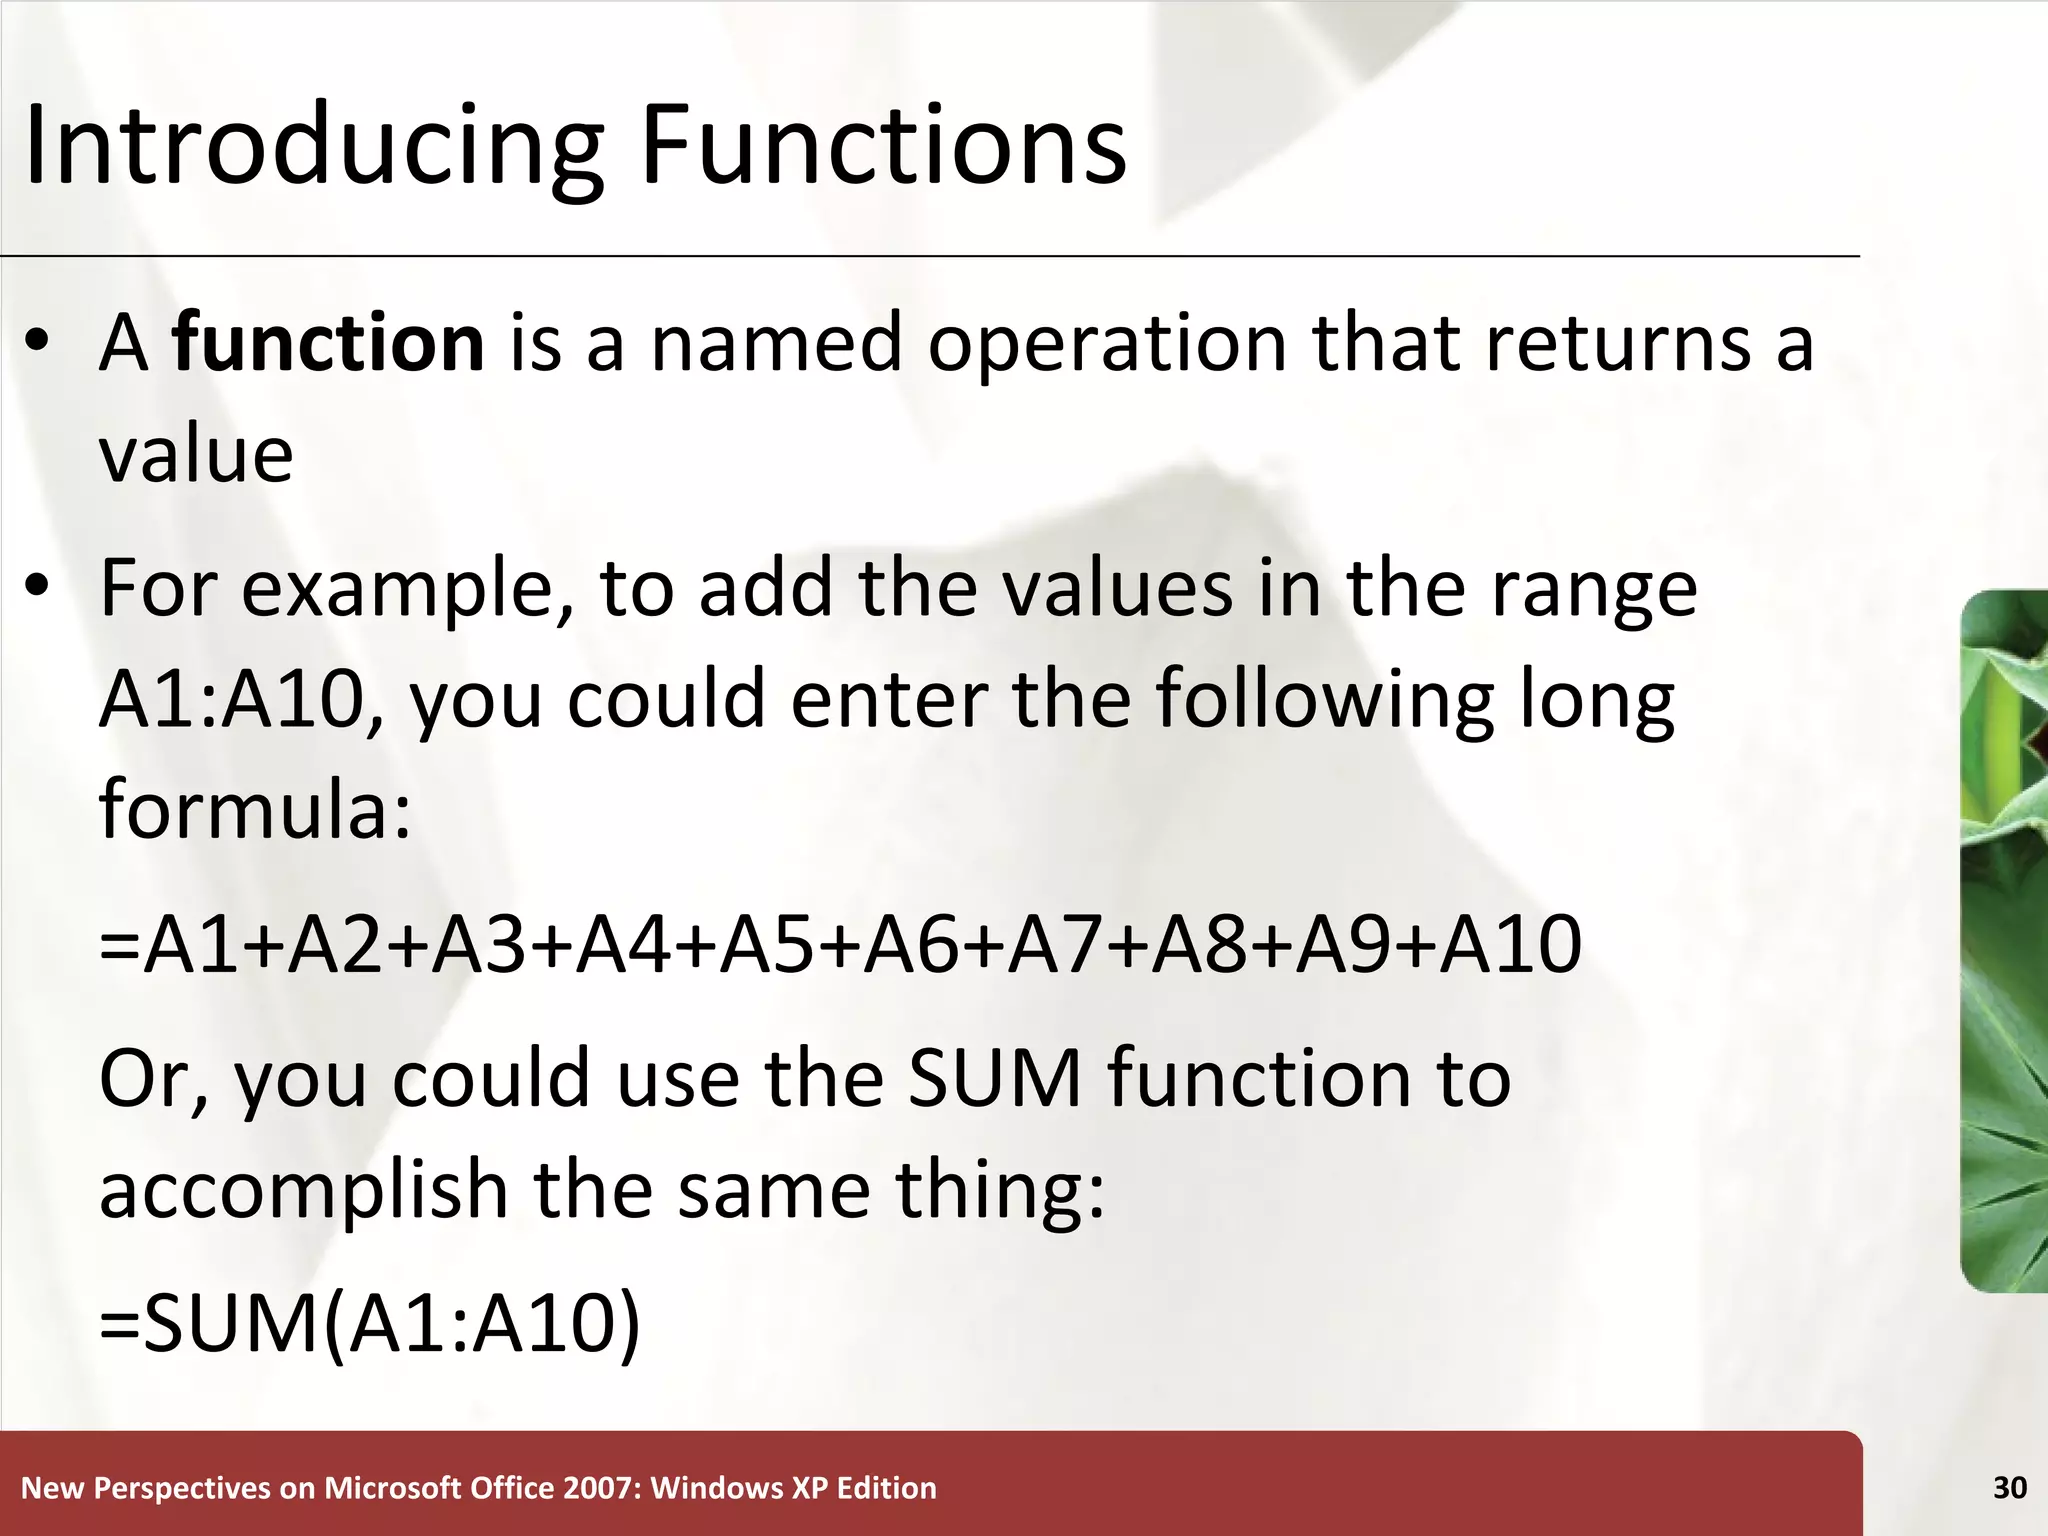
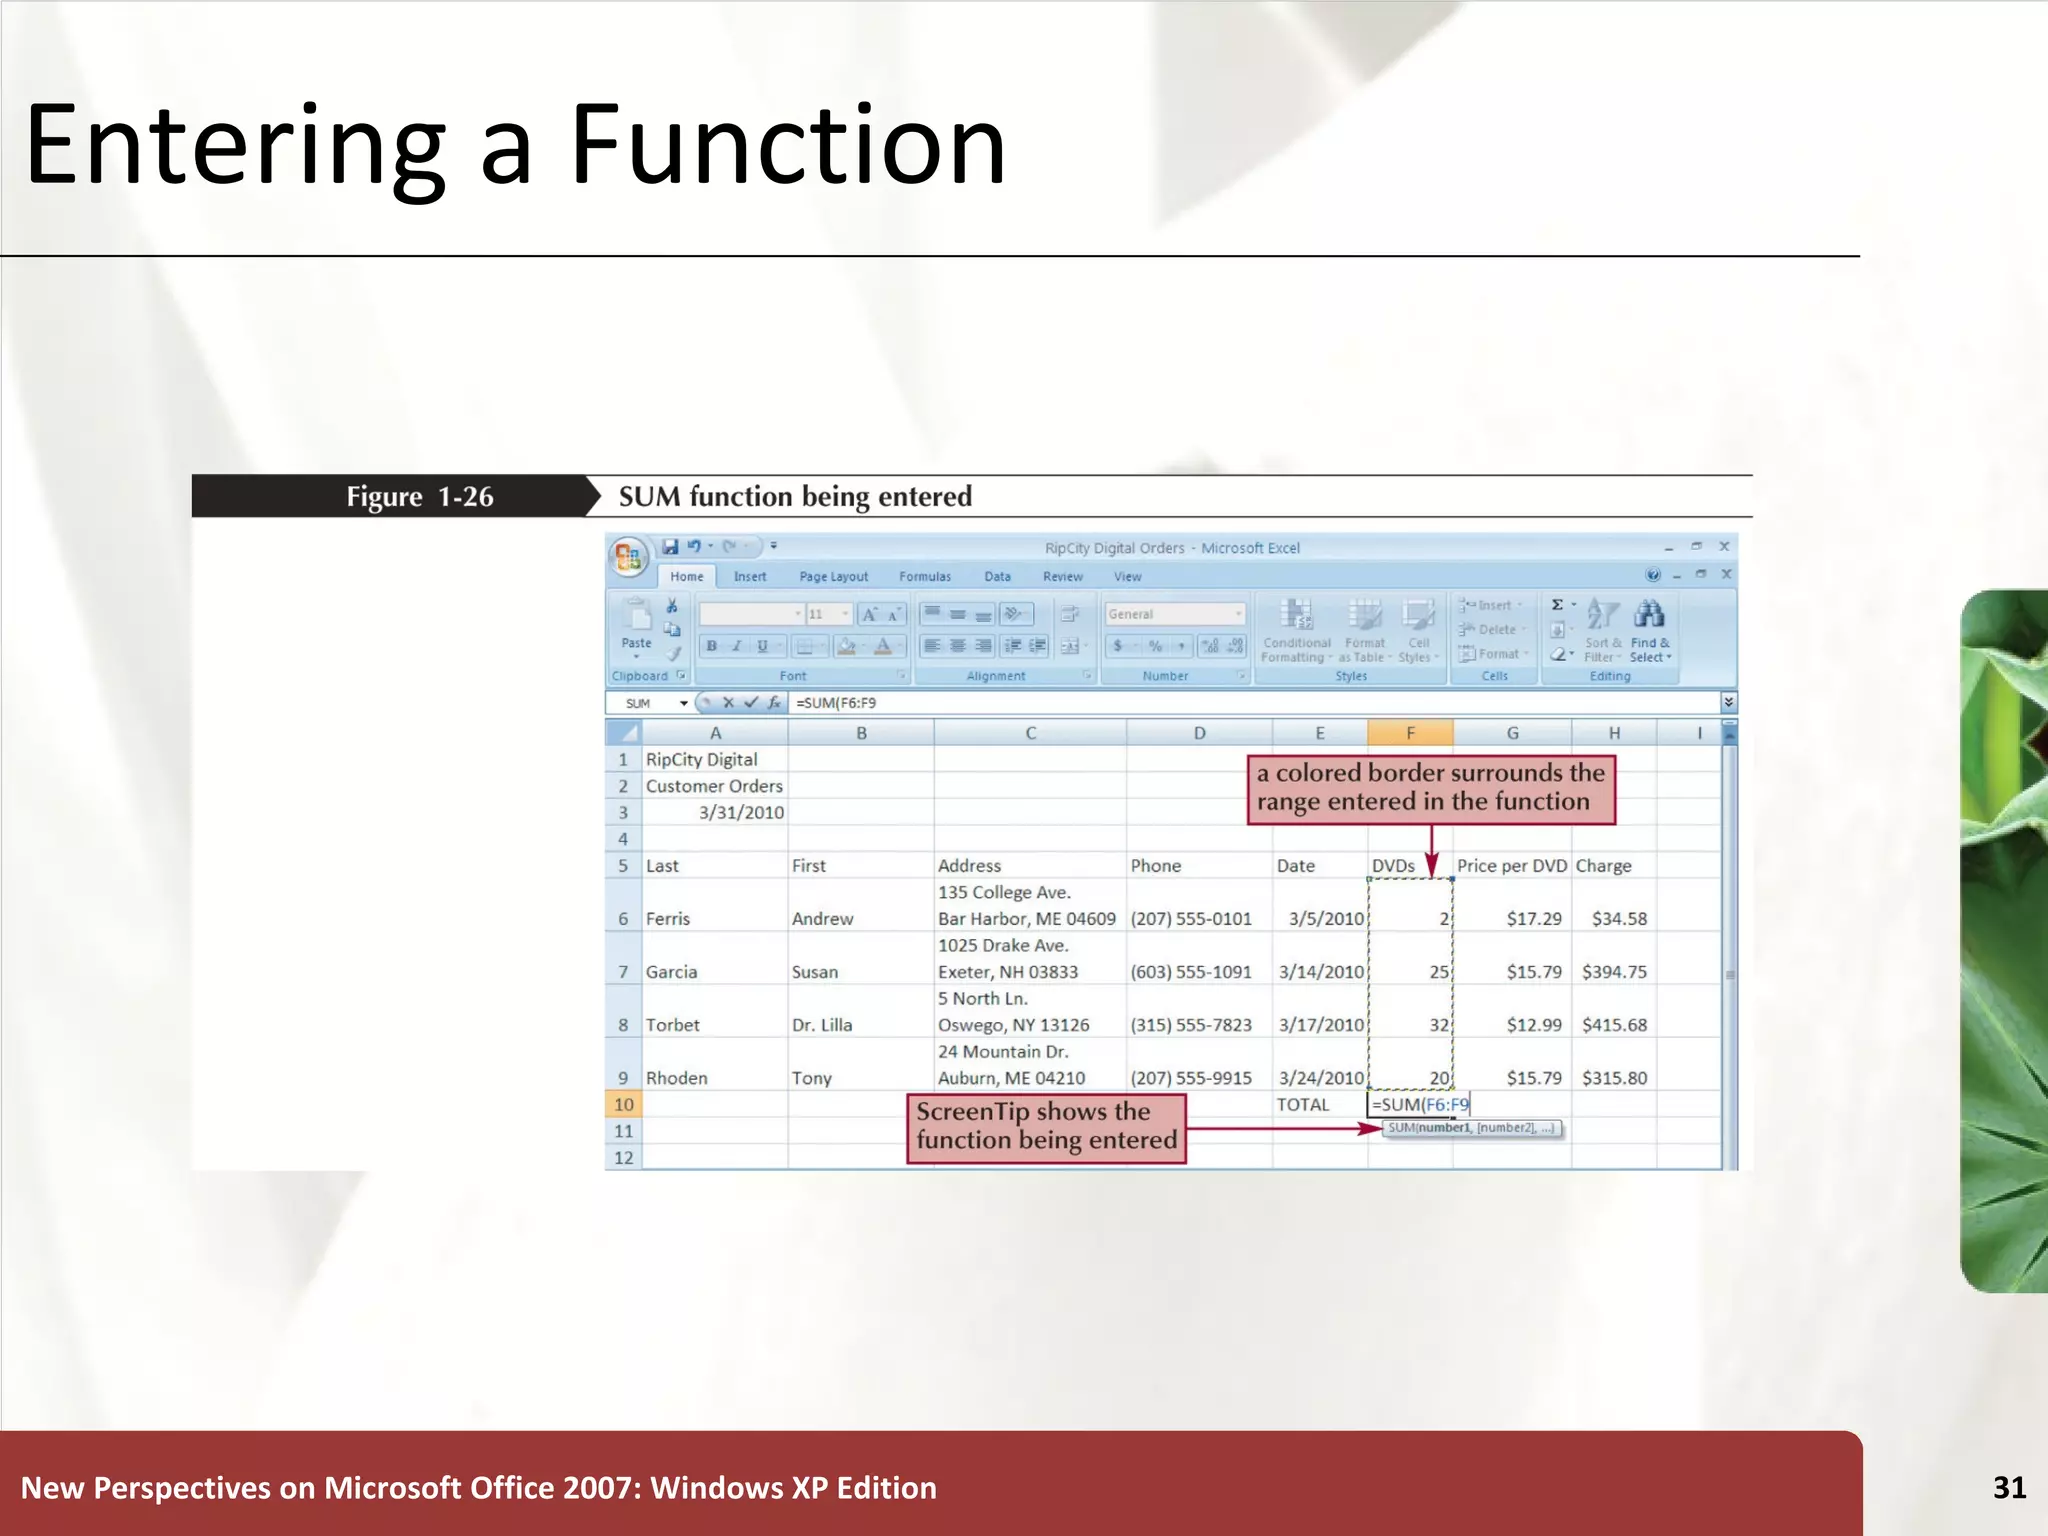

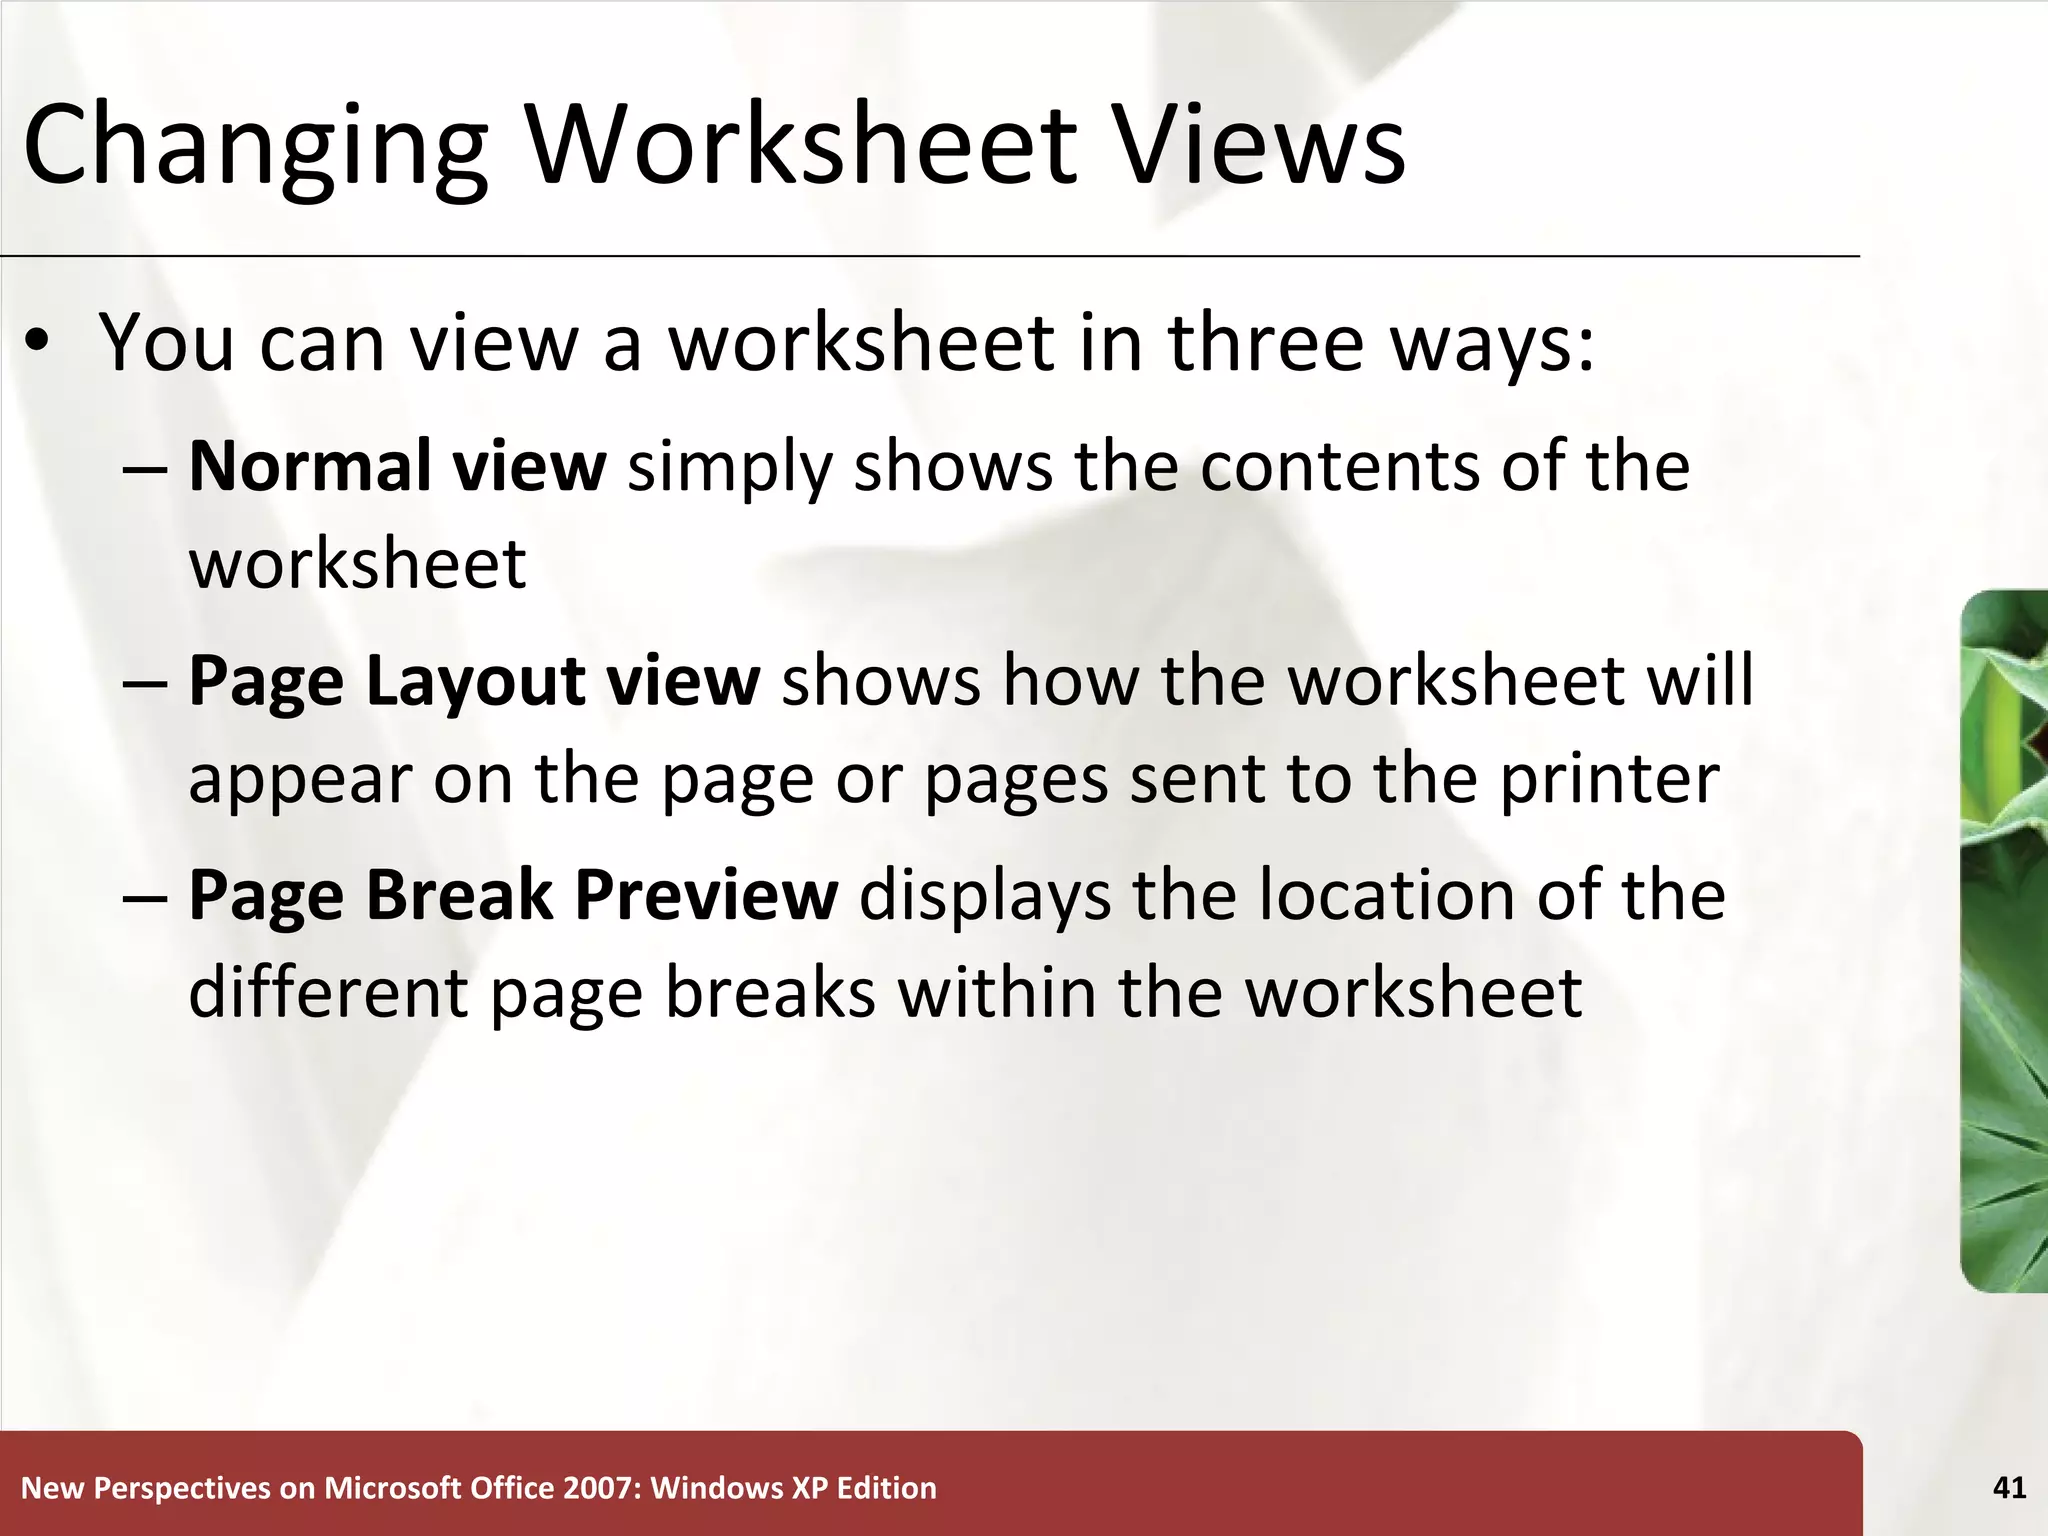


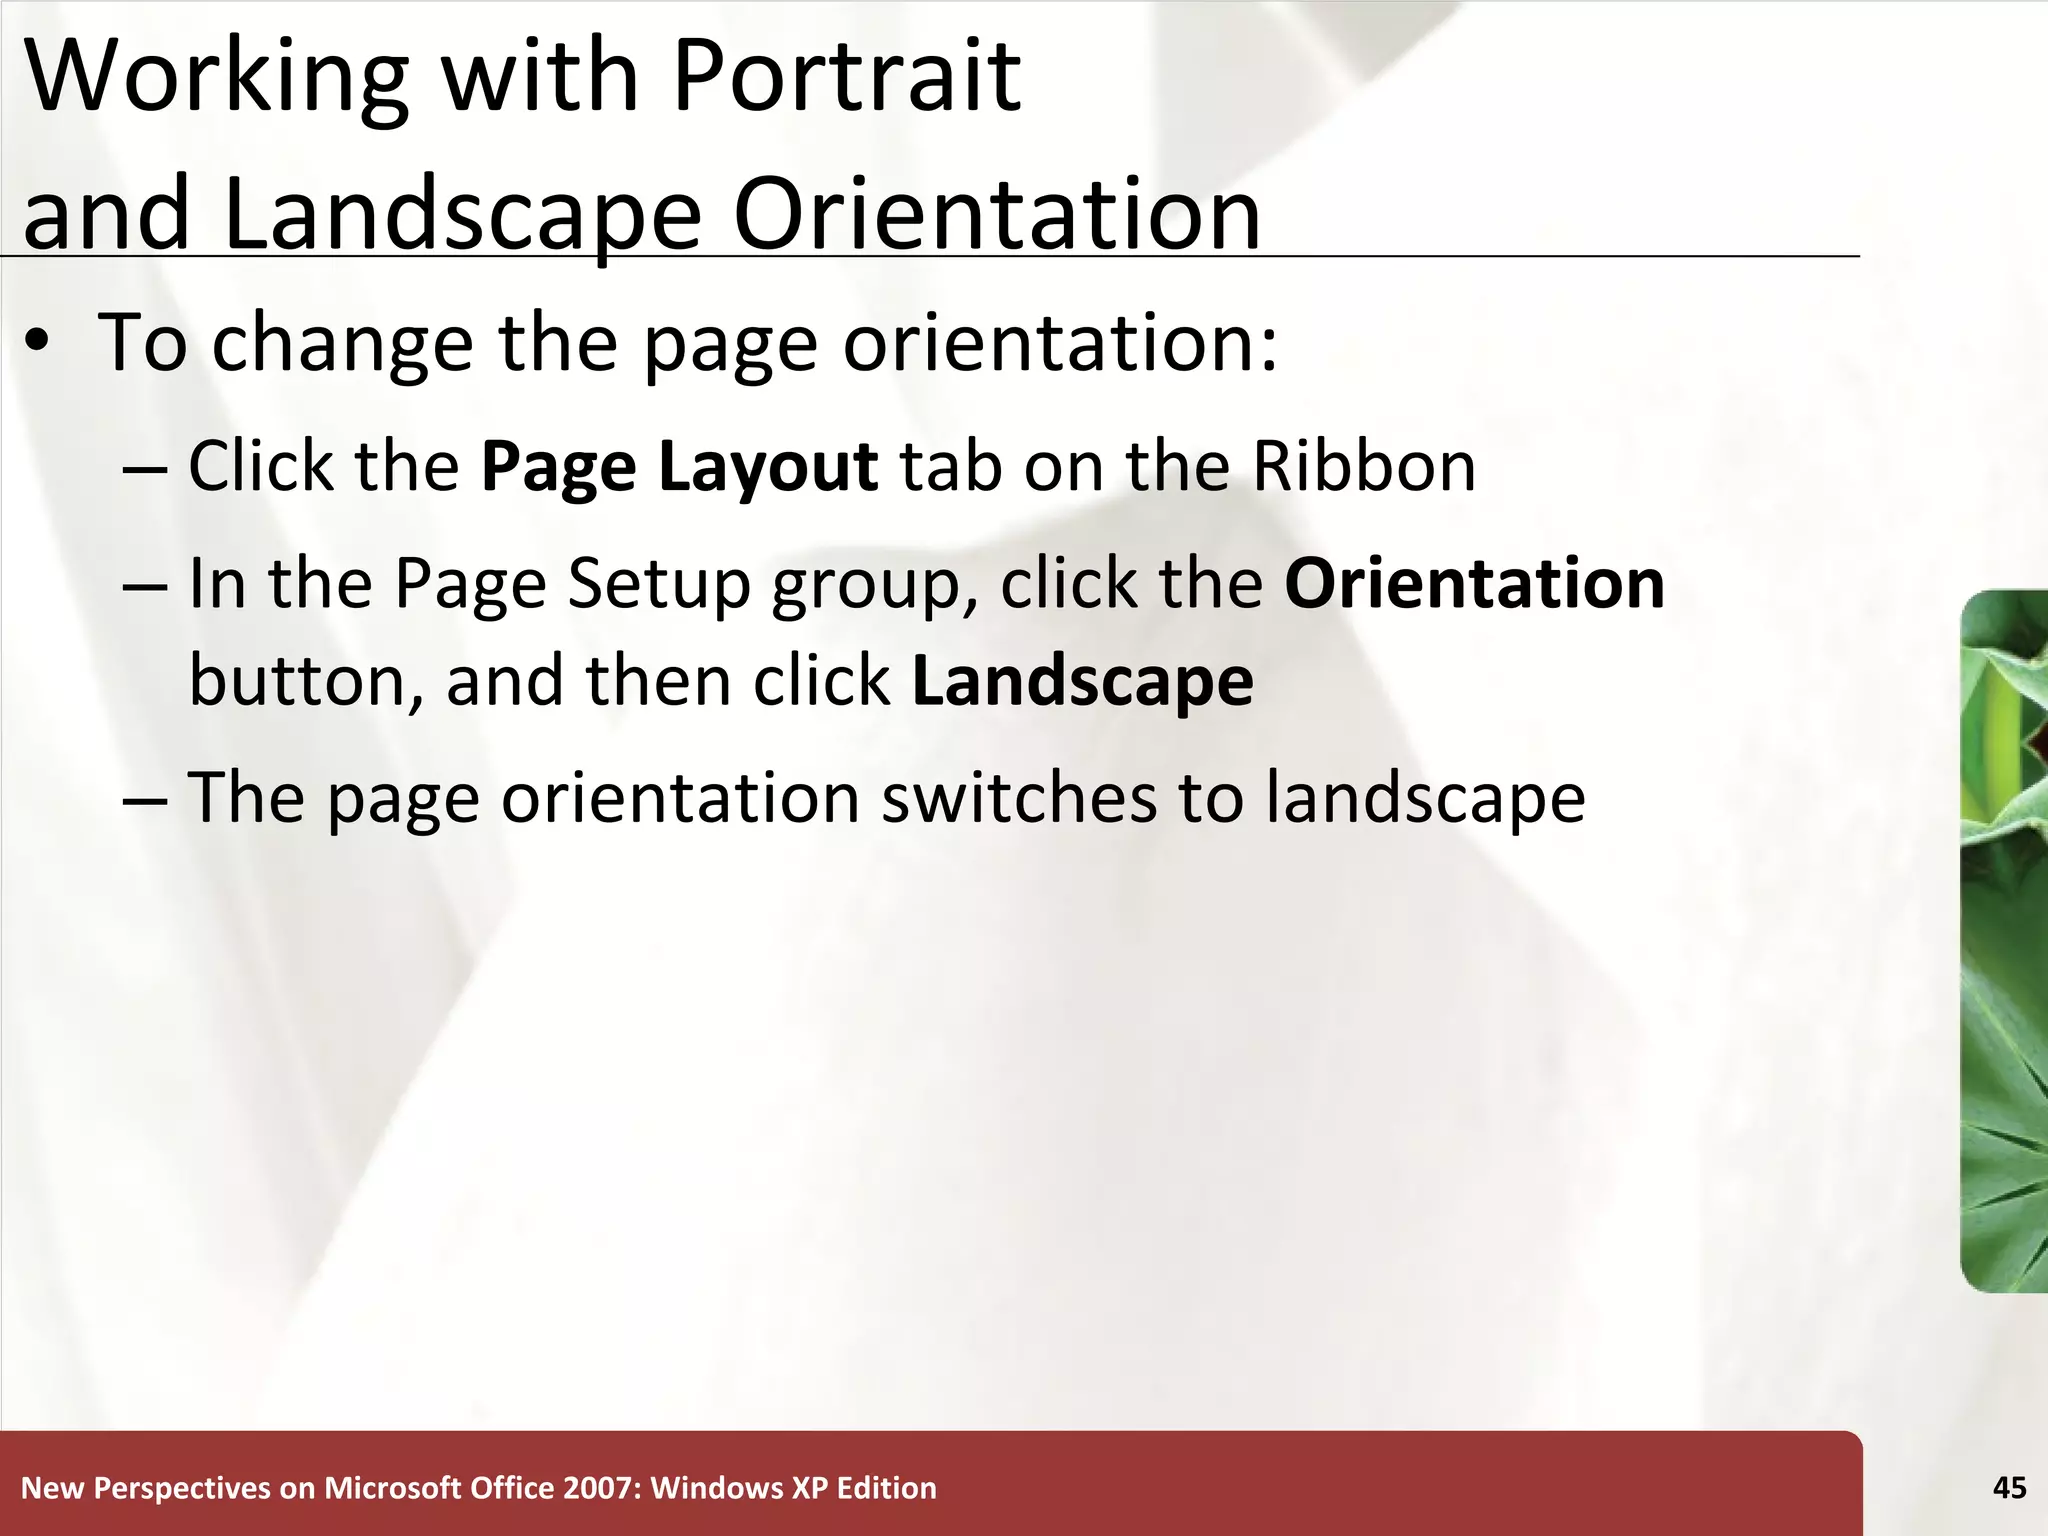
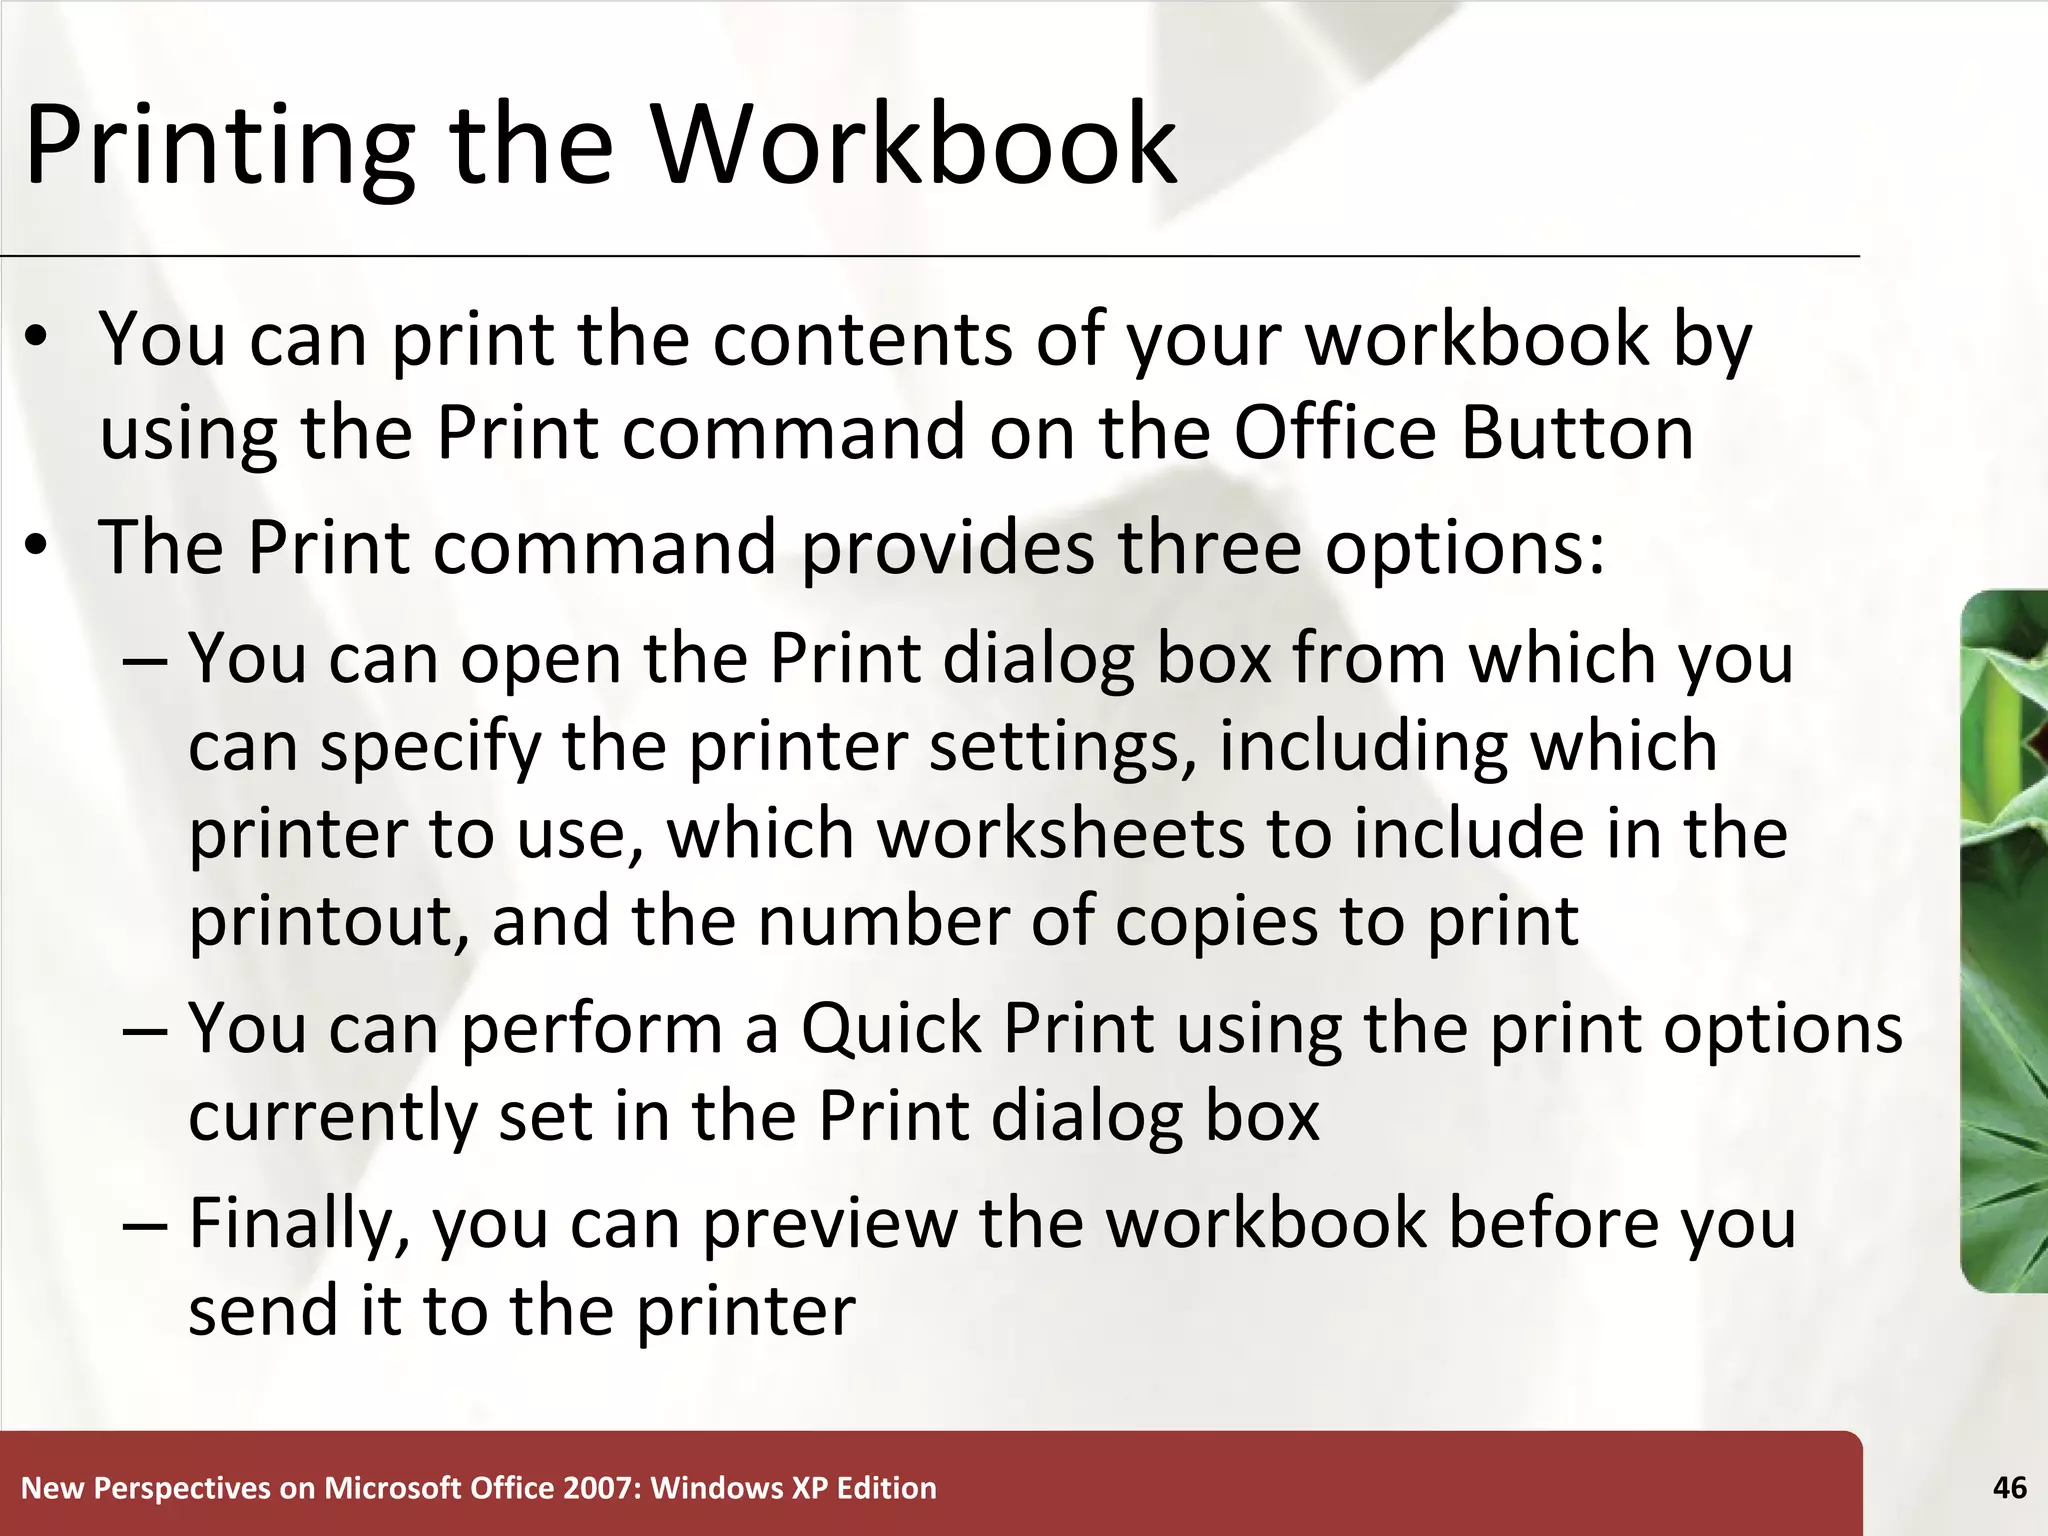
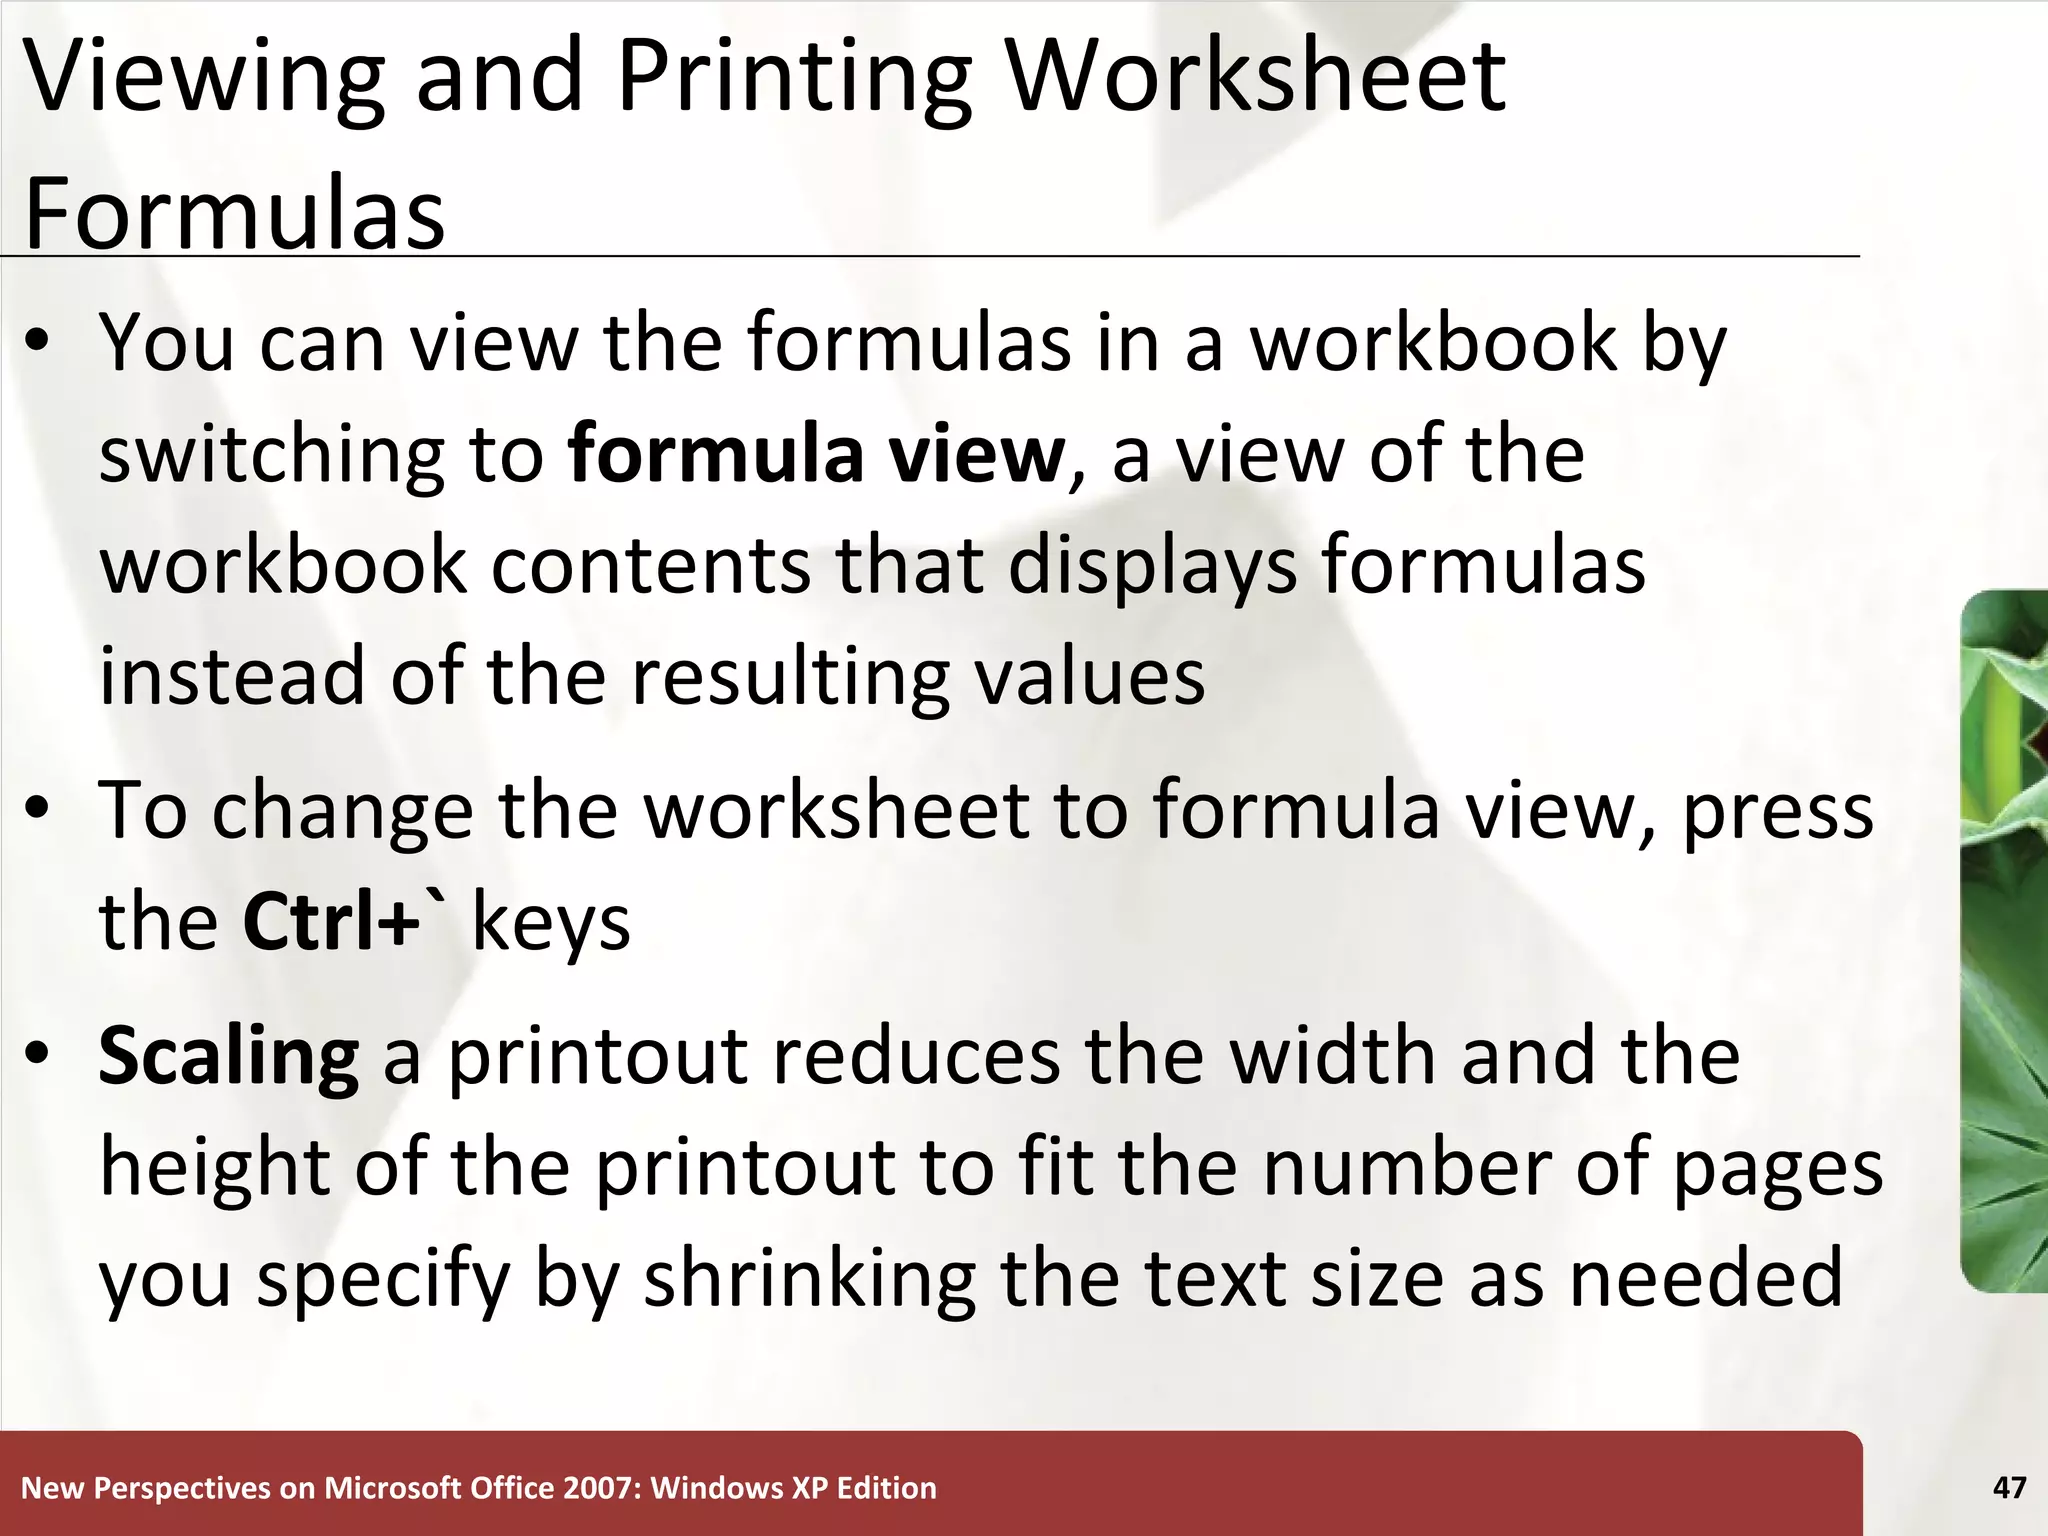


This document provides an overview of key Excel concepts and tasks, including: 1) Excel is a program used to enter and analyze quantitative data in spreadsheets. It allows what-if analysis by changing values to assess impacts. 2) The tutorial covers navigating and exploring Excel, entering data, formulas and functions, formatting cells, inserting and deleting rows/columns/worksheets, and printing worksheets. 3) Formulas use operators to combine values from cells and return a single result. Functions are predefined formulas like SUM to simplify calculations.


![Support, Monitoring, Continuous Improvement & Scaling Agentic Automation [3/3]](https://cdn.slidesharecdn.com/ss_thumbnails/agenticcommunityseries-day3-cfd-251120170304-ddef8112-thumbnail.jpg?width=640&height=640&fit=bounds)


