Download as PDF, PPTX
![© 2019 Google
Extending the code
tensorflow/lite/experimental/micro/examples/micro_speech/
sparkfun_edge/command_responder.cc
if (found_command[0] == 'y') {
am_hal_gpio_output_set(AM_BSP_GPIO_LED_YELLOW);
}
if (found_command[0] == 'n') {
am_hal_gpio_output_set(AM_BSP_GPIO_LED_RED);
}
if (found_command[0] == 'u') {
am_hal_gpio_output_set(AM_BSP_GPIO_LED_GREEN);
}
14](https://image.slidesharecdn.com/e1w6wardengoogle2019-190607121150/75/Using-TensorFlow-Lite-to-Deploy-Deep-Learning-on-Cortex-M-Microcontrollers-a-Presentation-from-Google-14-2048.jpg)


![© 2019 Google
Extending the code
tensorflow/lite/experimental/micro/examples/micro_speech/
sparkfun_edge/command_responder.cc
if (found_command[0] == 'y') {
am_hal_gpio_output_set(AM_BSP_GPIO_LED_YELLOW);
}
if (found_command[0] == 'n') {
am_hal_gpio_output_set(AM_BSP_GPIO_LED_RED);
}
if (found_command[0] == 'u') {
am_hal_gpio_output_set(AM_BSP_GPIO_LED_GREEN);
}
14](https://crownmelresort.com/image.slidesharecdn.com/e1w6wardengoogle2019-190607121150/75/Using-TensorFlow-Lite-to-Deploy-Deep-Learning-on-Cortex-M-Microcontrollers-a-Presentation-from-Google-14-2048.jpg)


The document discusses deploying TensorFlow Lite on Cortex-M microcontrollers for applications like speech recognition, emphasizing its lightweight design suitable for embedded systems. It outlines setup instructions for hardware and software and provides a tutorial for building a speech wake word recognition model. TensorFlow Lite for microcontrollers has a small code footprint and aims to enable various machine learning applications on constrained devices.
Introduction by Pete Warden on using TensorFlow Lite for deep learning deployment on Cortex-M microcontrollers.
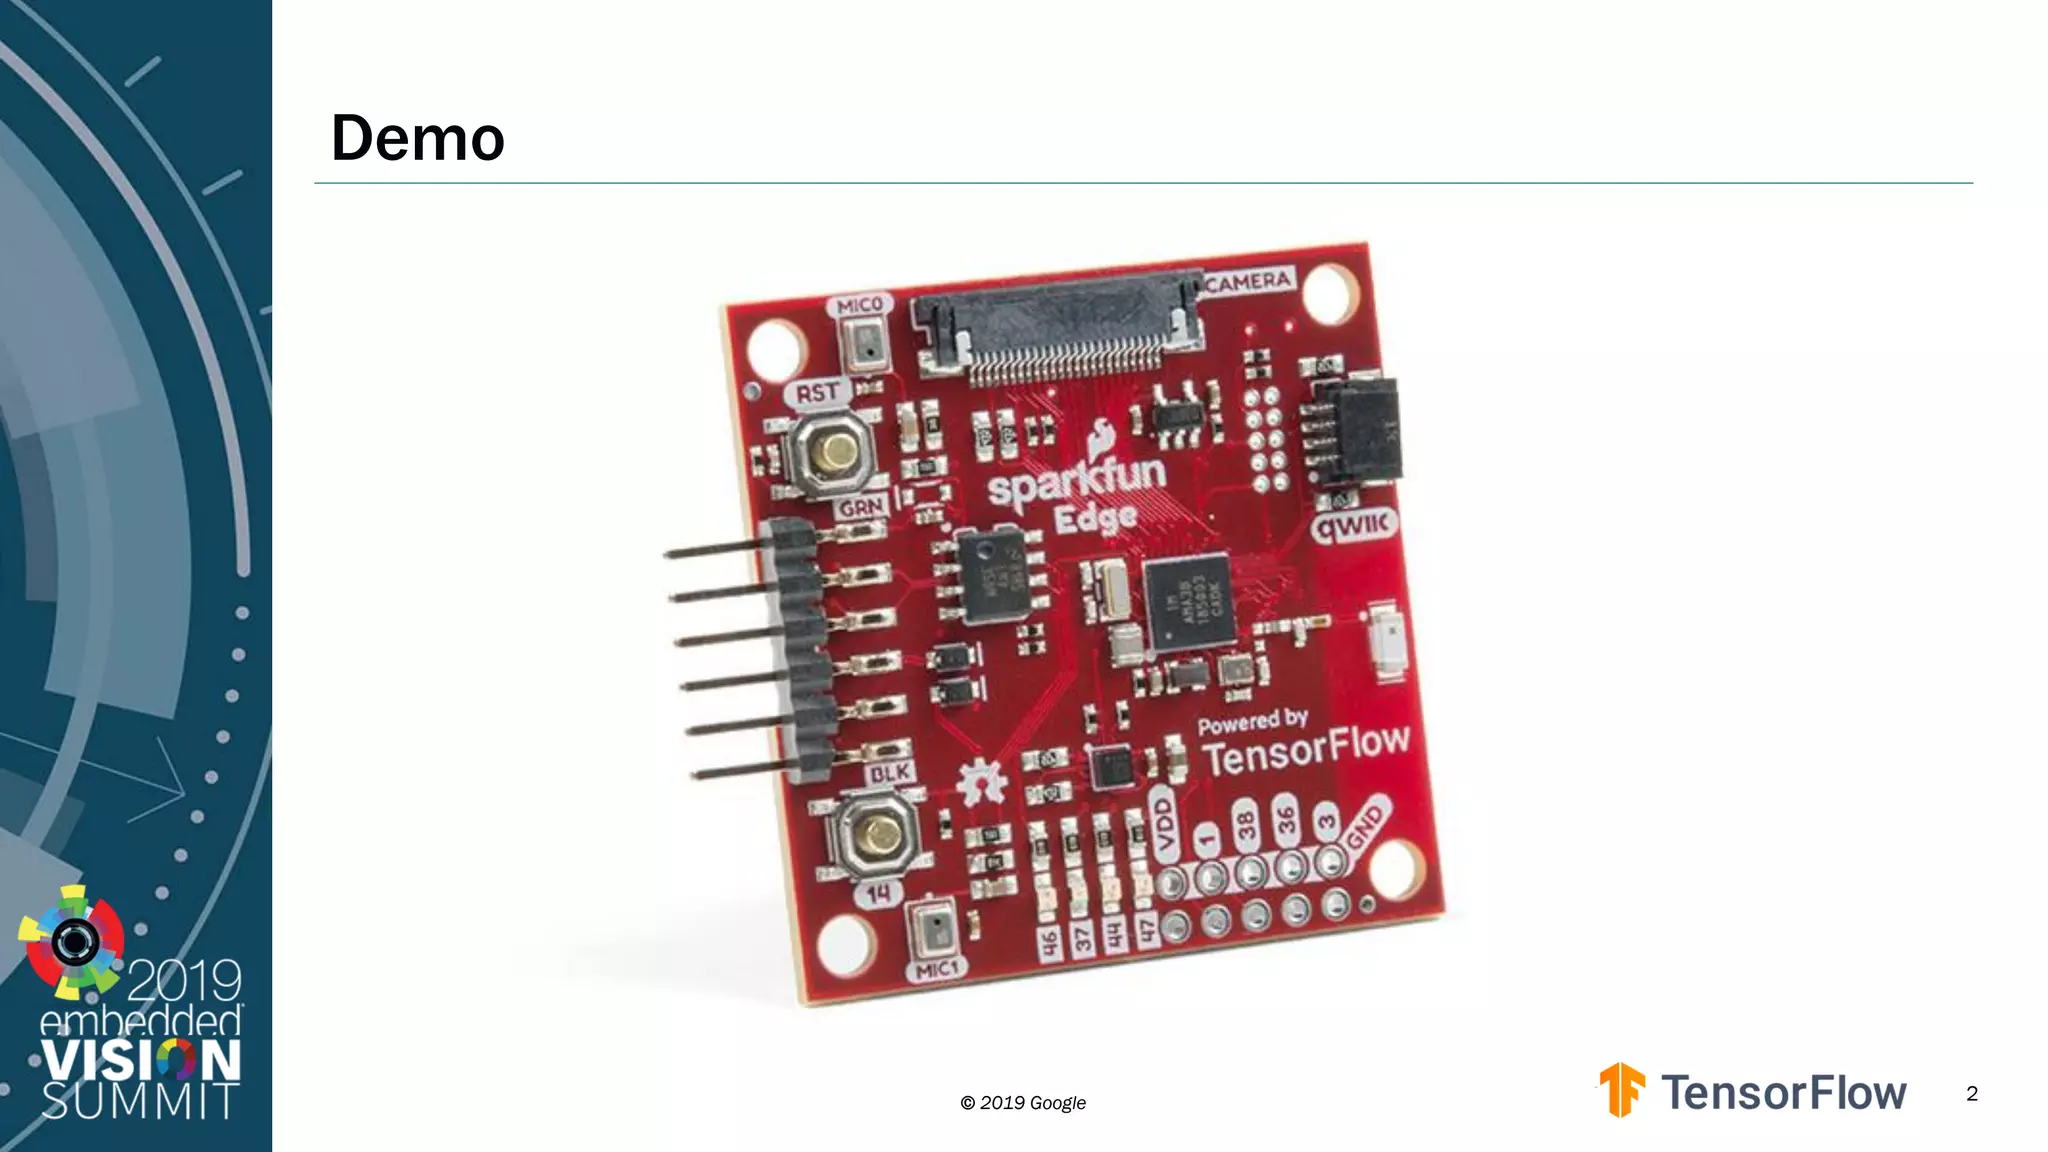
A demo showcasing TensorFlow Lite capabilities.
Describes a wake word recognition application running on Cortex M4, operating on a coin battery, and emphasizes open-source nature.
Explanation of TensorFlow Lite, its role as a companion to TensorFlow, targeting small devices with a reduced size, and its widespread deployment.
Discusses TensorFlow Lite for Microcontrollers, emphasizing low memory requirements and dependency constraints.
Highlights speech recognition as a primary example, along with its applicability to vision tasks.
Brief overview of a tutorial to guide users through using TensorFlow Lite.
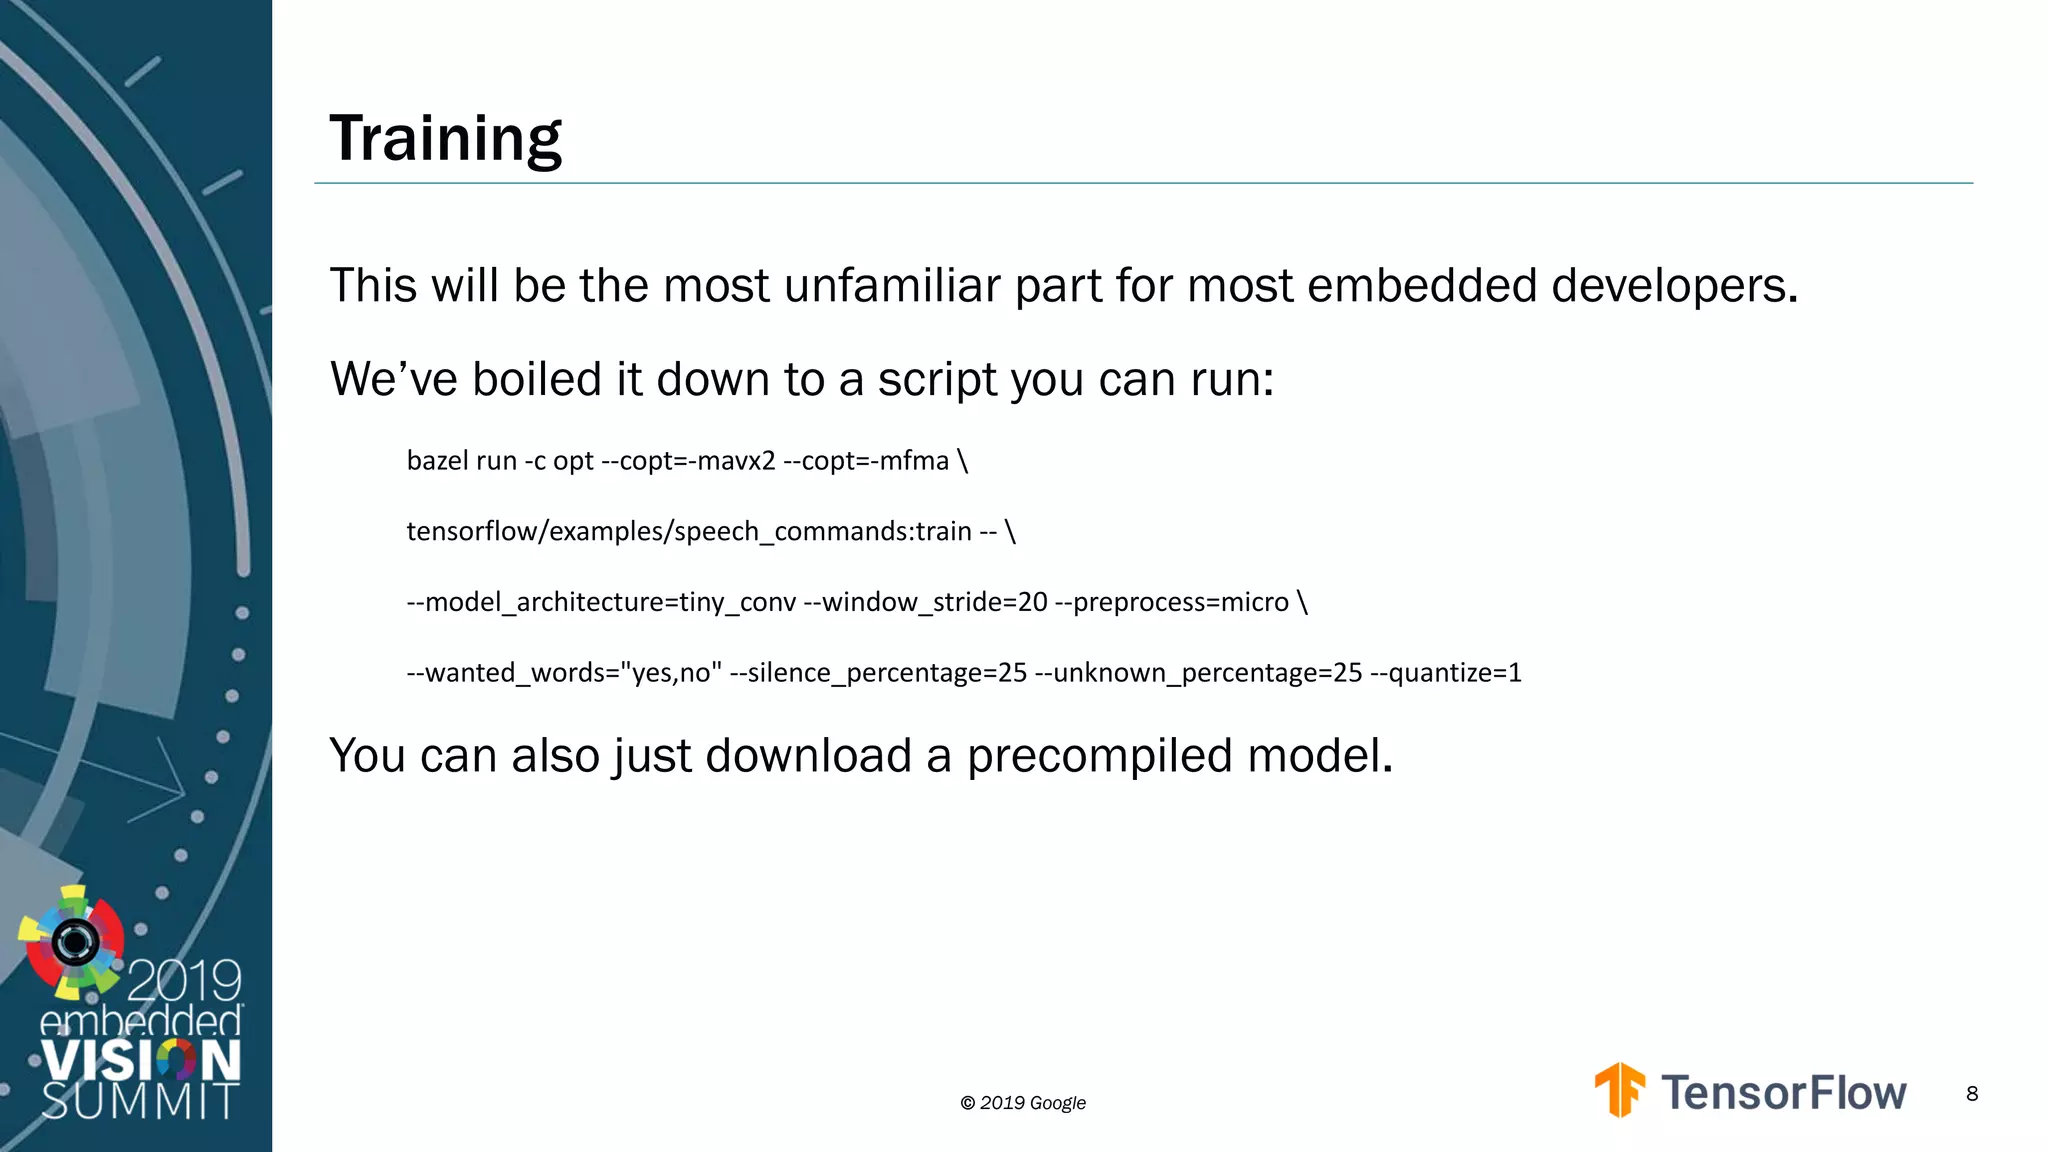
Details script for training models emphasizing ease of use for embedded developers.
Recommendation of the SparkFun Edge board for setup and mentions compatibility with other boards.
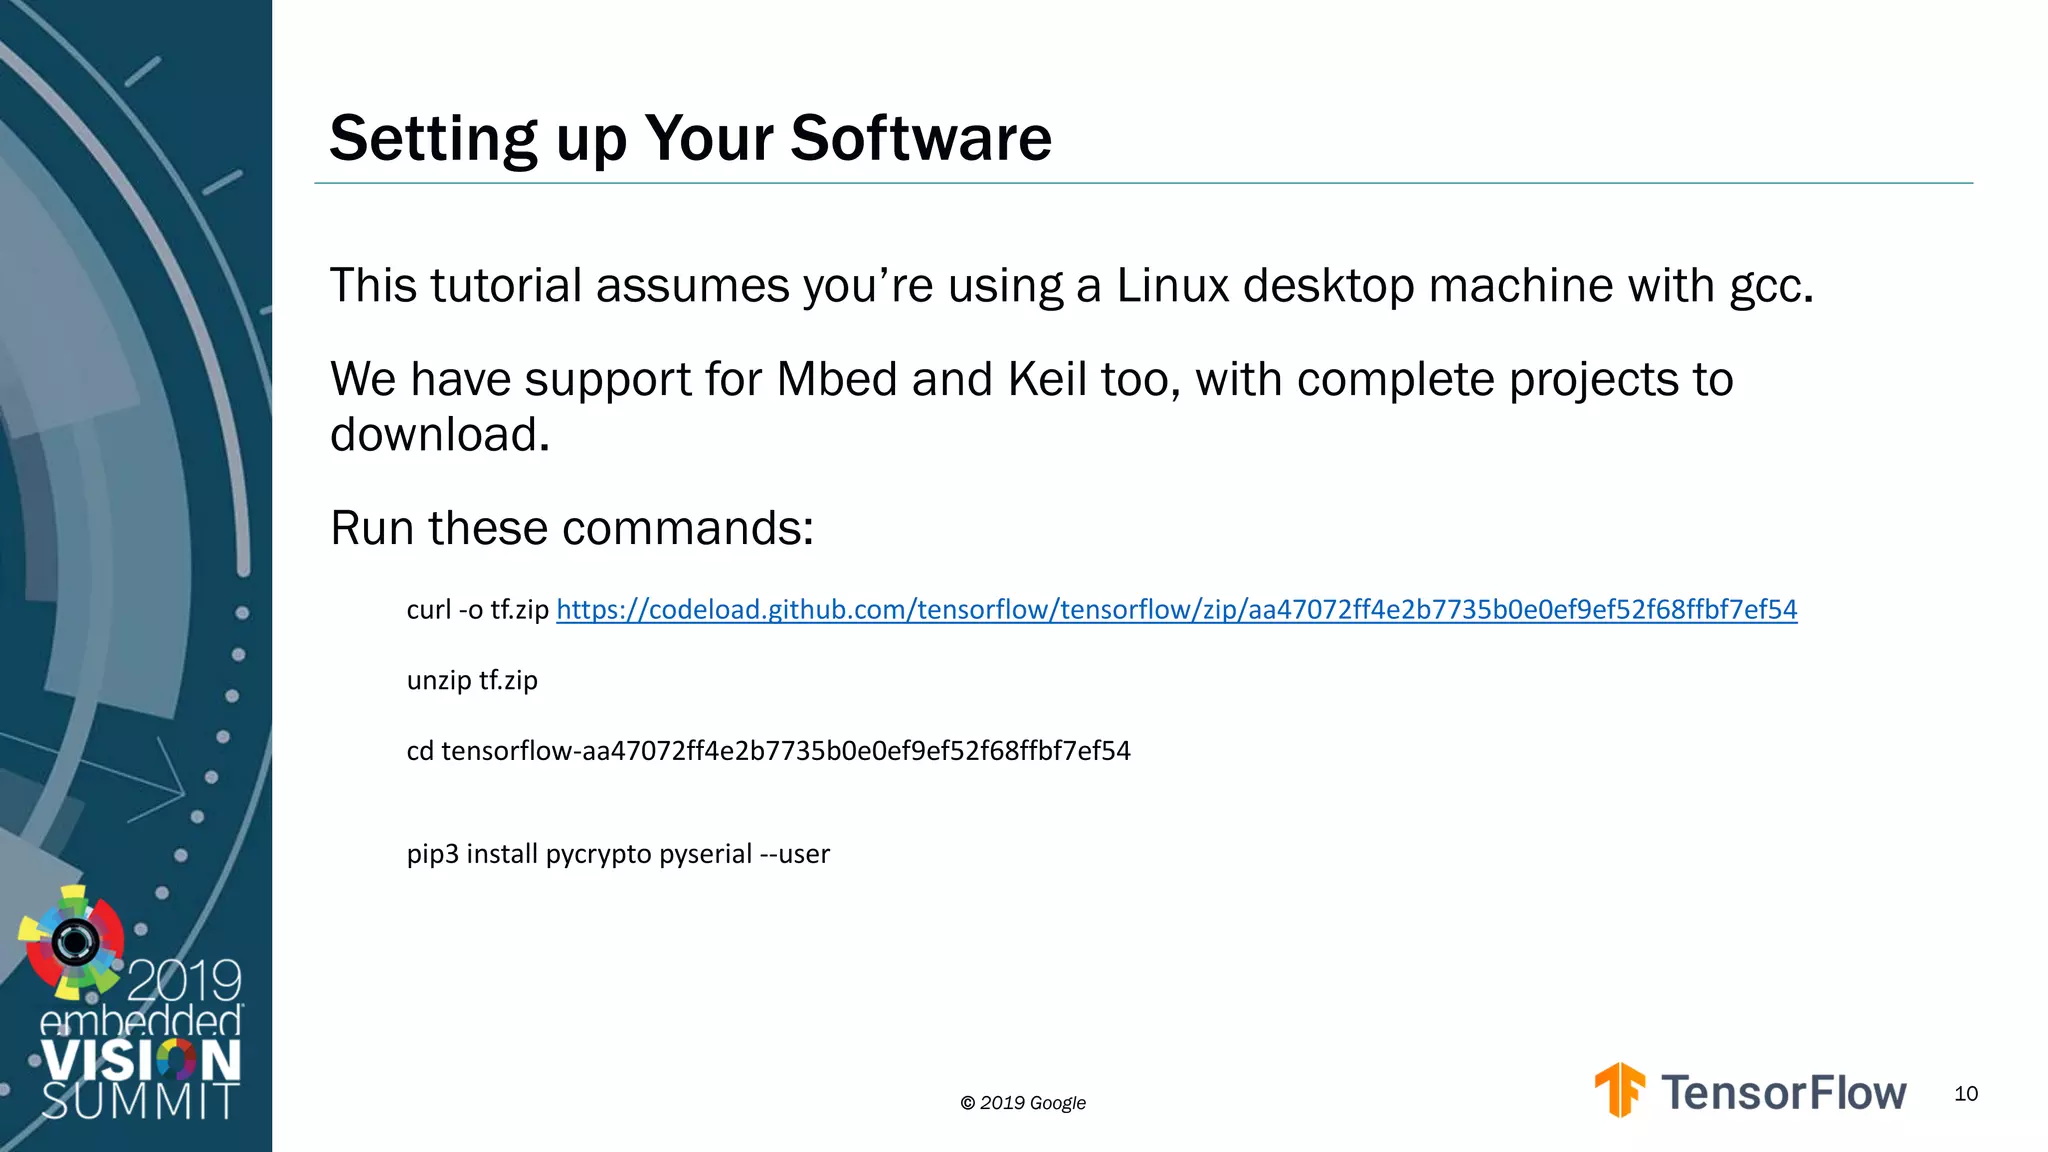
Instructions for setting up the software on Linux to run TensorFlow Lite.
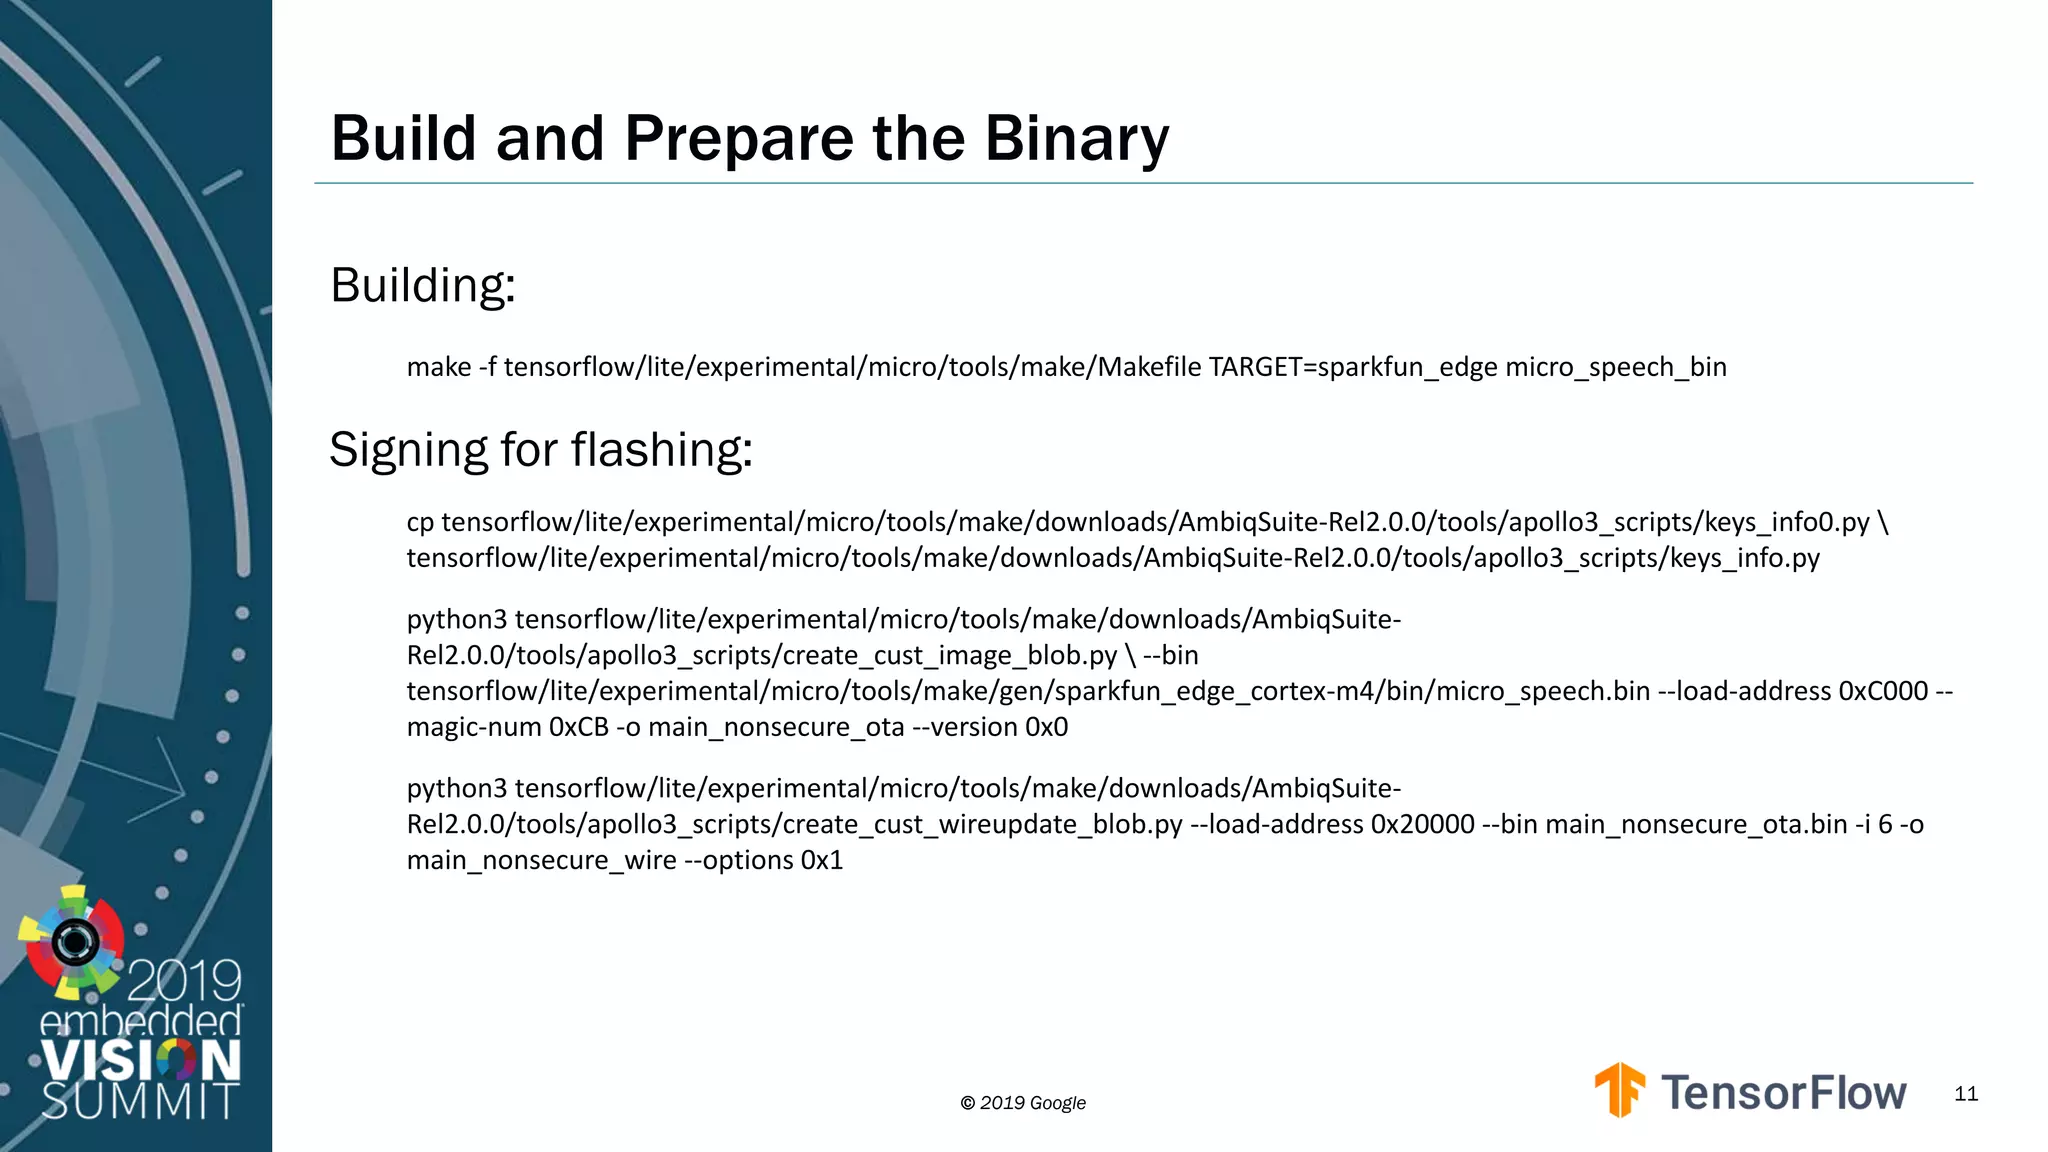
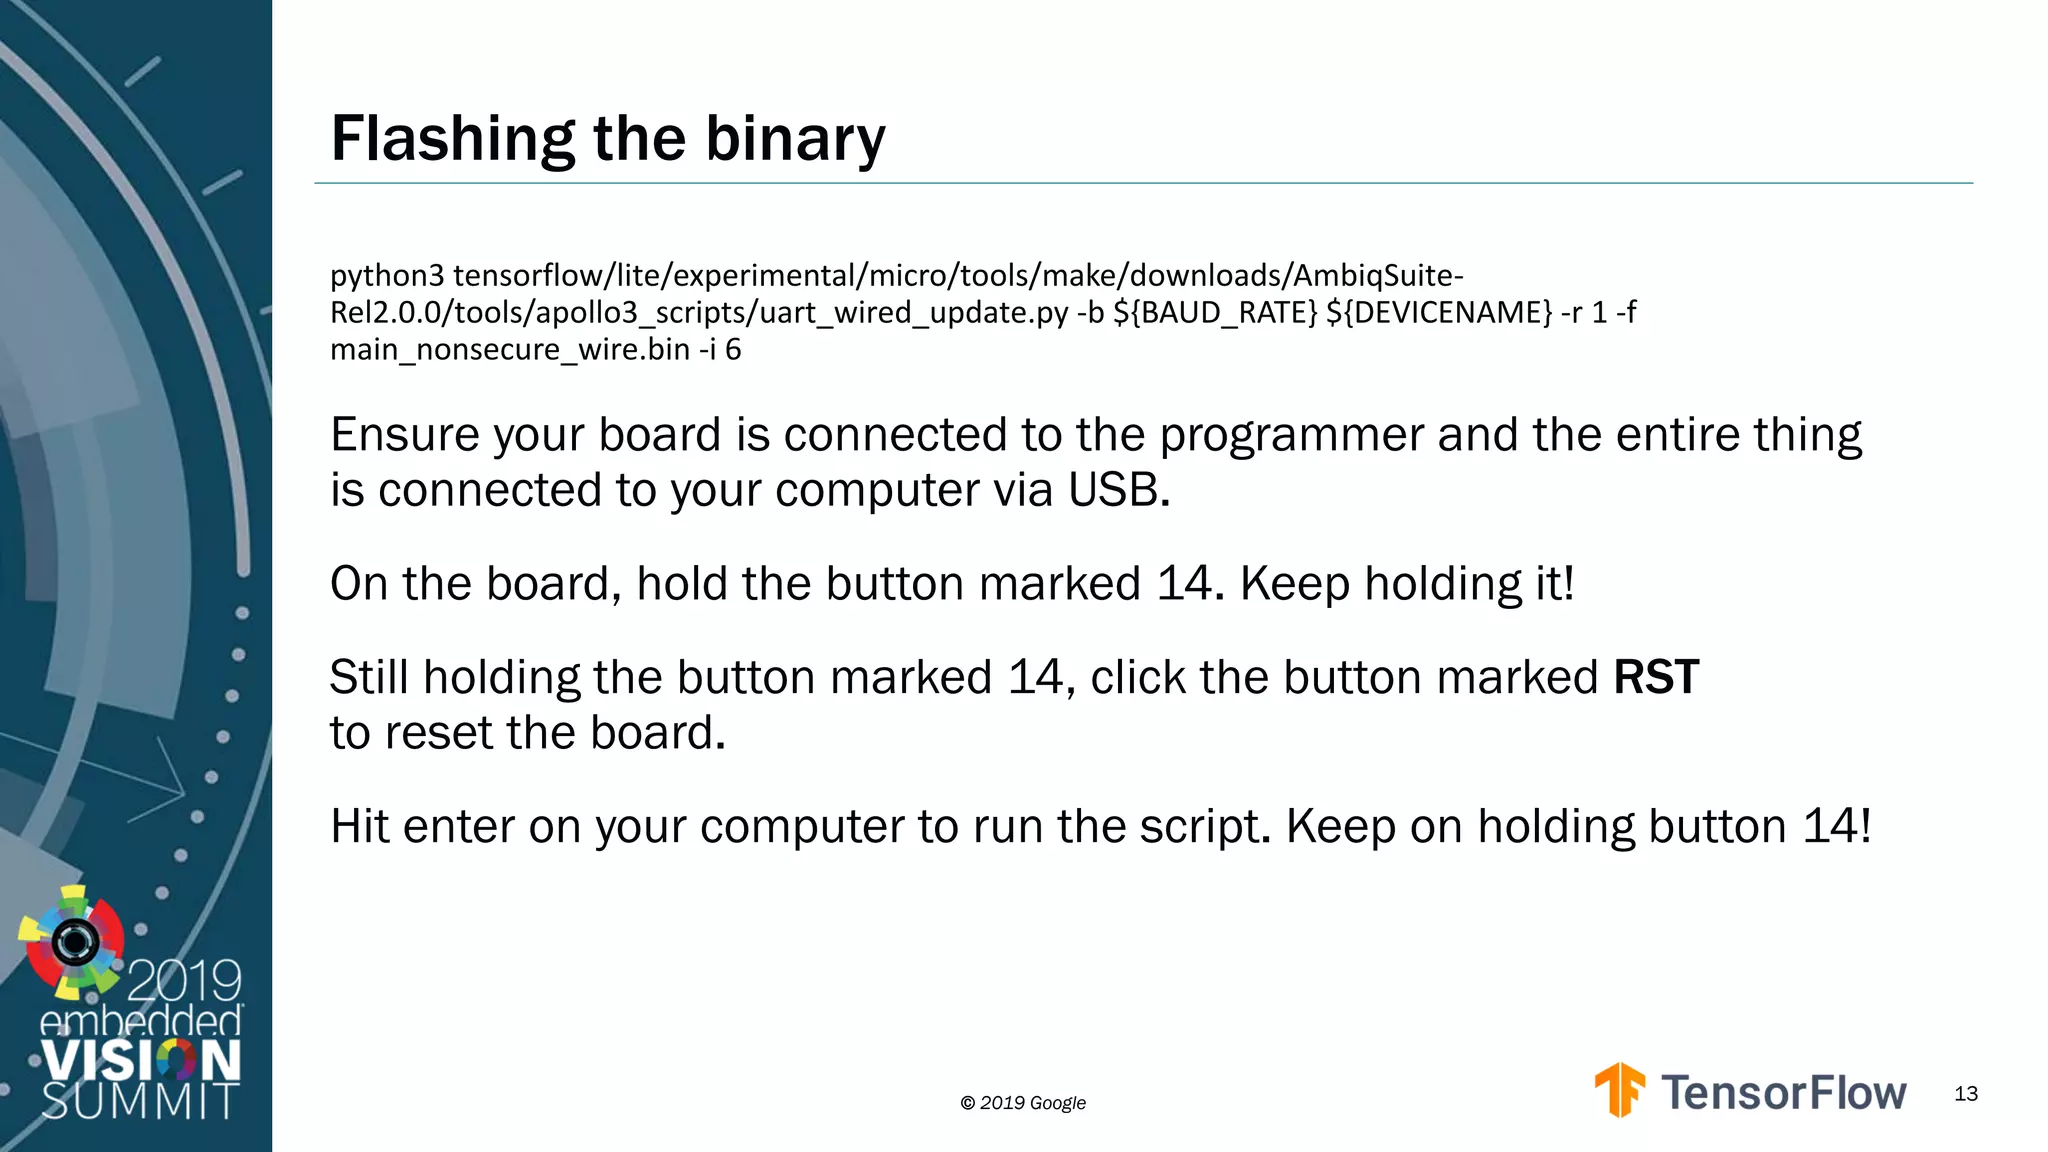
Detailed instructions for building and preparing the binary for deployment on microcontrollers.
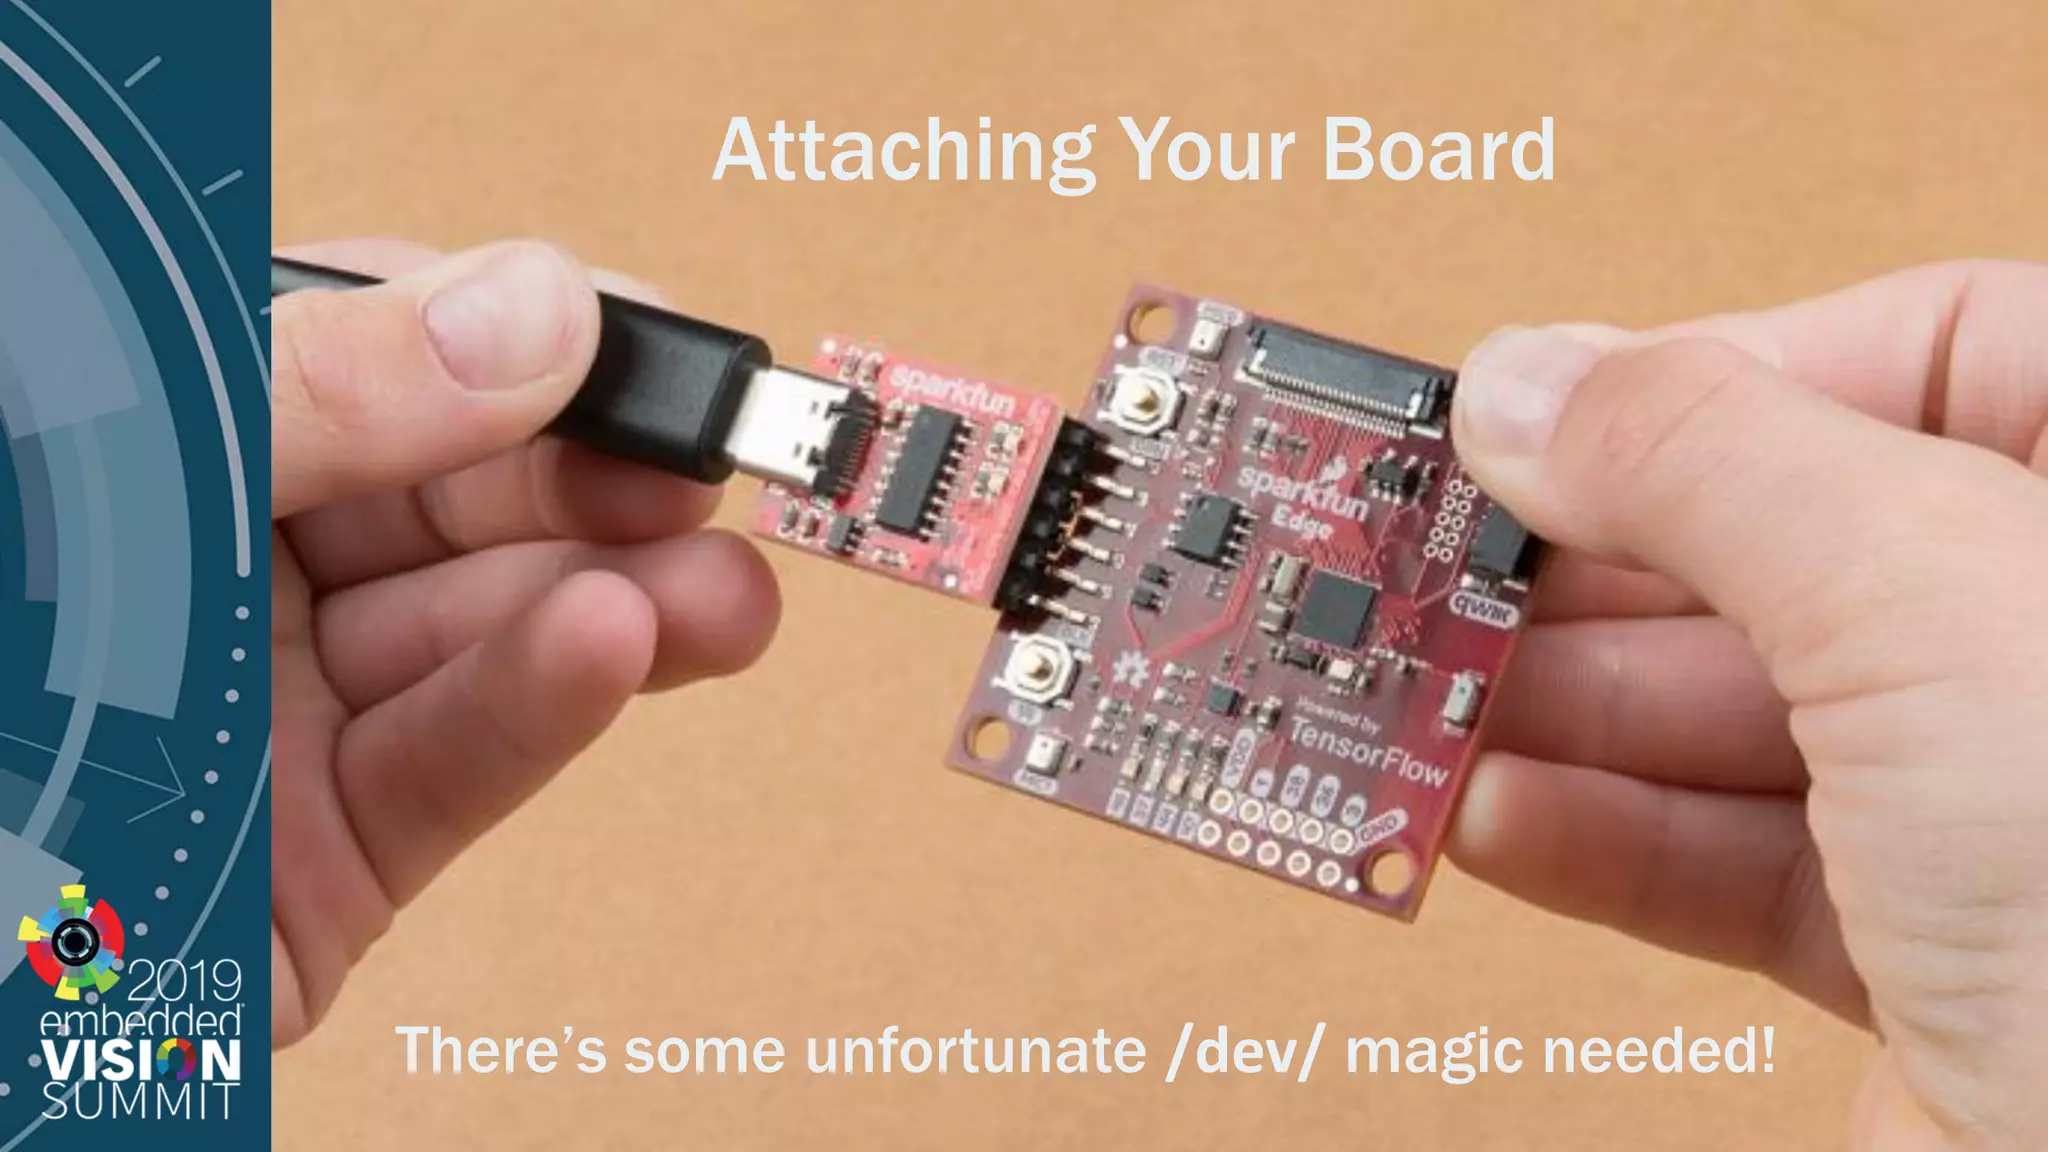
Instructions on attaching the development board during the flashing process.
Steps to flash the binary onto the board, including hardware setup requirements.
Code snippet example illustrating how to extend functionalities in the TensorFlow Lite environment.
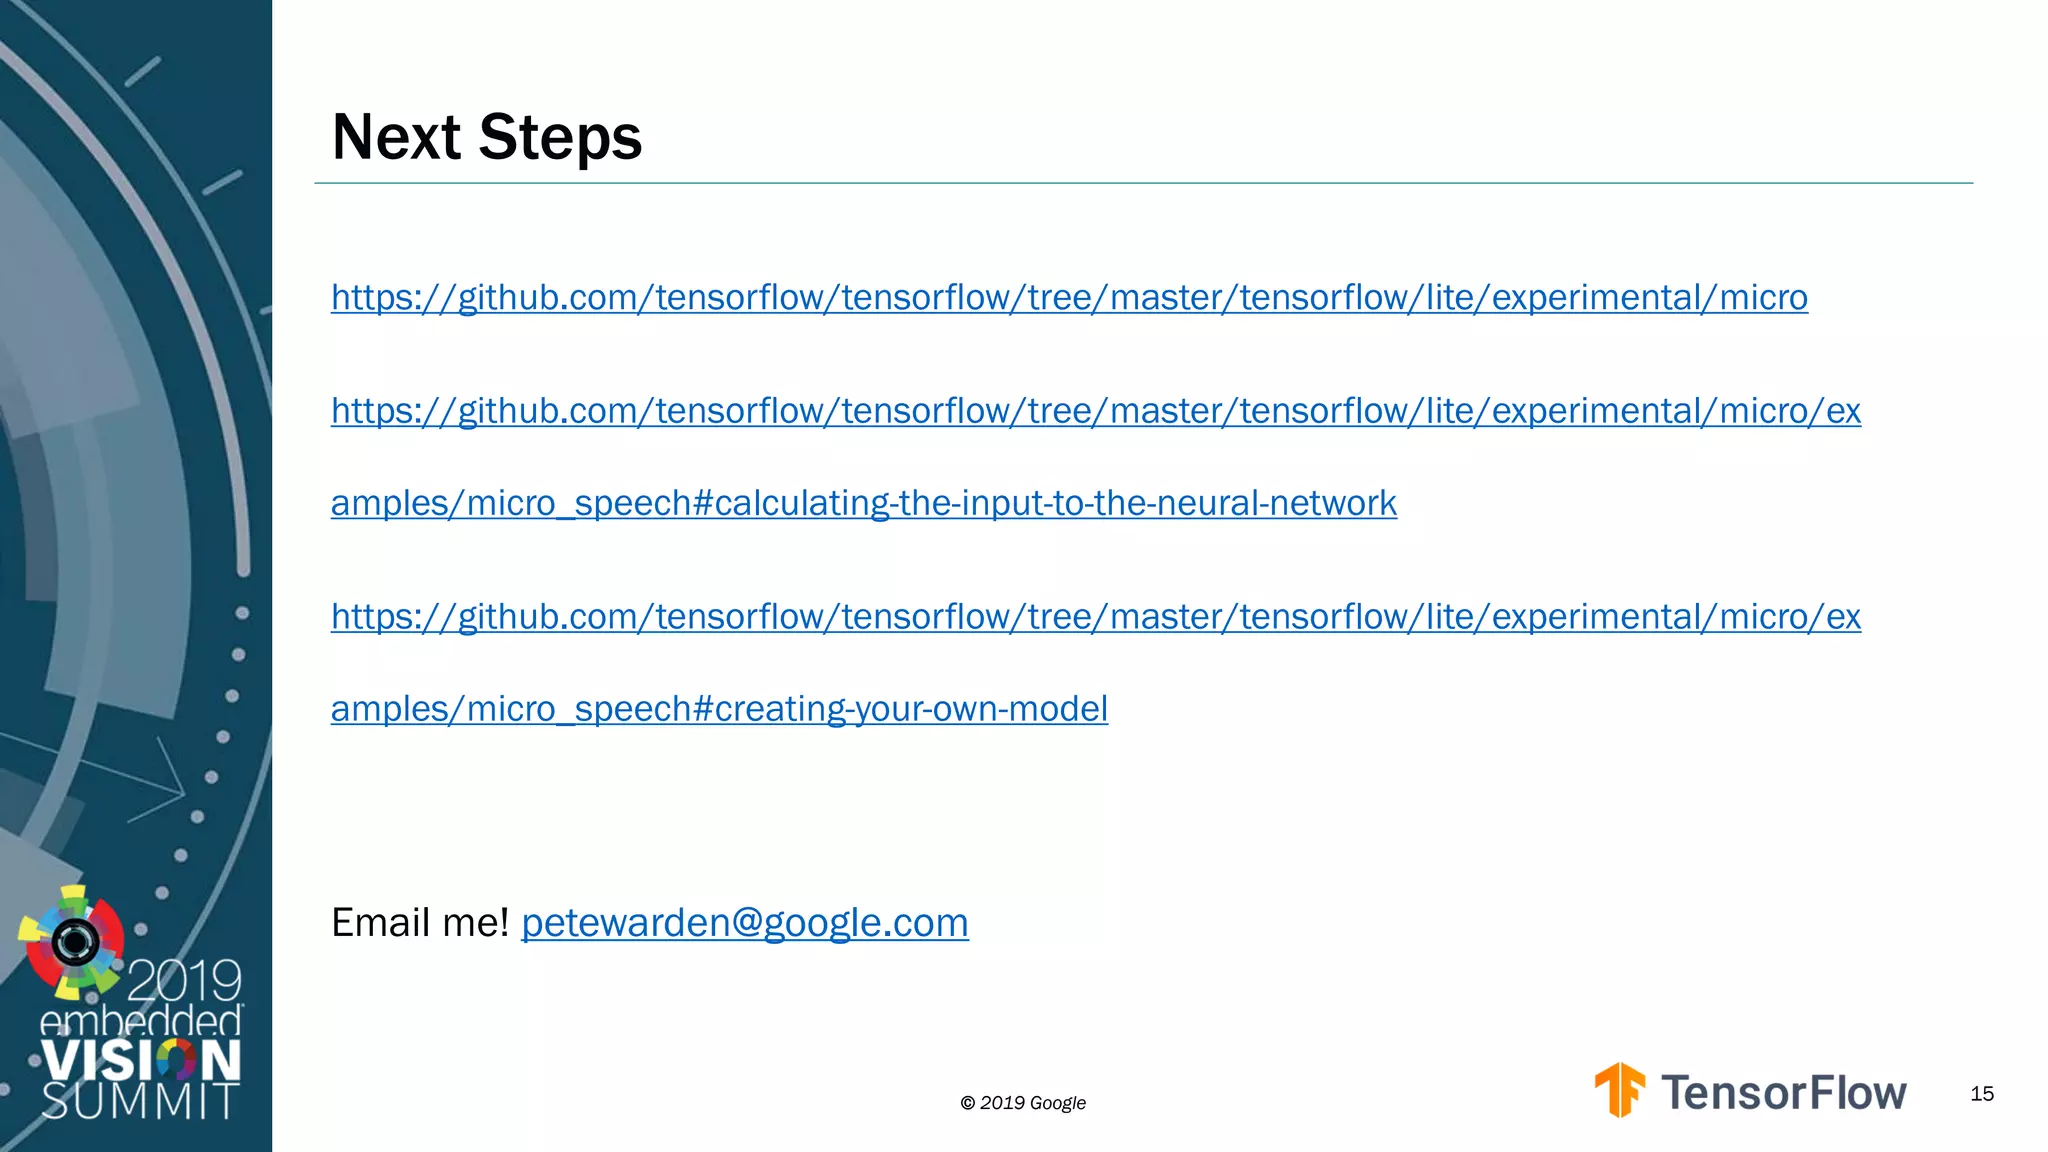
Provides links to resources for further development and encourages contact for questions.
Thank you note to the audience for their attention.


![Support, Monitoring, Continuous Improvement & Scaling Agentic Automation [3/3]](https://cdn.slidesharecdn.com/ss_thumbnails/agenticcommunityseries-day3-cfd-251120170304-ddef8112-thumbnail.jpg?width=640&height=640&fit=bounds)

