This document outlines a live webinar by Richard Goring on using PowerPoint to enhance presentations for virtual training, emphasizing productivity through shortcuts and tools. It introduces BrightSlide, an add-in that improves workflow and provides functionality for PowerPoint users, and includes tips on formatting, animation, and creating interactive slides. The document also lists resources and add-ins for maximizing PowerPoint's capabilities and improving presentation design.


![Keyboard shortcuts for Windows
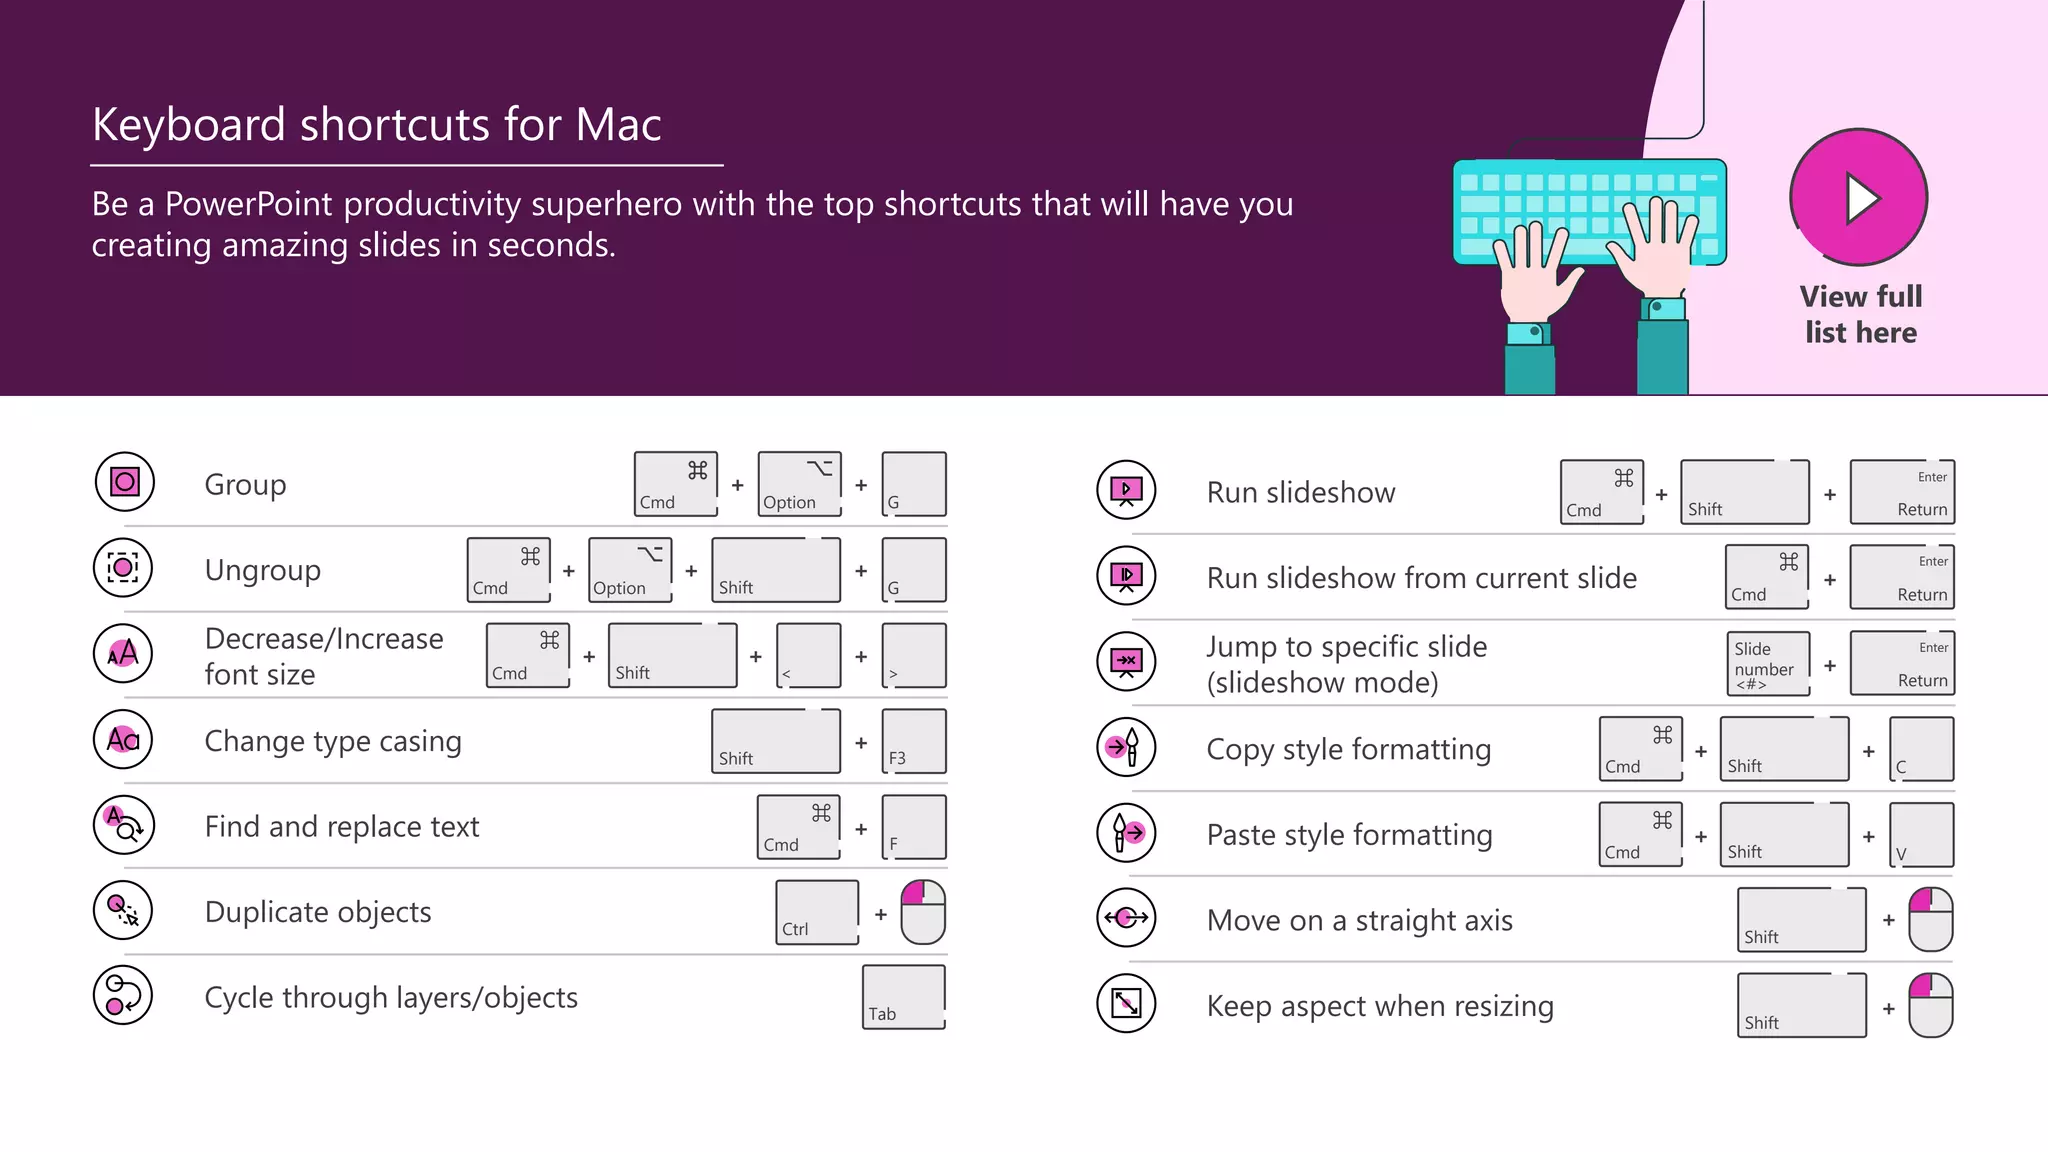
Group
Ungroup
Decrease/Increase font size
Change type casing
Find and replace text
Duplicate objects
Cycle through layers/objects
Run slideshow
Run slideshow from current slide
Jump to specific slide (slideshow mode)
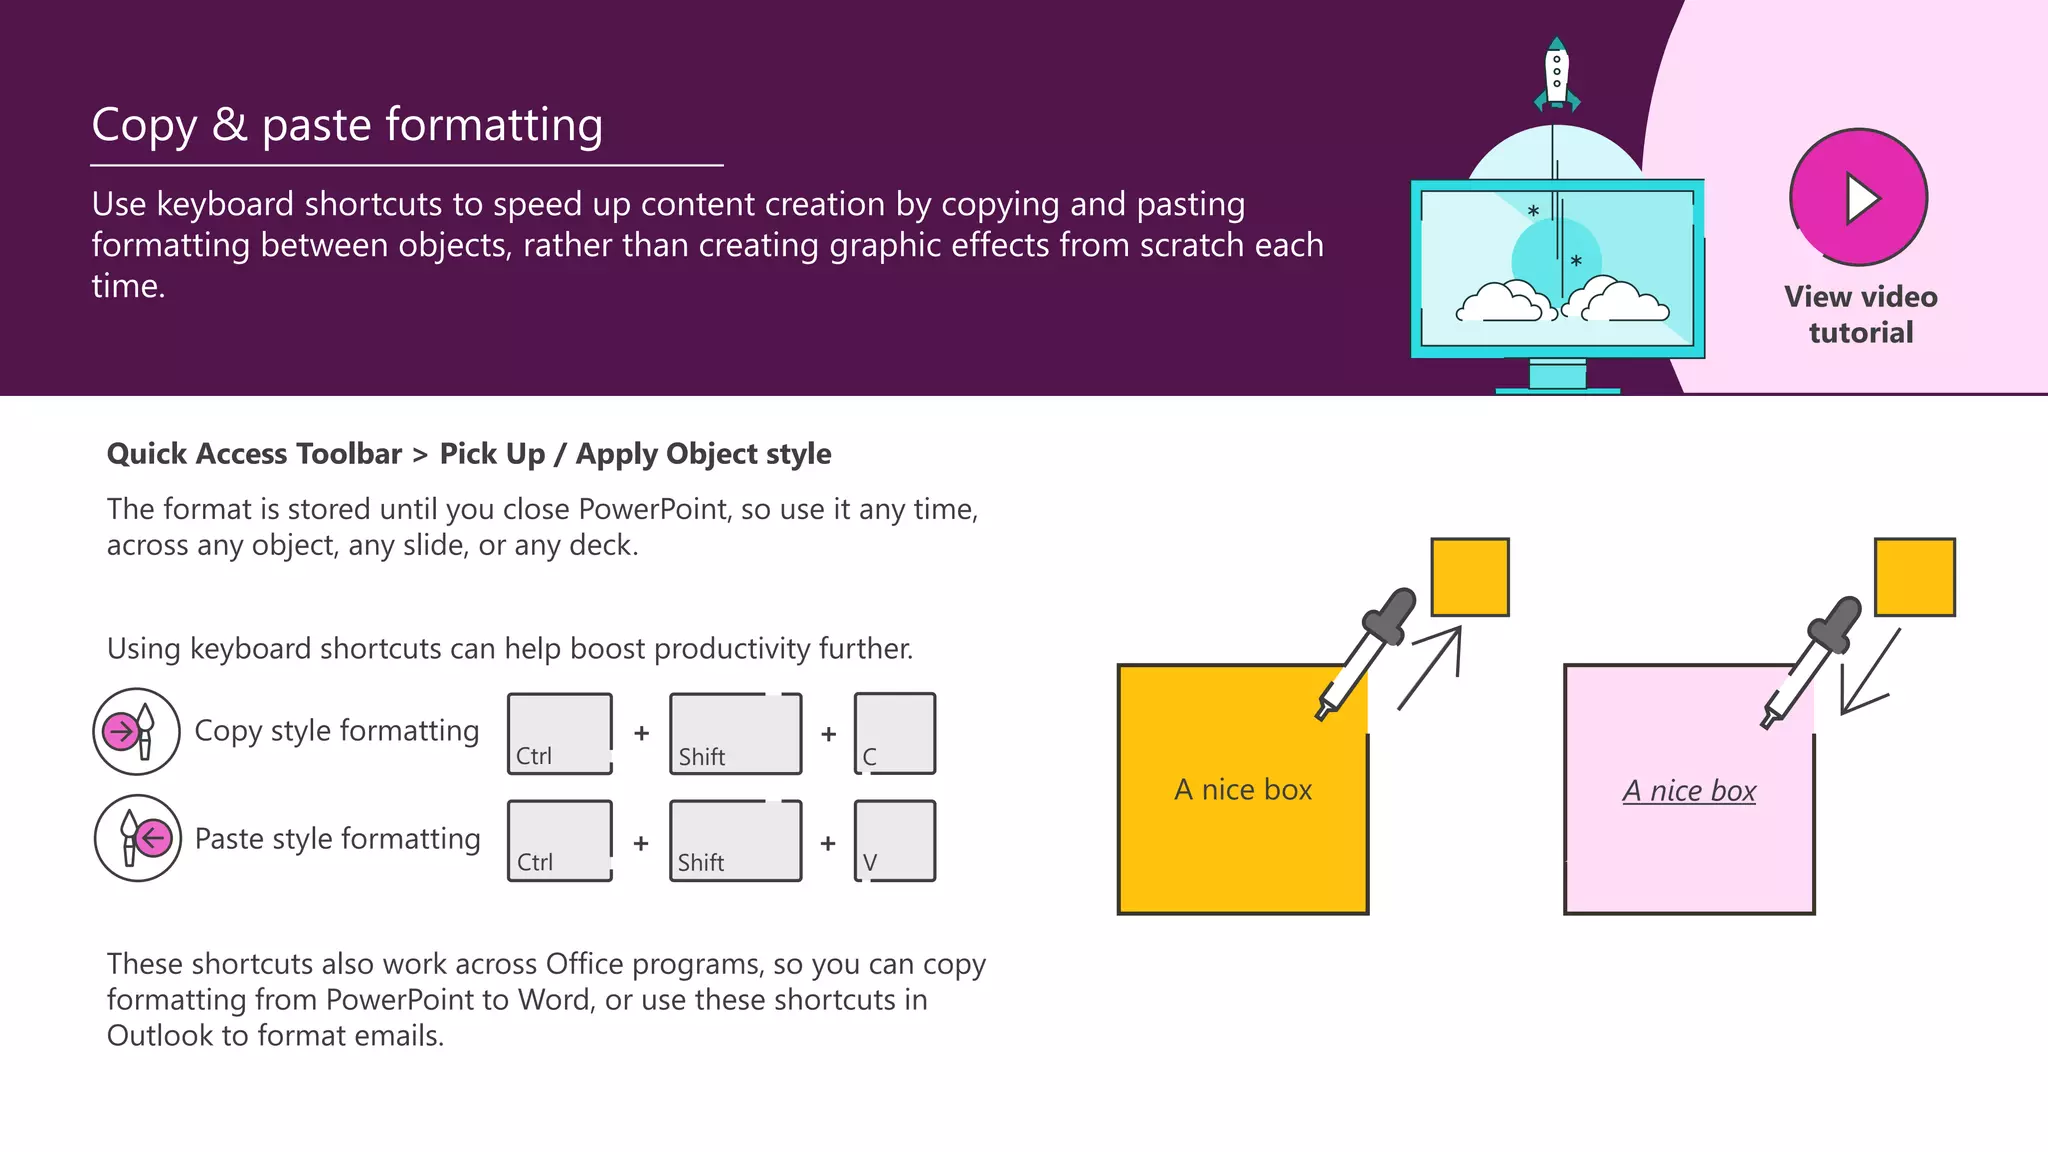
Copy style formatting
Paste style formatting
Move on a straight axis
Keep aspect when resizing
Ctrl G
Ctrl Shift G
Ctrl [ ]
Shift F3
Ctrl H
Ctrl
Tab
F5
F5
Shift
Enter
<#>
Slide
number
Ctrl Shift C
Ctrl Shift V
Shift
Shift
+
+
+
+
+
+
+
+
+
+
+
+
+
+
Be a PowerPoint productivity superhero with the top shortcuts that will have you
creating amazing slides in seconds.
+
+
View full
list here](https://image.slidesharecdn.com/brightcarbonusingpowerpointtocreatecompellingpresentationsforvirtualtrainingsummary01elearninglearni-230324154046-170dddb8/75/LIVE-DEMO-Using-PowerPoint-to-Create-Compelling-Presentations-for-Virtual-Training-4-2048.jpg)


![Keyboard shortcuts for Windows
Group
Ungroup
Decrease/Increase font size
Change type casing
Find and replace text
Duplicate objects
Cycle through layers/objects
Run slideshow
Run slideshow from current slide
Jump to specific slide (slideshow mode)
Copy style formatting
Paste style formatting
Move on a straight axis
Keep aspect when resizing
Ctrl G
Ctrl Shift G
Ctrl [ ]
Shift F3
Ctrl H
Ctrl
Tab
F5
F5
Shift
Enter
<#>
Slide
number
Ctrl Shift C
Ctrl Shift V
Shift
Shift
+
+
+
+
+
+
+
+
+
+
+
+
+
+
Be a PowerPoint productivity superhero with the top shortcuts that will have you
creating amazing slides in seconds.
+
+
View full
list here](https://crownmelresort.com/image.slidesharecdn.com/brightcarbonusingpowerpointtocreatecompellingpresentationsforvirtualtrainingsummary01elearninglearni-230324154046-170dddb8/75/LIVE-DEMO-Using-PowerPoint-to-Create-Compelling-Presentations-for-Virtual-Training-4-2048.jpg)