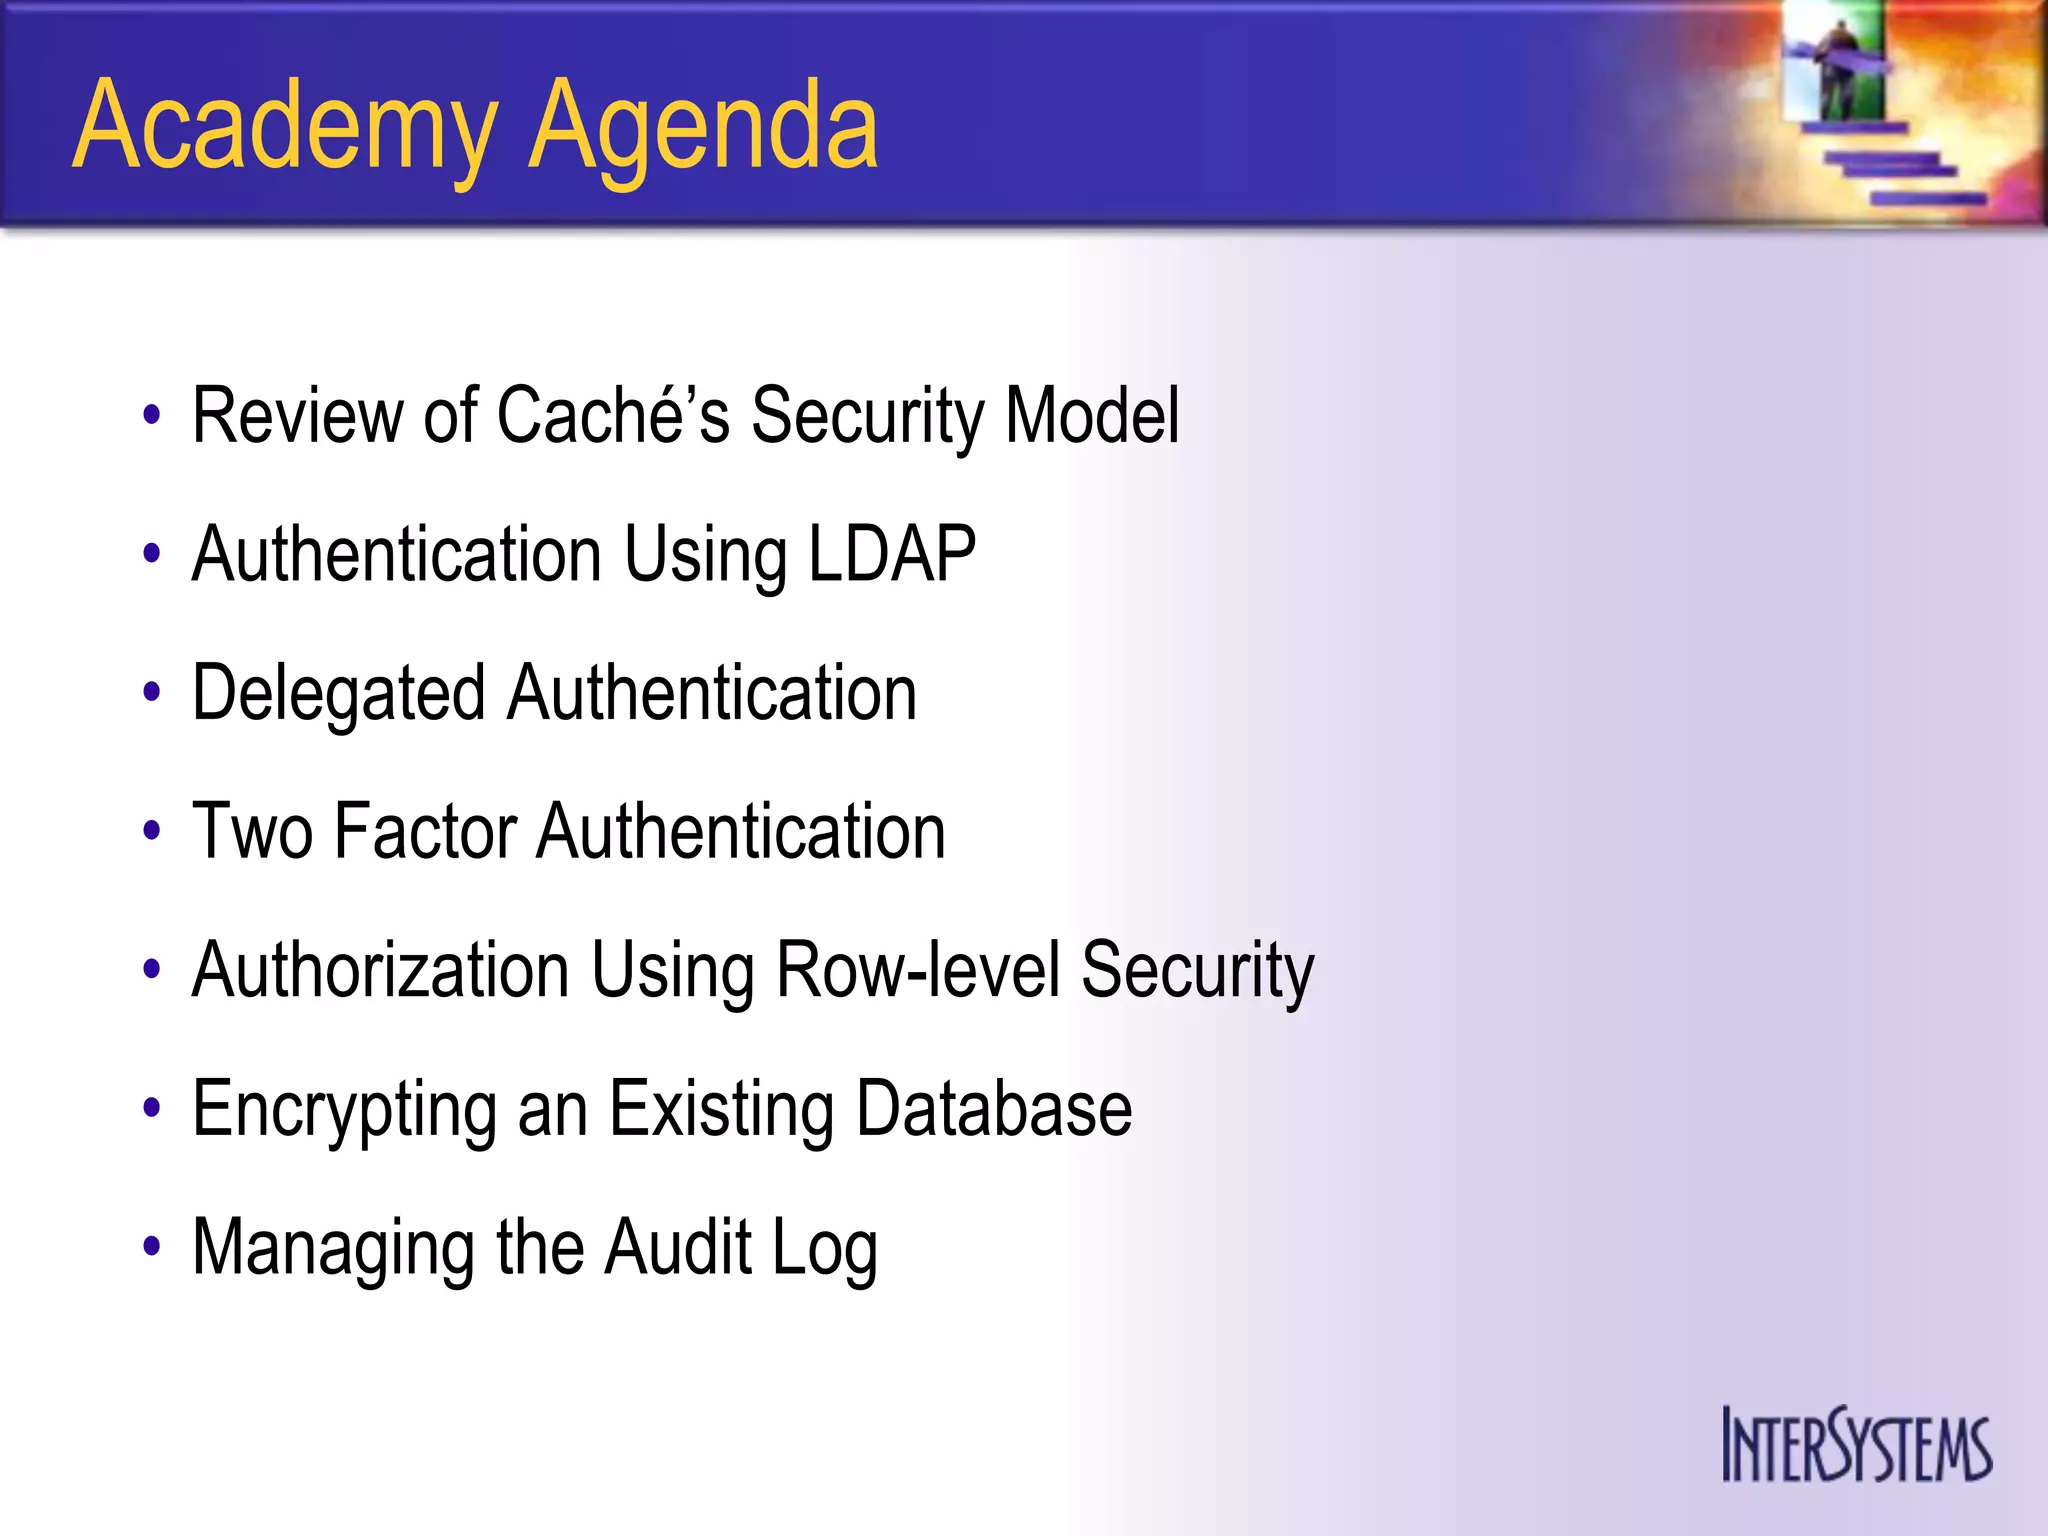
The document discusses advanced Caché security techniques presented at the Caché Security II Academy. Topics included building custom authentication methods, incorporating LDAP, and implementing two-factor authentication. The agenda covered reviewing Caché's security model, configuring LDAP and delegated authentication, two-factor authentication, authorization using row-level security, encrypting databases, and managing audit logs. Hands-on exercises demonstrated LDAP authentication and setting up delegated authentication for the Service Console.

![Once Authenticated –
―The State of the System‖
1. Any user who is initially authenticated using Delegated
Authentication is listed in the table of users on the Users page
( [System Administration] > [Security] > [Users ] ) as having a type
of ―Delegated user‖.
2. If a system administrator has already explicitly created a user
through the System Management Portal (or using any other Caché
facility), that user is a ―Caché password user‖.
3. If a ―Caché password user‖ attempts to login using Delegated
Authentication and is successfully authenticated by the
ZAUTHENTICATE code, Caché determines that this user already
exists as a Caché user — not a Delegated user — and so login
fails!](https://image.slidesharecdn.com/cachesecurityiiconfiguringasecureenvironment-111018152903-phpapp01/75/Cache-Security-Configuring-a-Secure-Environment-21-2048.jpg)

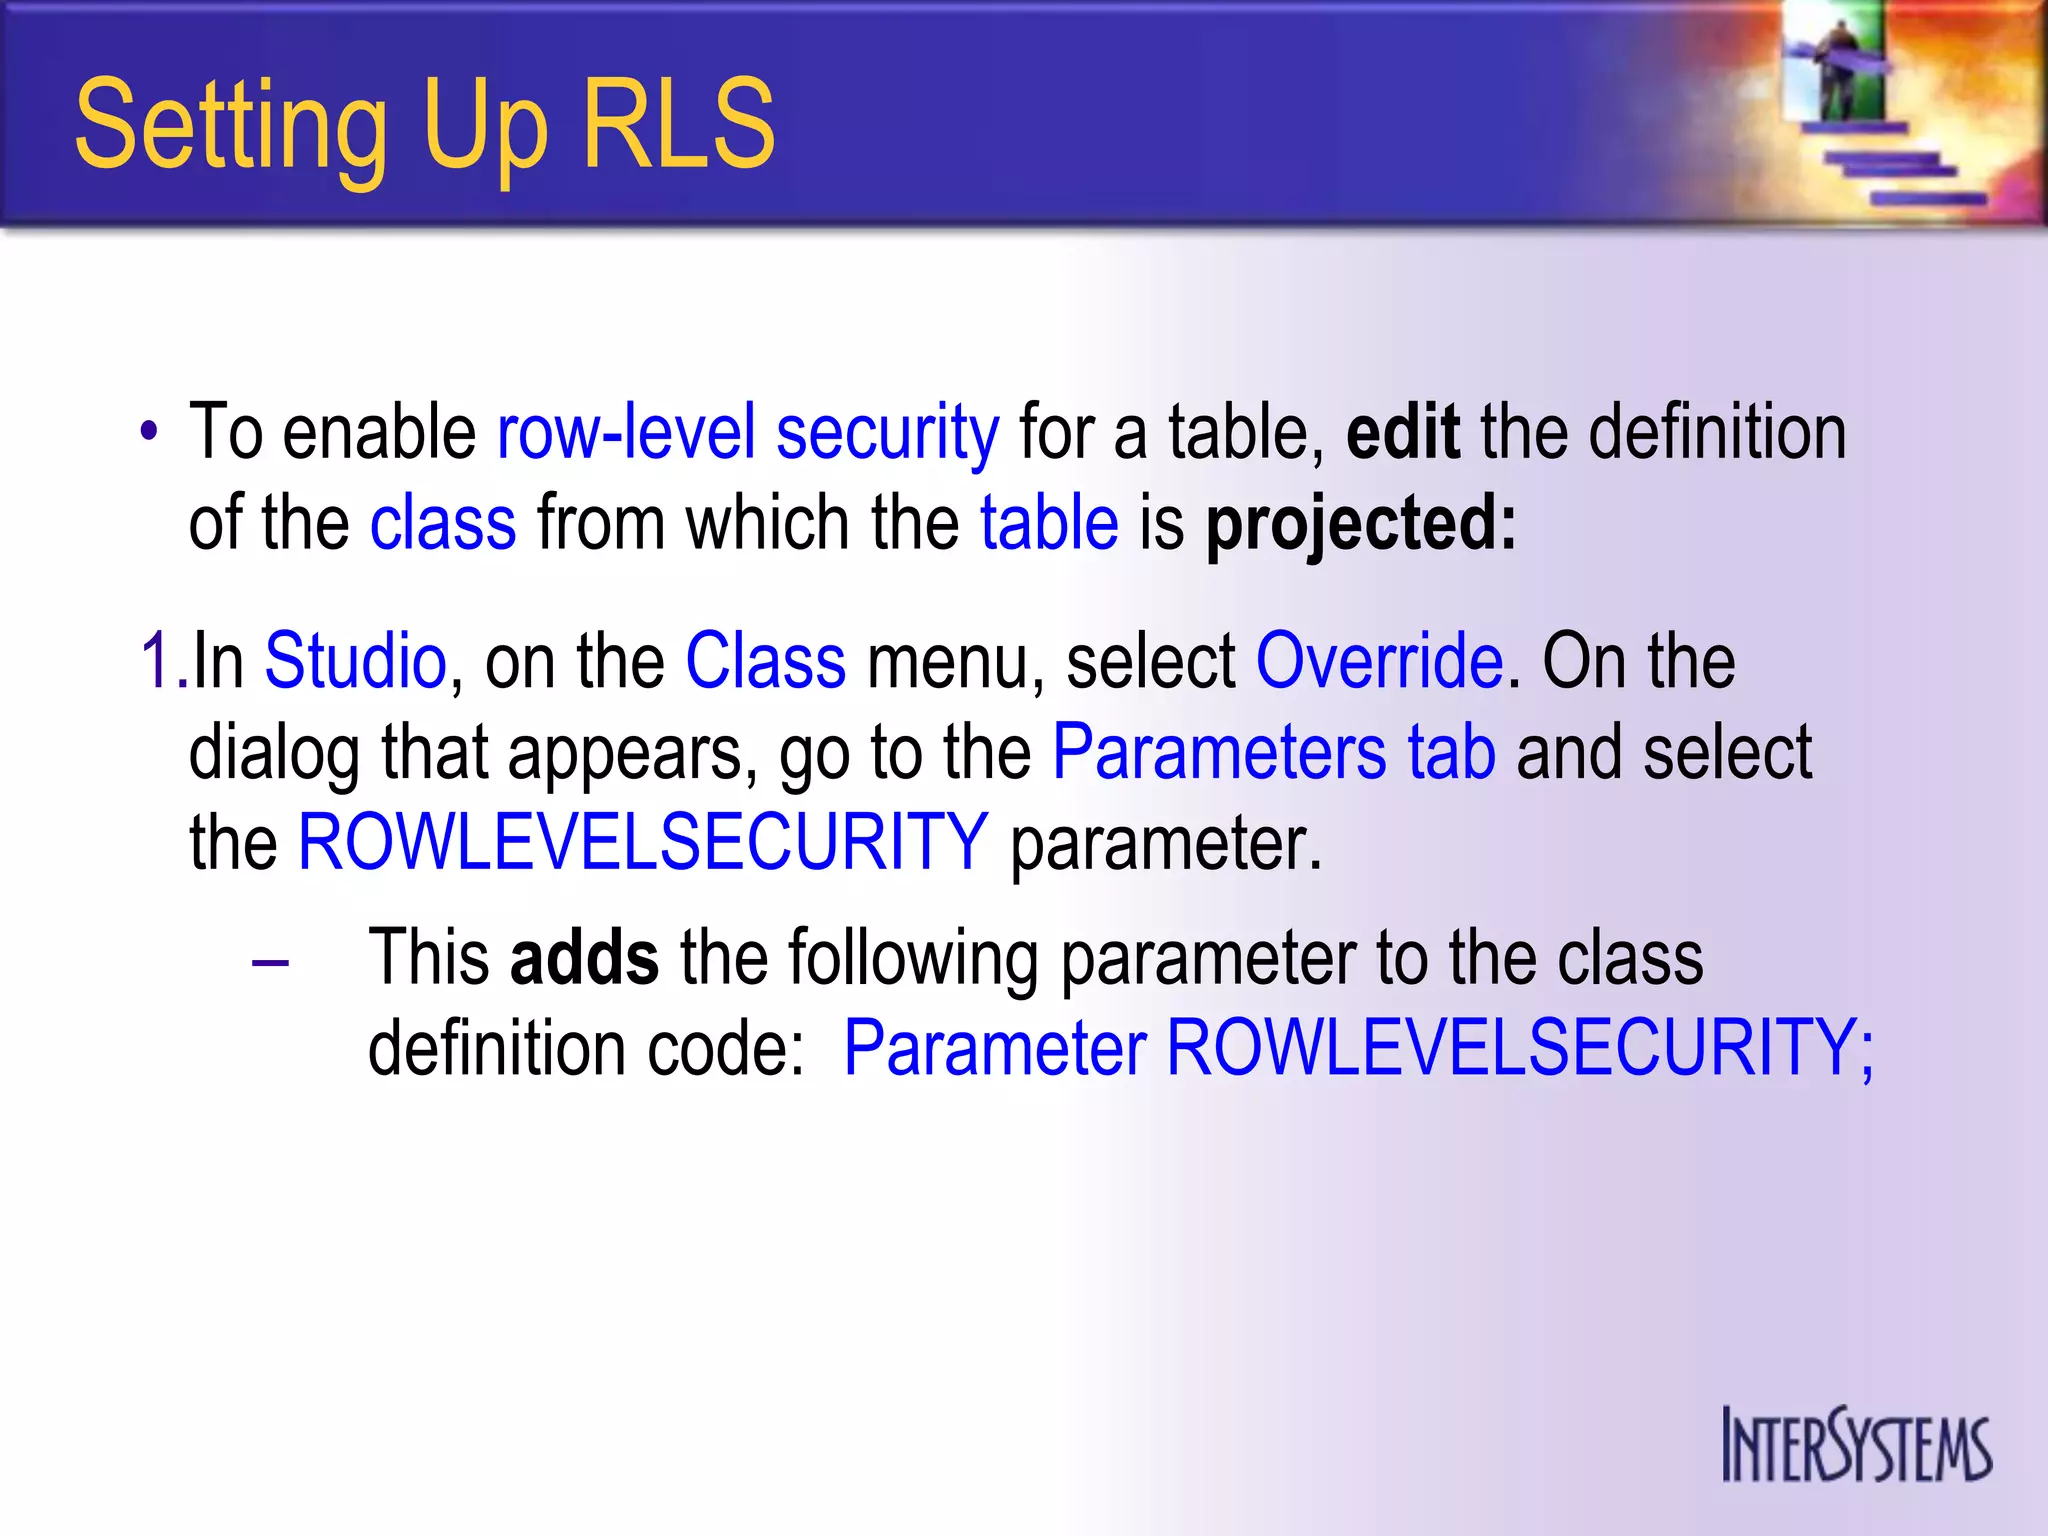
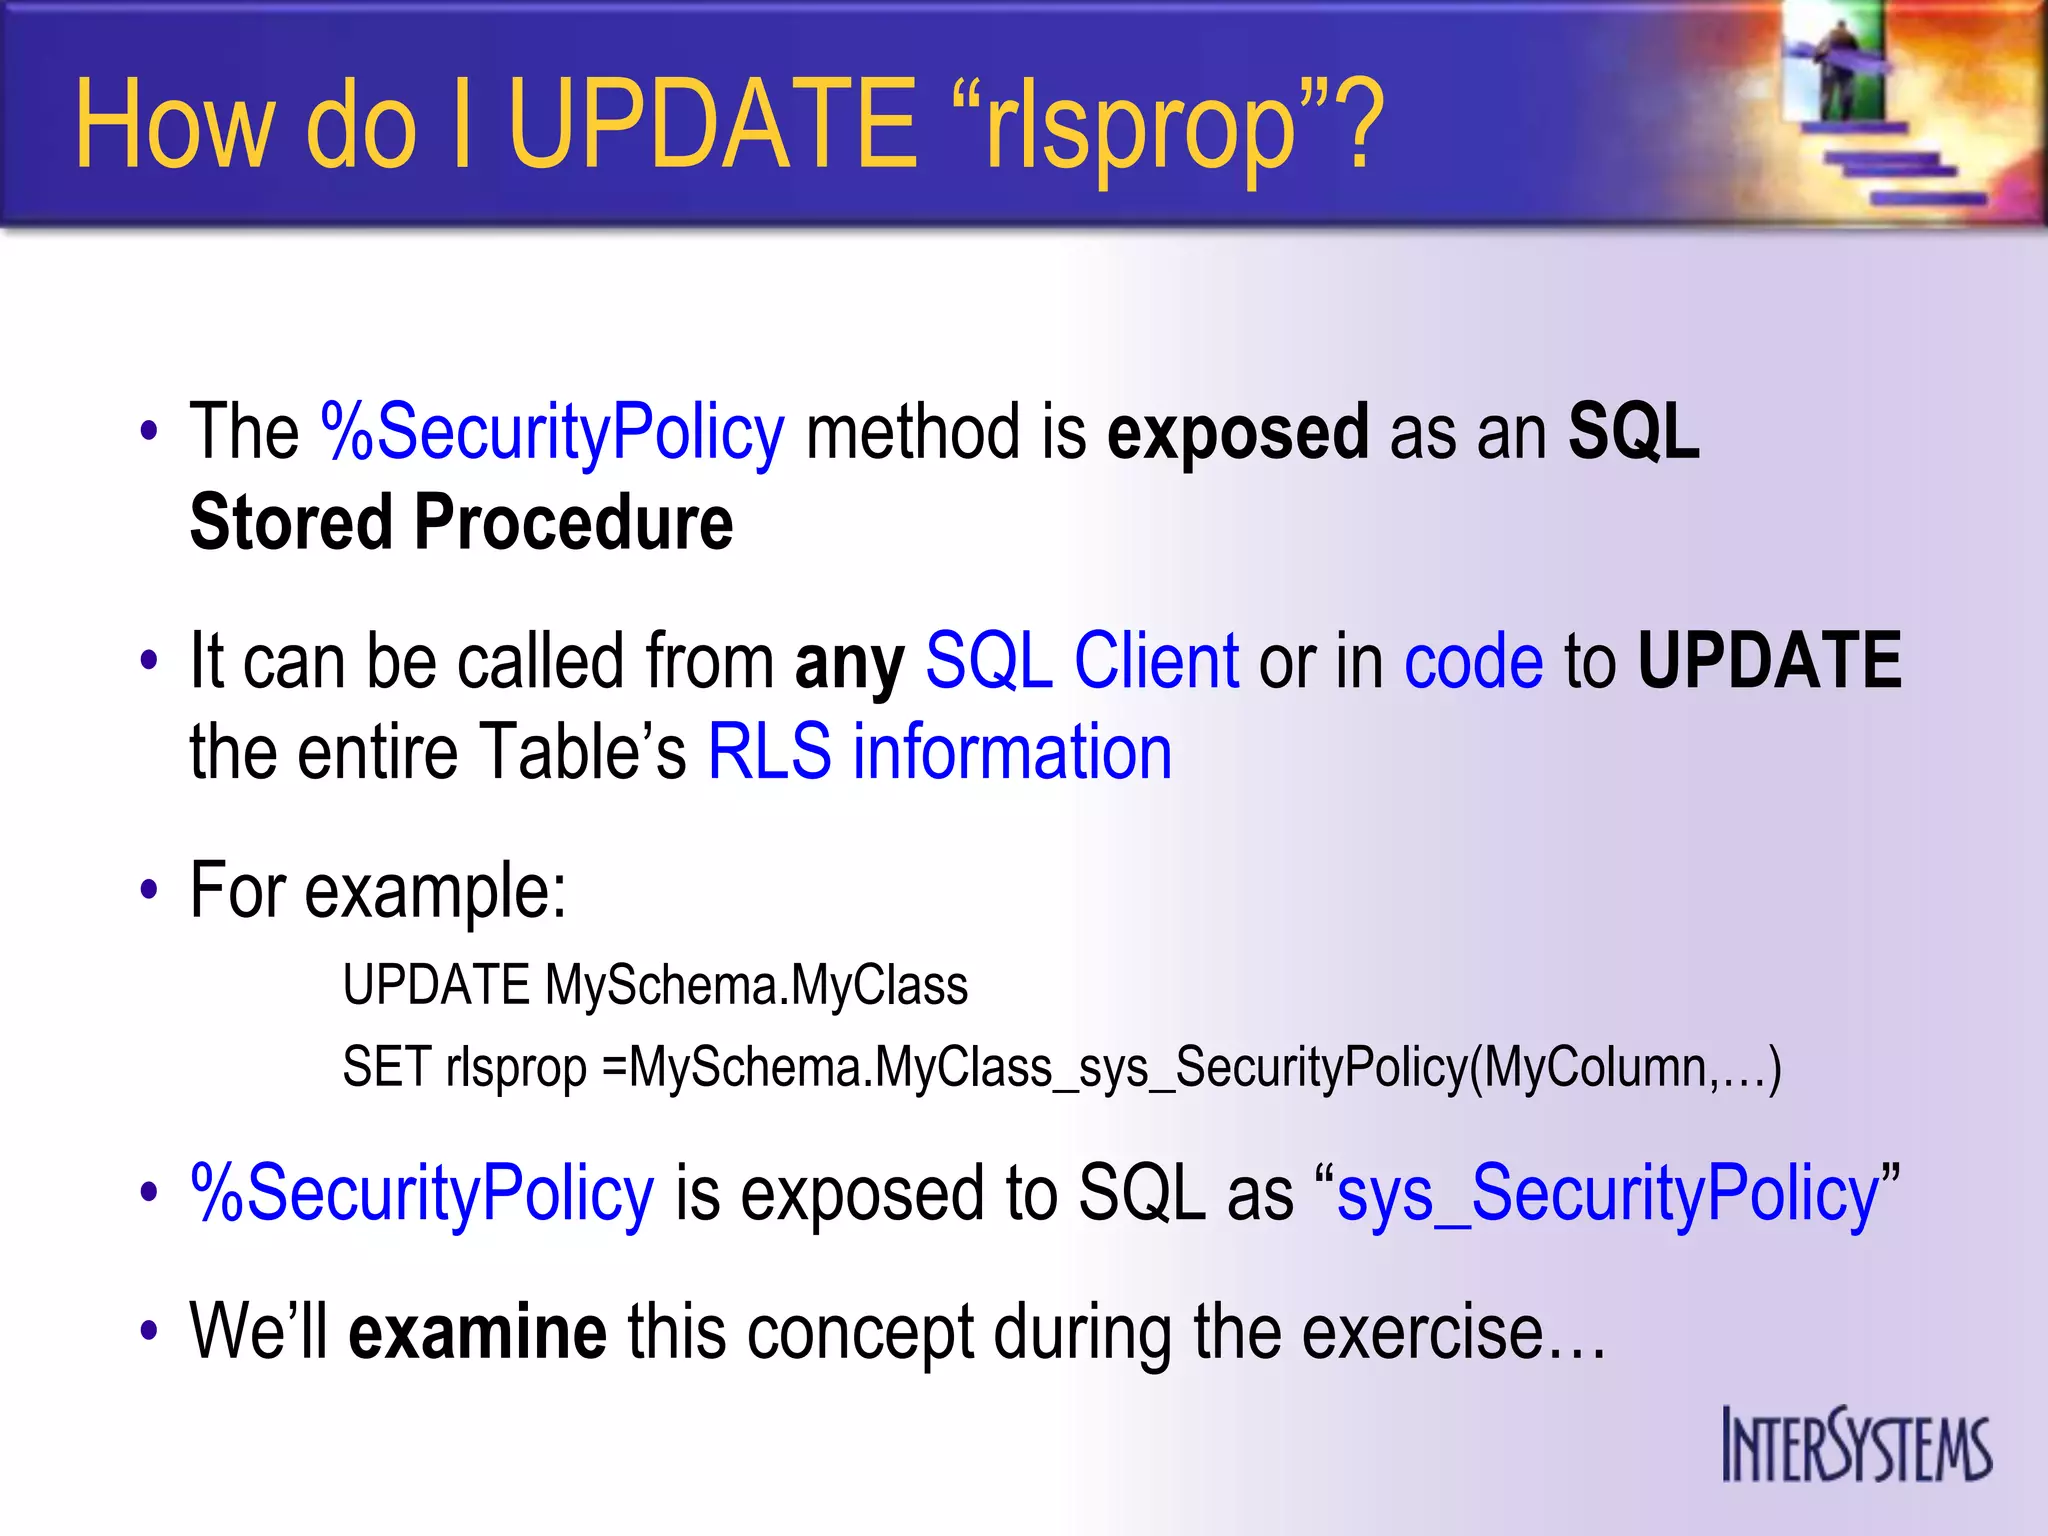
![Setting Up RLS (cont)
2. Define a %SecurityPolicy class method, which
determines and specifies the role and user names that
are permitted to select the row (subject to view and
table SELECT privileges)
– The structure of the %SecurityPolicy method is:
ClassMethod %SecurityPolicy() As %String [ SqlProc, SqlName = SecurityPolicy ]
{
QUIT ""
}](https://image.slidesharecdn.com/cachesecurityiiconfiguringasecureenvironment-111018152903-phpapp01/75/Cache-Security-Configuring-a-Secure-Environment-37-2048.jpg)


![Once Authenticated –
―The State of the System‖
1. Any user who is initially authenticated using Delegated
Authentication is listed in the table of users on the Users page
( [System Administration] > [Security] > [Users ] ) as having a type
of ―Delegated user‖.
2. If a system administrator has already explicitly created a user
through the System Management Portal (or using any other Caché
facility), that user is a ―Caché password user‖.
3. If a ―Caché password user‖ attempts to login using Delegated
Authentication and is successfully authenticated by the
ZAUTHENTICATE code, Caché determines that this user already
exists as a Caché user — not a Delegated user — and so login
fails!](https://crownmelresort.com/image.slidesharecdn.com/cachesecurityiiconfiguringasecureenvironment-111018152903-phpapp01/75/Cache-Security-Configuring-a-Secure-Environment-21-2048.jpg)


![Setting Up RLS (cont)
2. Define a %SecurityPolicy class method, which
determines and specifies the role and user names that
are permitted to select the row (subject to view and
table SELECT privileges)
– The structure of the %SecurityPolicy method is:
ClassMethod %SecurityPolicy() As %String [ SqlProc, SqlName = SecurityPolicy ]
{
QUIT ""
}](https://crownmelresort.com/image.slidesharecdn.com/cachesecurityiiconfiguringasecureenvironment-111018152903-phpapp01/75/Cache-Security-Configuring-a-Secure-Environment-37-2048.jpg)